How to: Floral Resin Tray
It’s the day after Valentine’s Day and you are admiring the flowers gifted to you by family, friends (and lets be honest there is no one better to buy you flowers than yourself). You want the flowers to last forever, but after a few days they will start to lose some of their magic. The best way to repurpose and save your flowers is drying them and turning them into something that will last forever (and is also functional). With this completely unique, beautiful and functional resin product tutorial you can do just that. This meaningful and everlasting epoxy resin project is the unique way to save your wedding or event flowers and best of all, it’s fun to create. By creating products with resin, you are repurposing an important (& often expensive) part of your special day into an everlasting keepsake. This resin DIY is also a unique gift for the bride and groom, flower girl gift, or wedding/anniversary gift. All you need is dried flowers, a resin kit, silicon molds, and pigment powder to create beautiful products. The resin craft is simple, quick and easy, even for resin beginners and can be completed with any type of flower. Coasters are perfect for holding rings or drinks and the serving tray is perfect to place drinks and party snacks while saving space on your table! When you’re done crafting, it doubles as a piece of art and special memory displayed in your living room or bedroom that brings back wonderful memories of your special day!
I first created this project because I wanted to preserve the a special bouquet of flowers given to me by my significant other; the flowers were falling apart after years of storage & my kitten (shameless cat mom plug) kept treating them as her favorite toy. I decided to make them into a ring dish with leftover epoxy resin from my resin mirror art! After creating the DIY, I received such positive feedback I knew I wanted to continue to create flower projects. My good friend had just gotten married and wanted to preserve her wedding bouquet to highlight in her home decor. Together we created resin coasters, a resin tray and a abstract piece of decor for her home! Now, I am sharing our method with all of you!! Let’s be creative and craft some resin wedding decor pieces for your home! P.s. If you have questions or would like to book a virtual art lesson for us to create a project together in real time, email storiacollective@gmail.com or DM @storiacollective
Watch the IGTV and read below for a step-by-step how to & scroll for your resin craft shopping list!
Resin Craft Shopping List:
I love making resin crafts from home in my studio. Especially during 2020, it is harder to go to the store to gather my supplies which is also why this craft is perfect. I actually purchase most of my resin craft supplies from Amazon. This Resin Craft Shopping List will give you all the information you need to make your bridal resin craft.
-
Resin Kit (2 part) for reference each coaster is 100 ml of resin, so a 32 oz (946ml) kit will make 9-10 coasters
-
Purchase on Amazon LARGE two part resin set
-
Purchase on Amazon SMALL two part resin set
-
Full resin kit with mixing cups and popsicle sticks on Amazon
-
-
Silicon Molds- P.s. Amazon is a better value for resin molds
-
Purchase on Amazon– Coasters/Ring Dish Varying Shapes
-
Purchase on Amazon – Coasters/ Ring Dish Circles
-
Purchase on Amazon – Geode Tray Mold
-
Purchase on Amazon – Rectangle Tray used here
-
Purchase on Amazon – Silicon Mats to Create Abstract Resin Mold
-
Purchase on Amazon – Block Paper Weight
-
-
Measuring Cups & Mixing Cups – Amazon Link
-
Pigments (if you want to color your resin)
-
Popsicle Sticks & Gloves (some kits come with these but you will need more than they provide) – Amazon Link
-
Cardboard or Plastic (use shipping boxes!!)
-
&& all the objects you choose to add to make your resin project one of a kind! Just like you!
Create with Resin & Flowers: Meaningful DIY/How-to Resin Bridal/Wedding/Special Flower Coasters, Abstract Piece & Serving Tray
General Flower Method Tutorial
Flower Resin Craft Step 1: Set up & Gather your materials
Think about what you want your resin craft to represent and what objects will honor your vision, play around with the different elements you can add to your flower resin project. Pro crafter & environmental tip: save cardboard/ plastic from your shipping boxes to use on your workstation to keep everything clean! Resin WILL STAIN and it is VERY HARD to remove! Make sure you have everything your need to protect your craft space before you crack open your resin bottles.
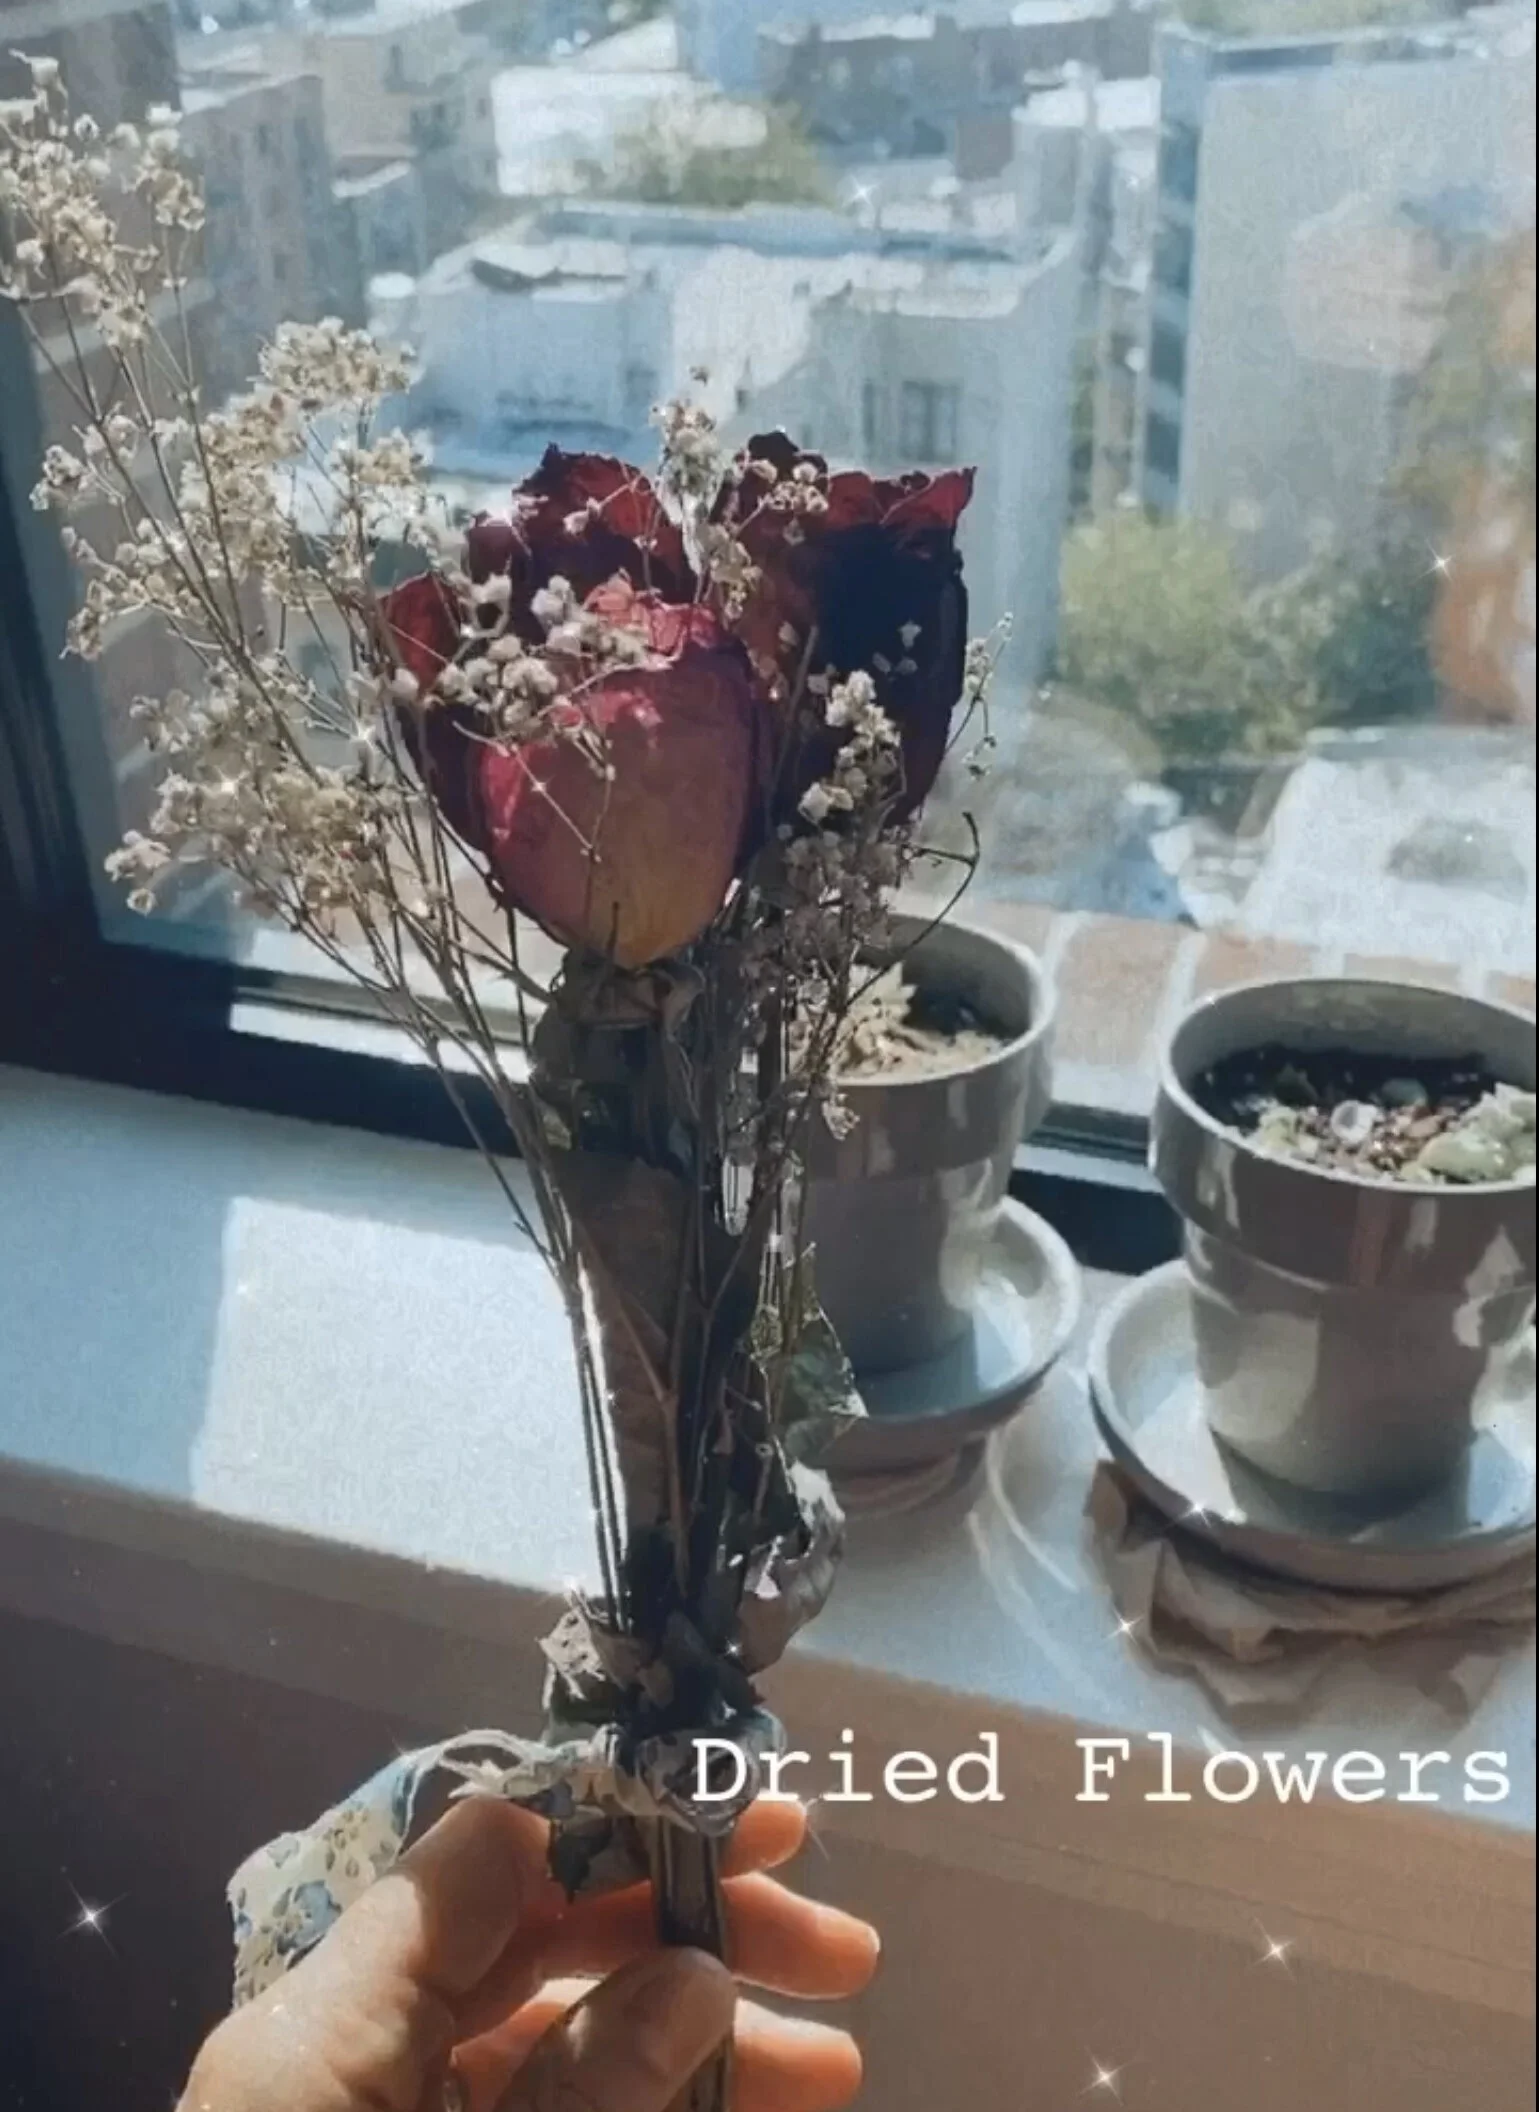
P.s. If you are using flowers, use DRIED flowers, I dried by flowers by bundling them together and hanging the flowers upside down in a dark room. There are alternative measures to drying flowers that you can find on YouTube or online. If you skip this step and use fresh flowers, your flowers will turn brown/green in the resin, they will mold and it will ruin the project.
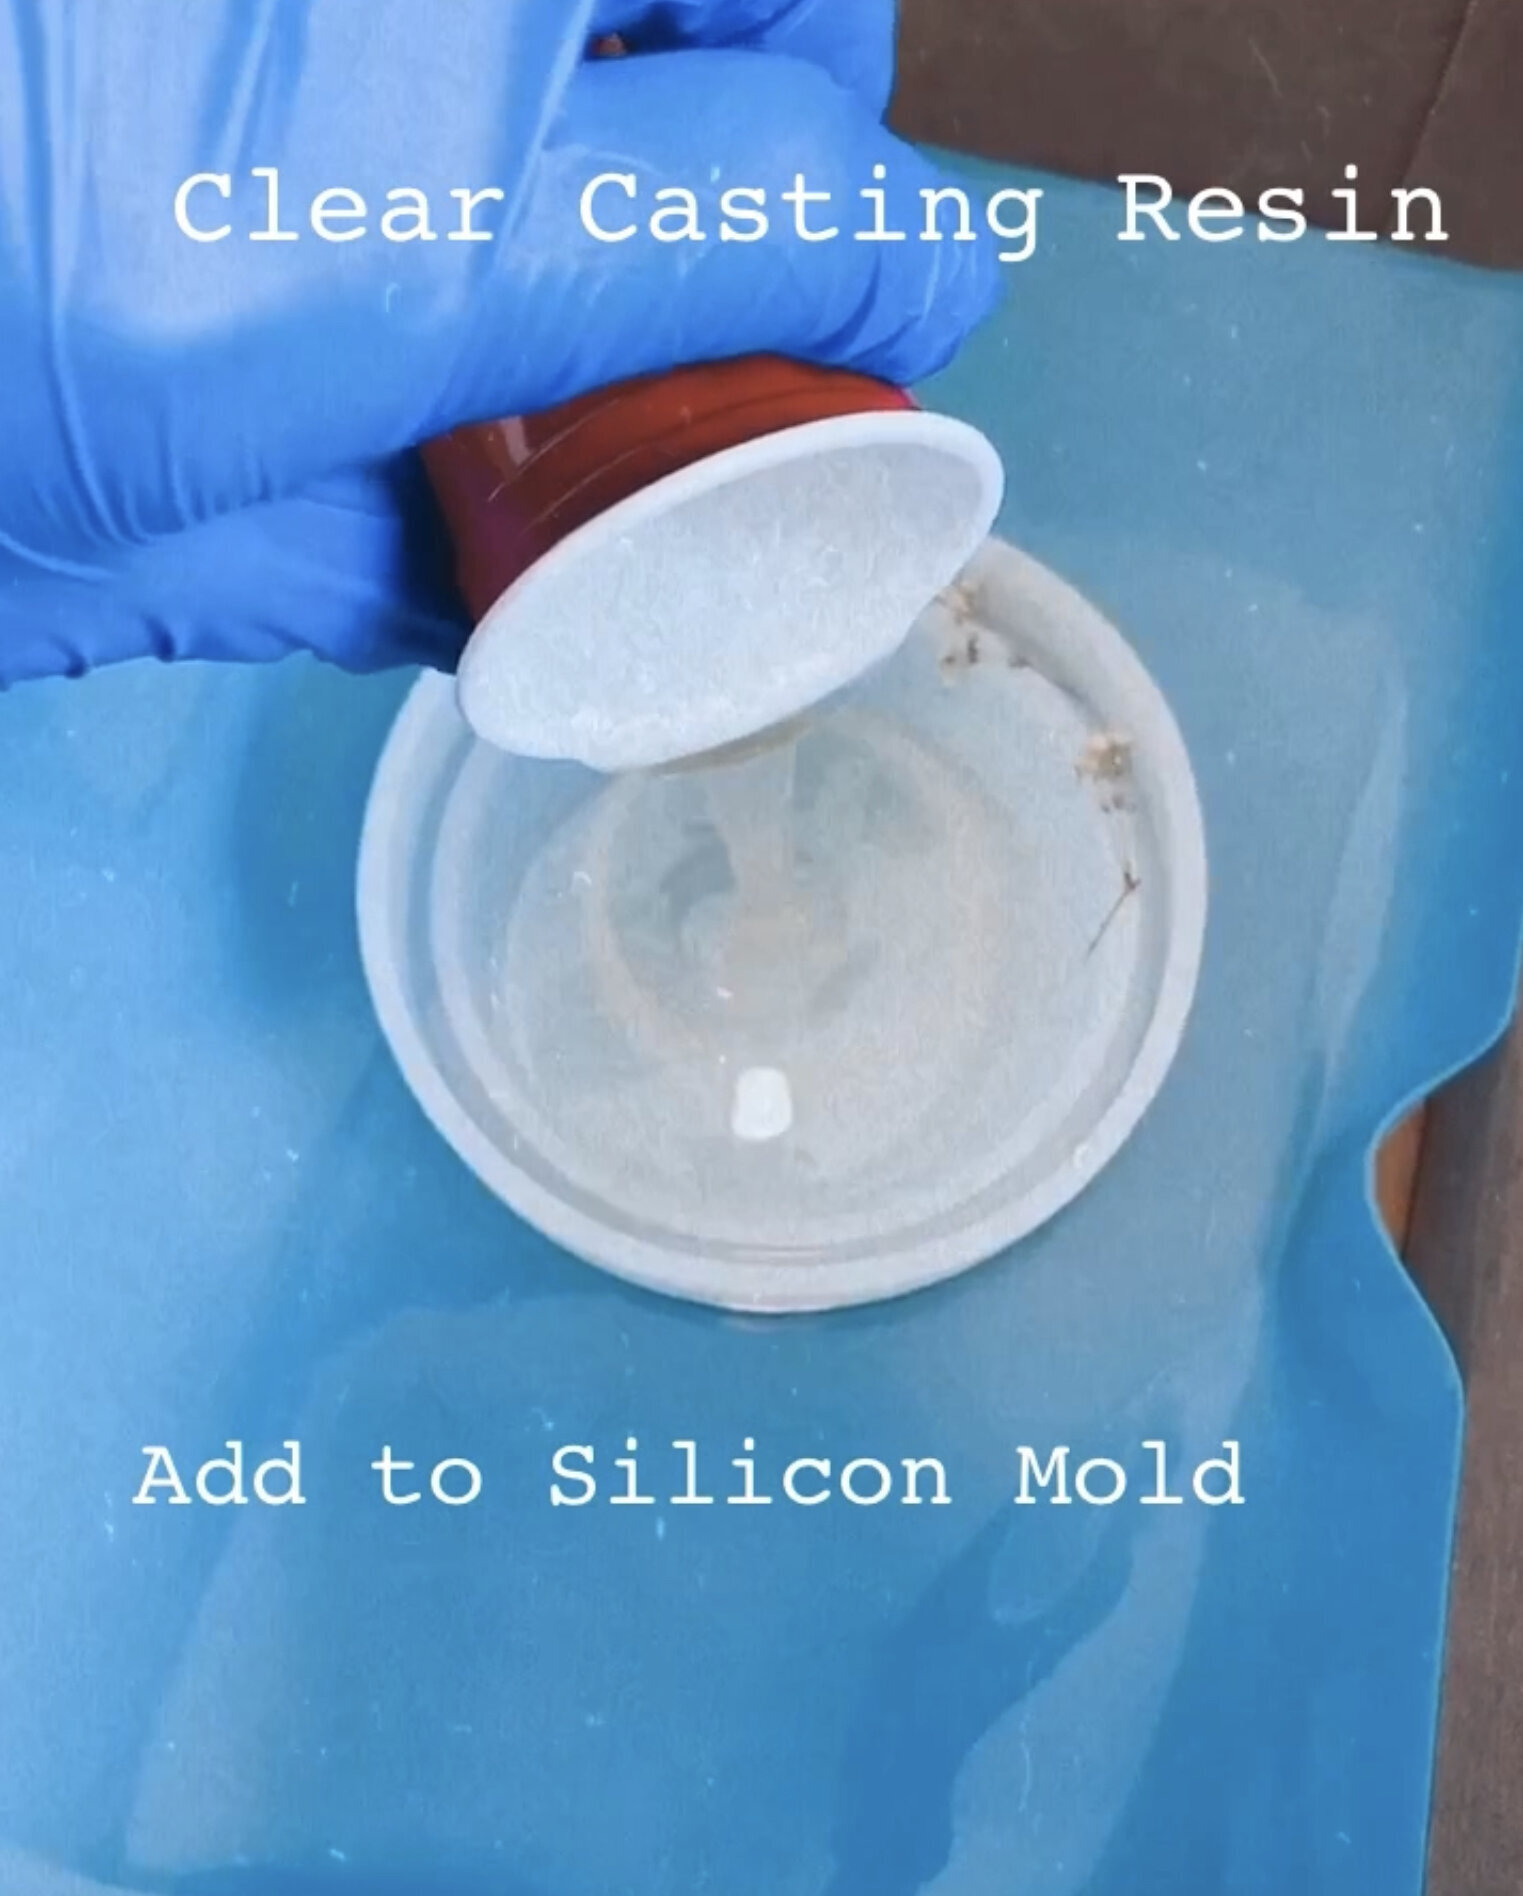
Flower Resin Craft Step 2: Add Your Resin to your Silicon Mold
For each coaster you will need approximately 100ml of total resin. This means you will mix 50ml of both the resin and the hardener. Make sure to read the instructions on the epoxy resin bottles purchased but generally you add a mixed 1:1 ratio of resin and hardener to a silicon mold (whether it is a bracelet or coaster mold). Mix your resin for 2-3 minutes, making sure to scrape all the corners to prevent a tacky resin coaster. Mix with popsicle sticks. Once your resin is mixed and activated, you will have about 60 minutes of work time, so make sure everything is set up prior to starting the project. If you want to create colored resin, either add the pigment agent (mica pigments) before pouring or after, depending on the effect your would like to achieve. Make sure to play around with this, accidents sometimes make the best pieces! Either lay your flowers within the mold prior to added the resin or add them after, either way you will have to adjust the objects since objects often move during the resin pouring process.
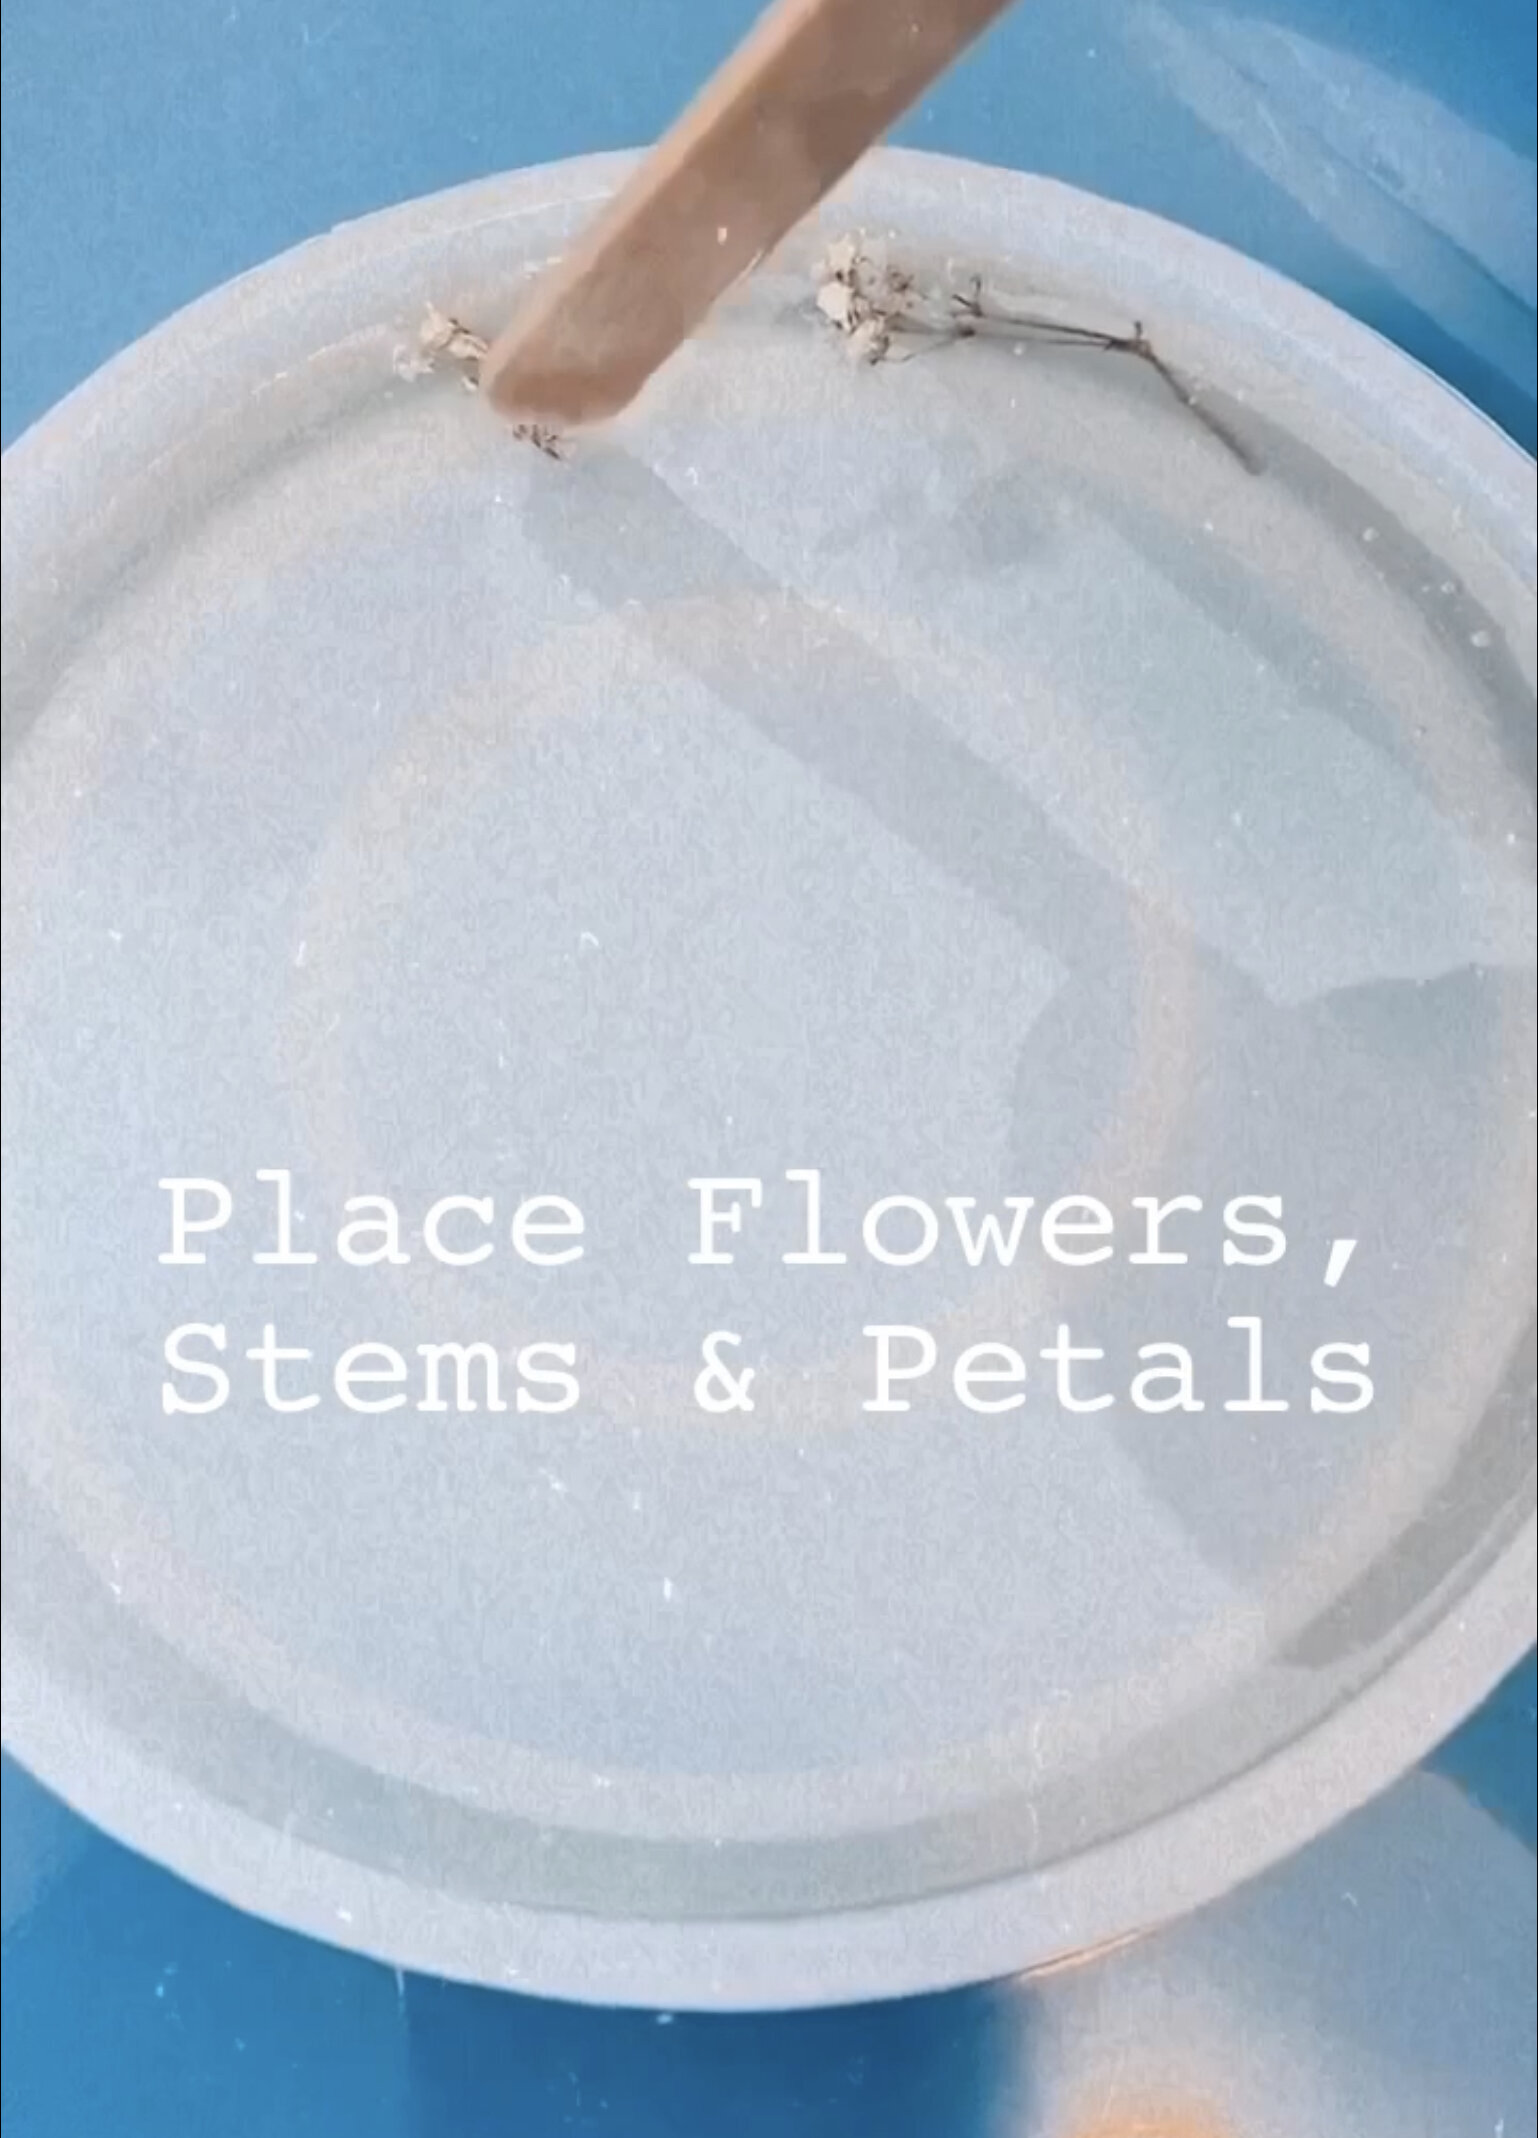
Flower Resin Craft Step 3: Add Objects to your Silicon Resin Mold
As said earlier, you can choose to place your objects prior to pouring, I typically do a mixture of both placing before and placing after.
In this step make sure all of your objects are added to your mold, place petals, whatever you’d like! Look around your home, your yard, what can be repurposed? What can be highlighted in a new light? I like to layer objects to create dimension.
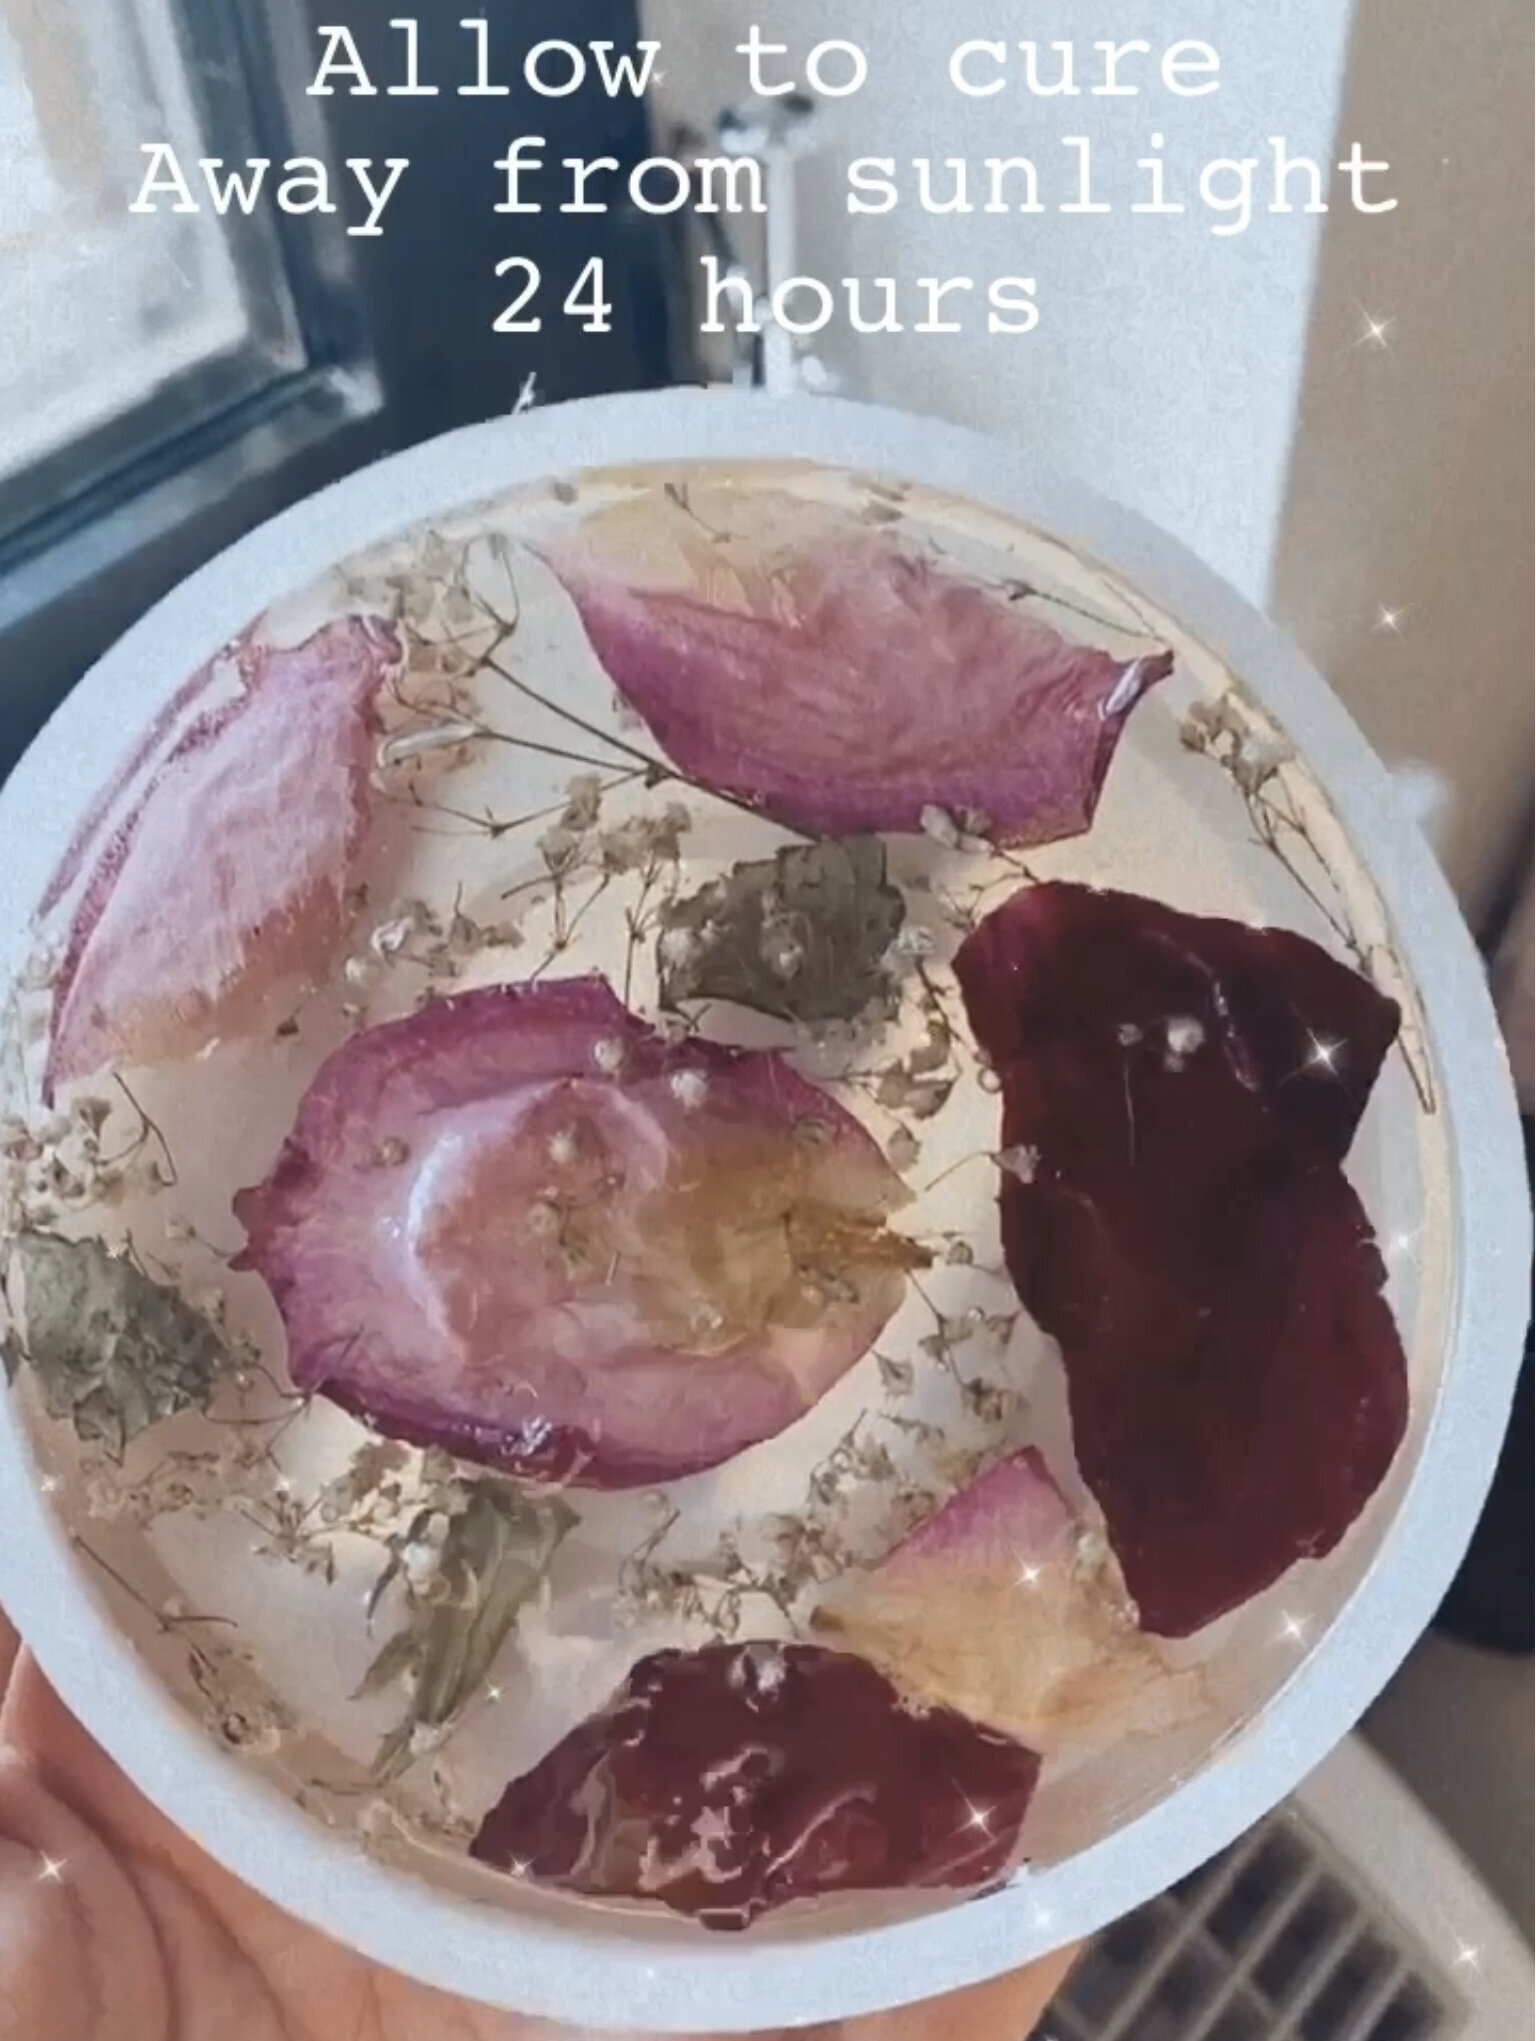
Flower Resin Craft Step 4: Place in Safe Place & Wait
Place your resin & silicon mold on a FLAT surface, away from sunlight. If possible cover your object with a large pot or bowl to prevent dust, hair or other particles from falling into your resin. Wait at least 24 hours before de-molding your resin!
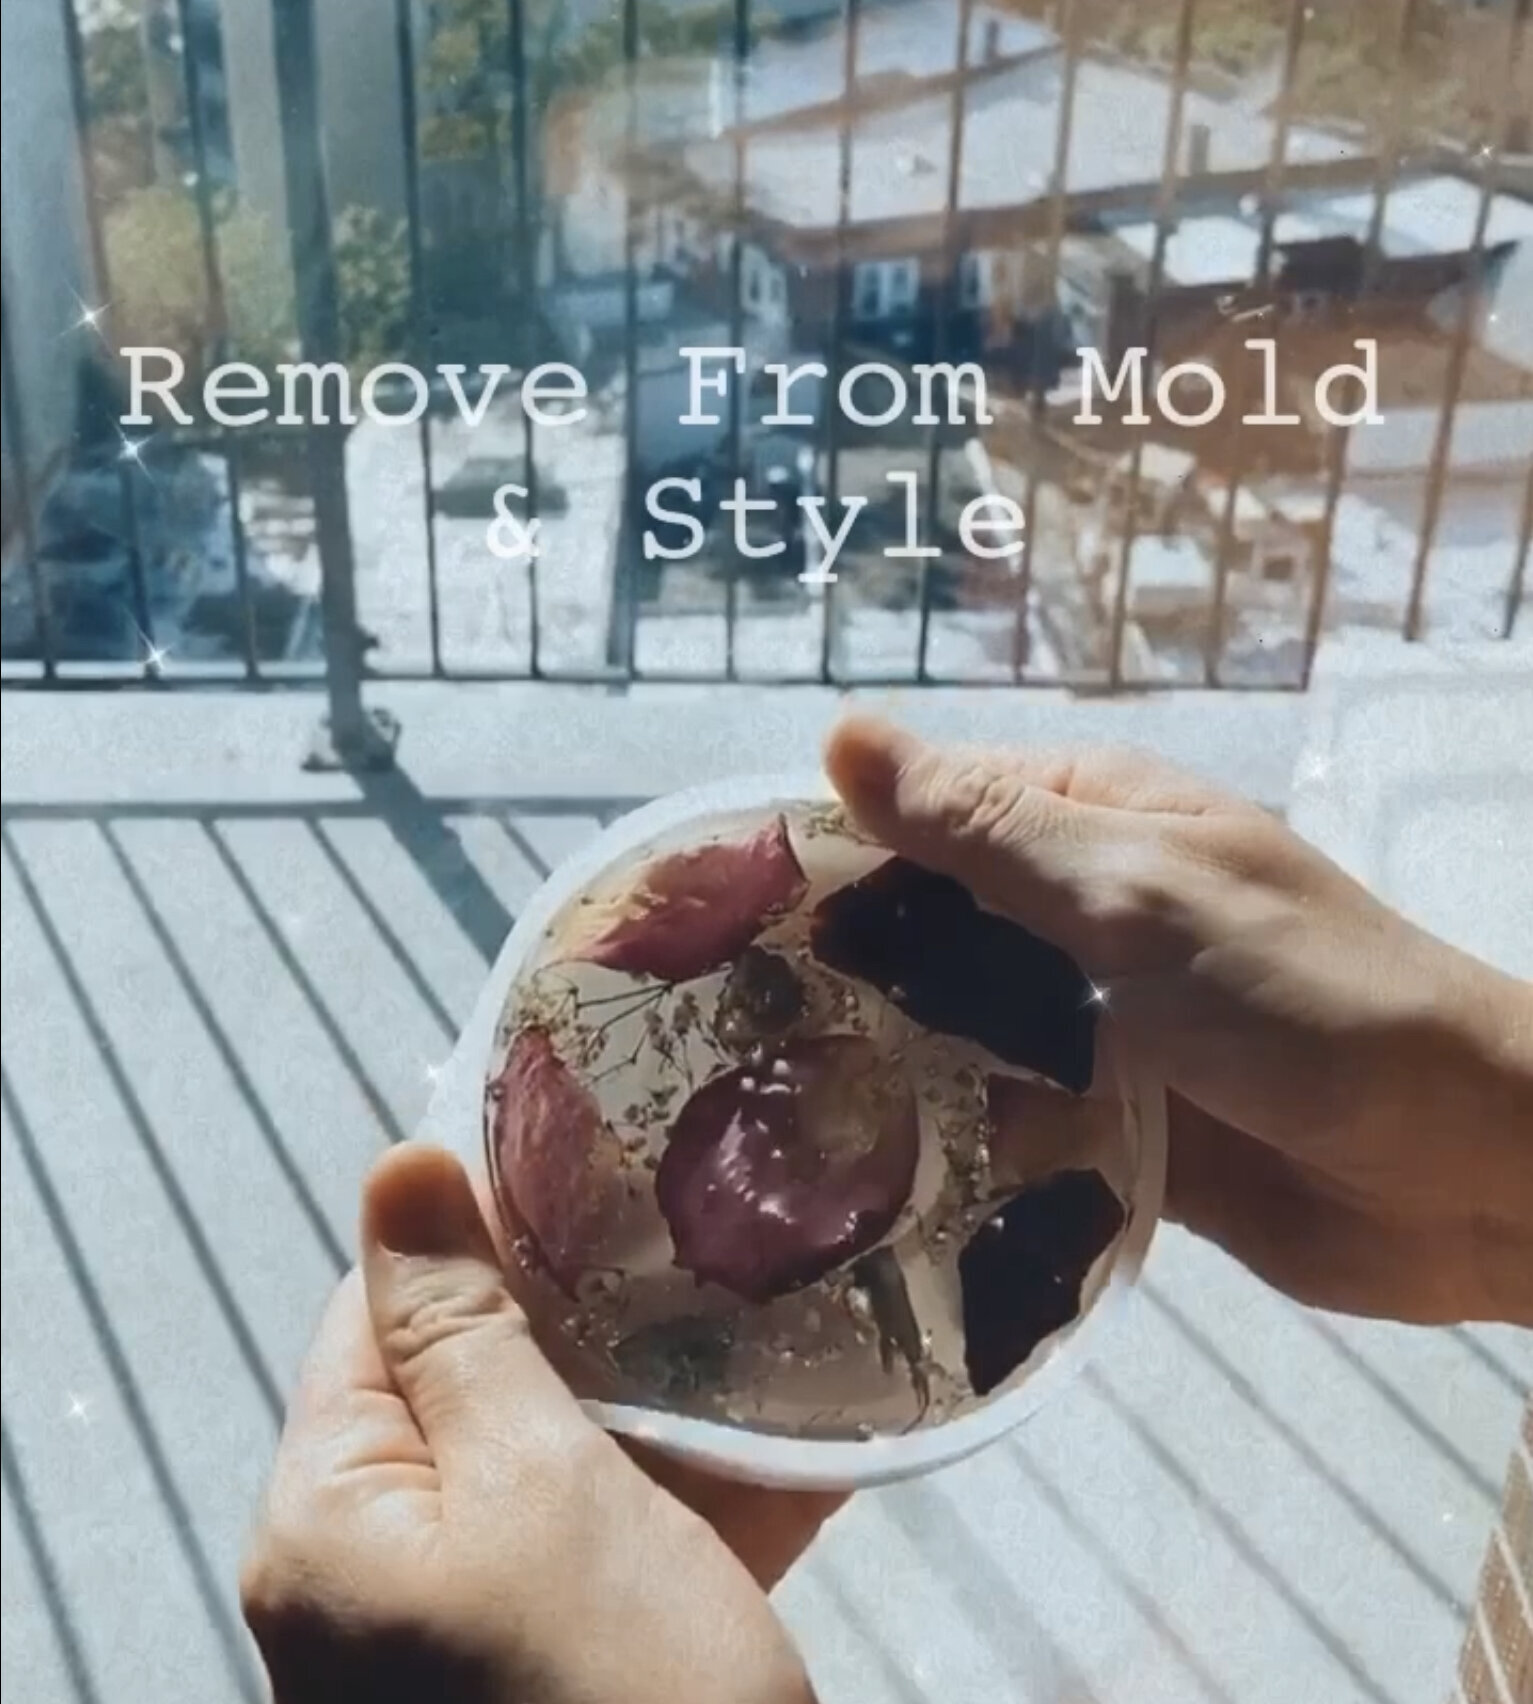
Flower Resin Craft Step 5: Remove Your Coaster From Silicon Mold
That’s it! You’ve turned your flowers into a forever resin keepsake! When I look at these coasters, I will be reminded of the happy memories I had receiving them and saving them all these years! What moments will you capture?
Create Flower Coasters
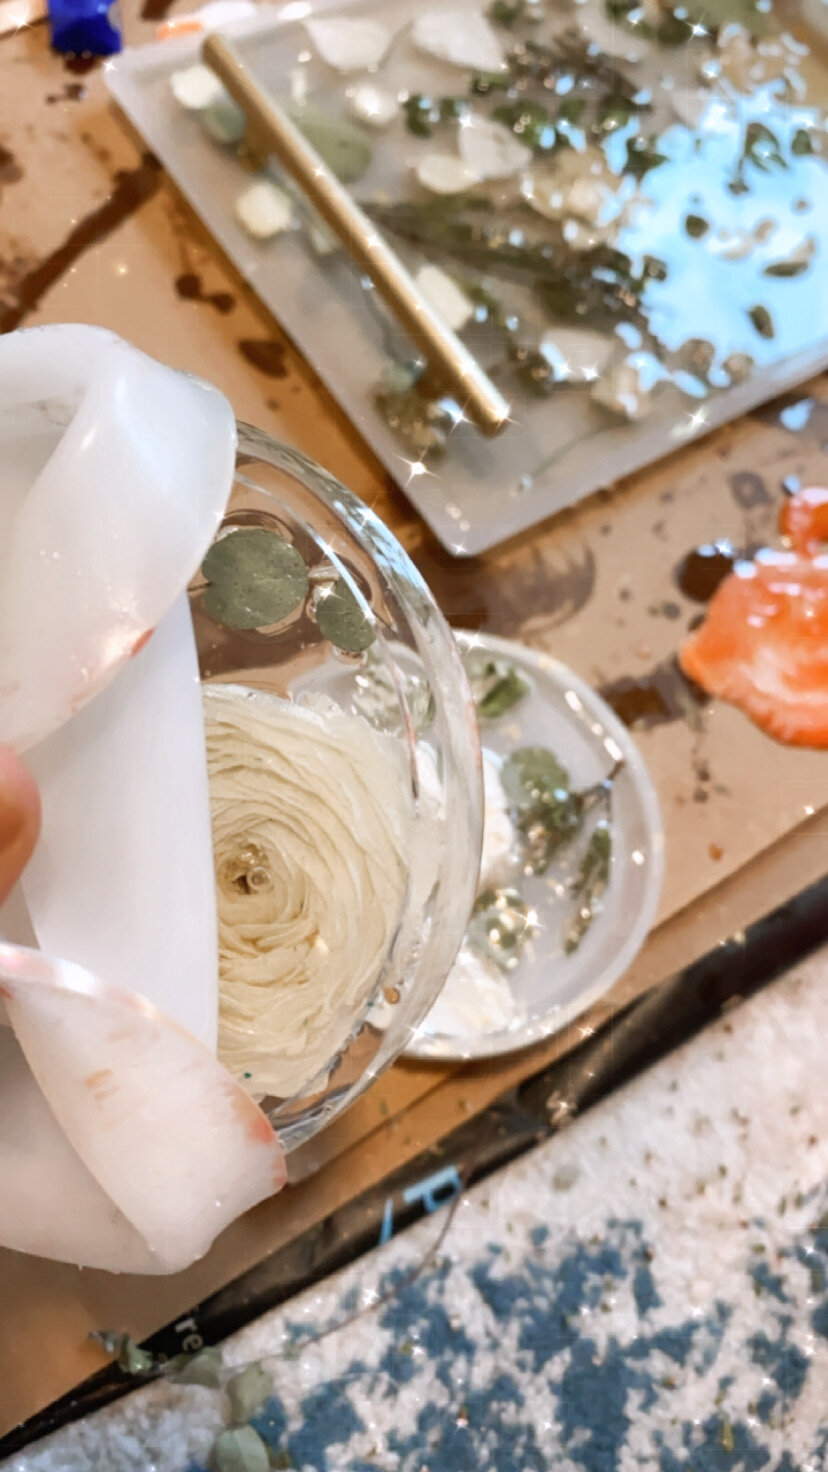

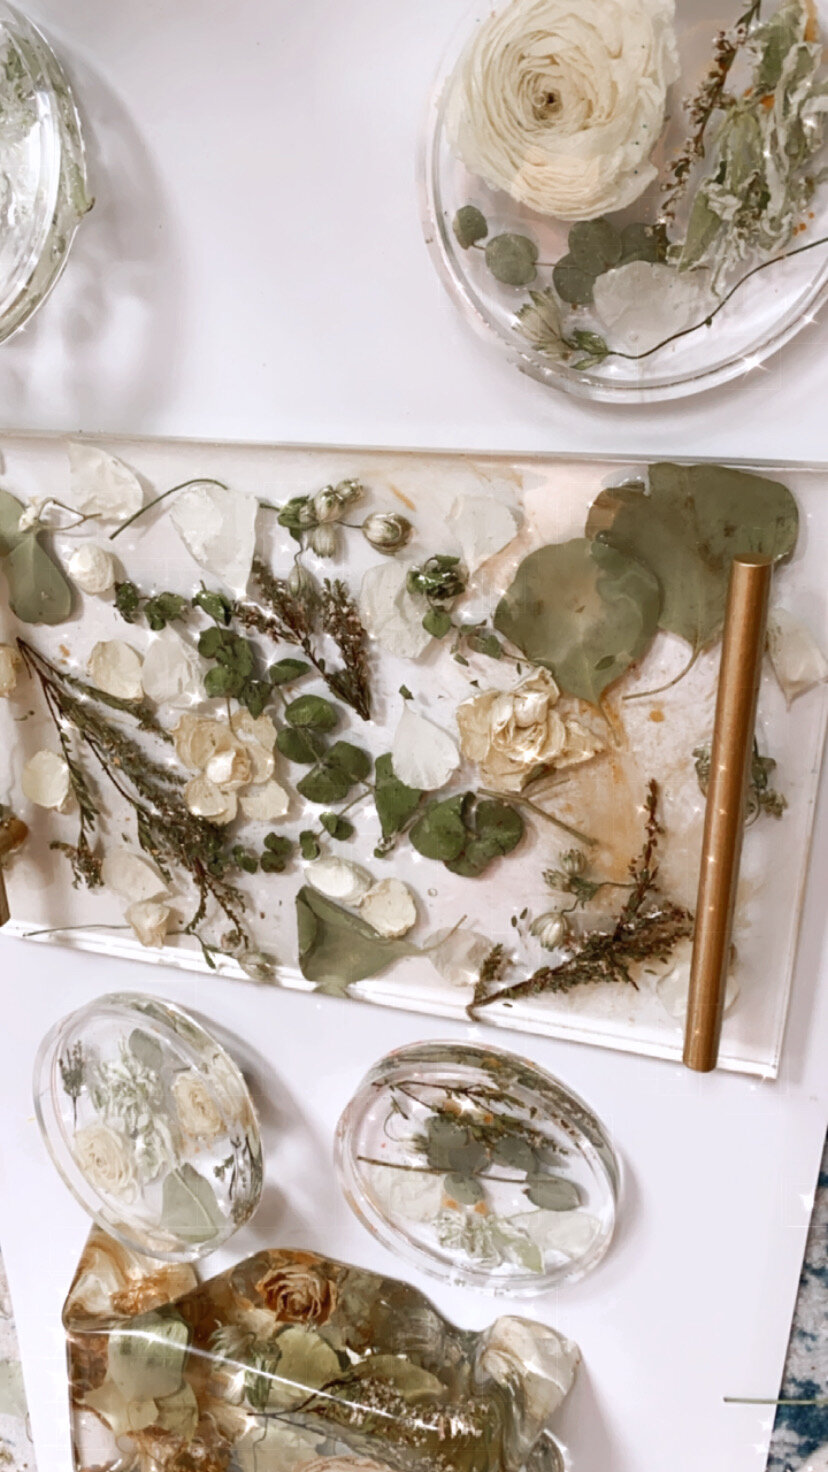
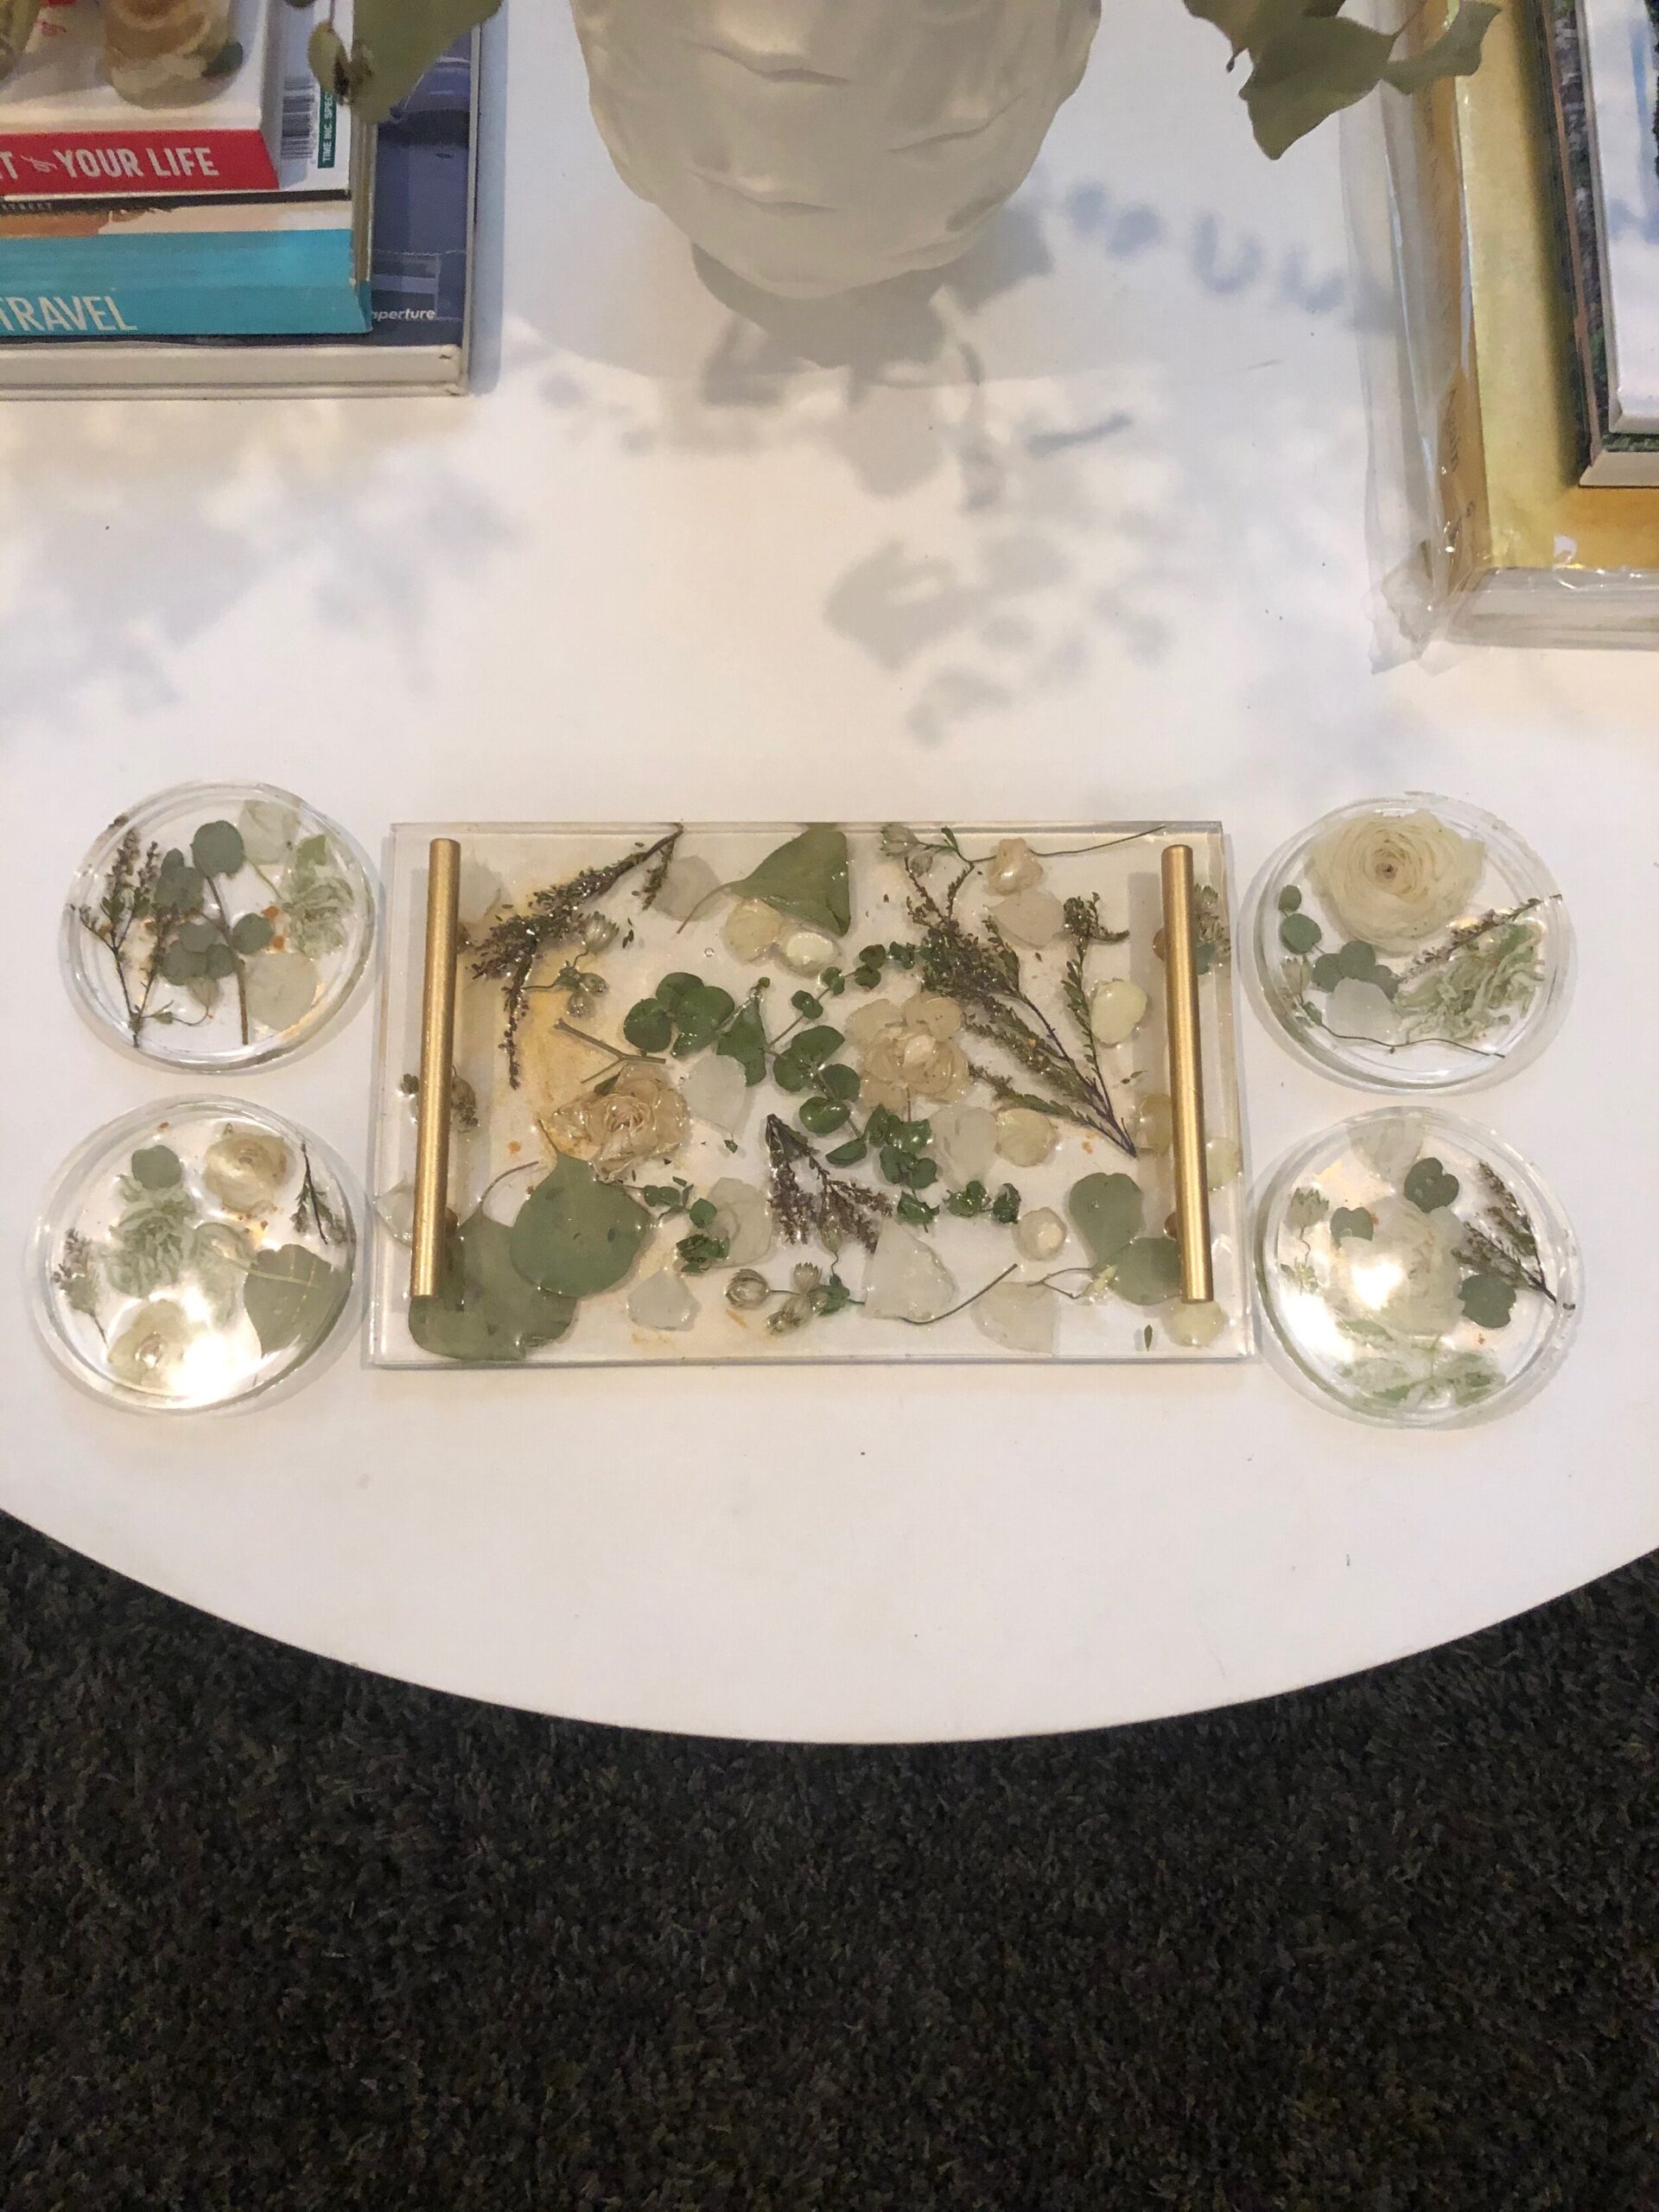
These coasters were created with the smaller flowers from a wedding bouquet, we chose to use the same elements across all four coasters however created a different set up so each would be unique but compliment each other. The flowers were thicker than the molds themselves so after the resin cured I sanded the back of the coasters/flowers so that they layed flat on the table.
Create Flower Serving Tray
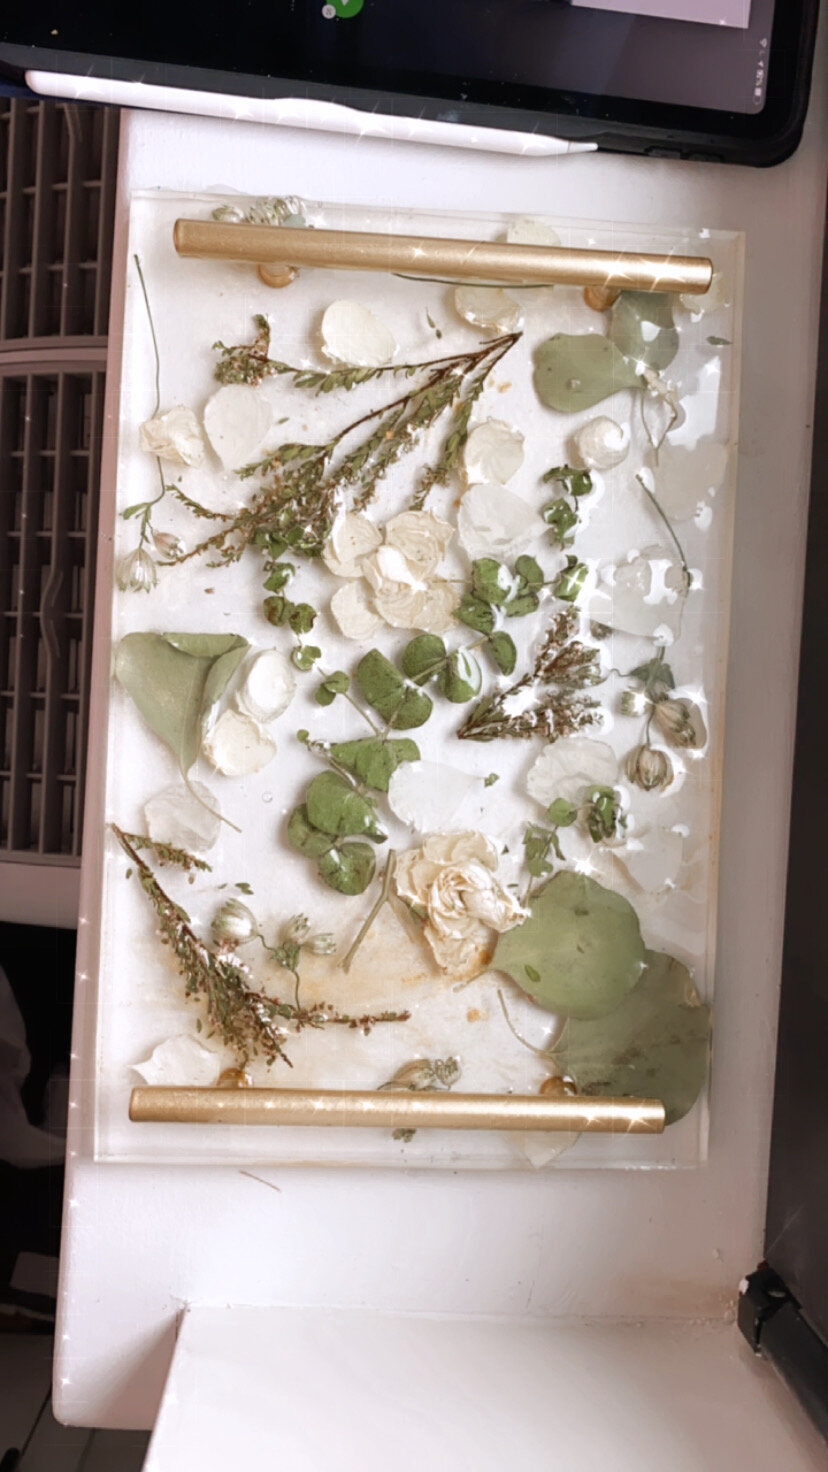
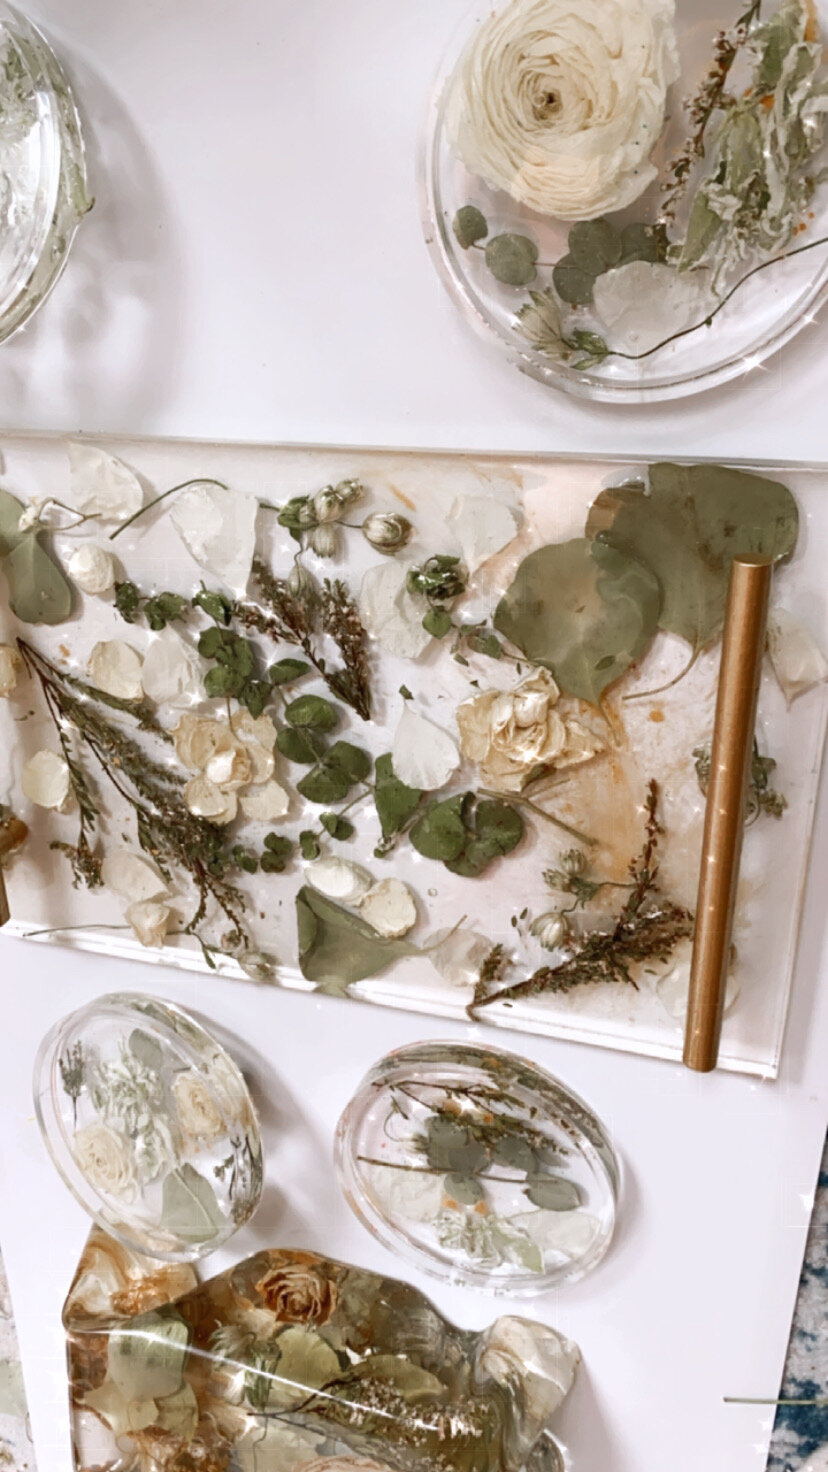
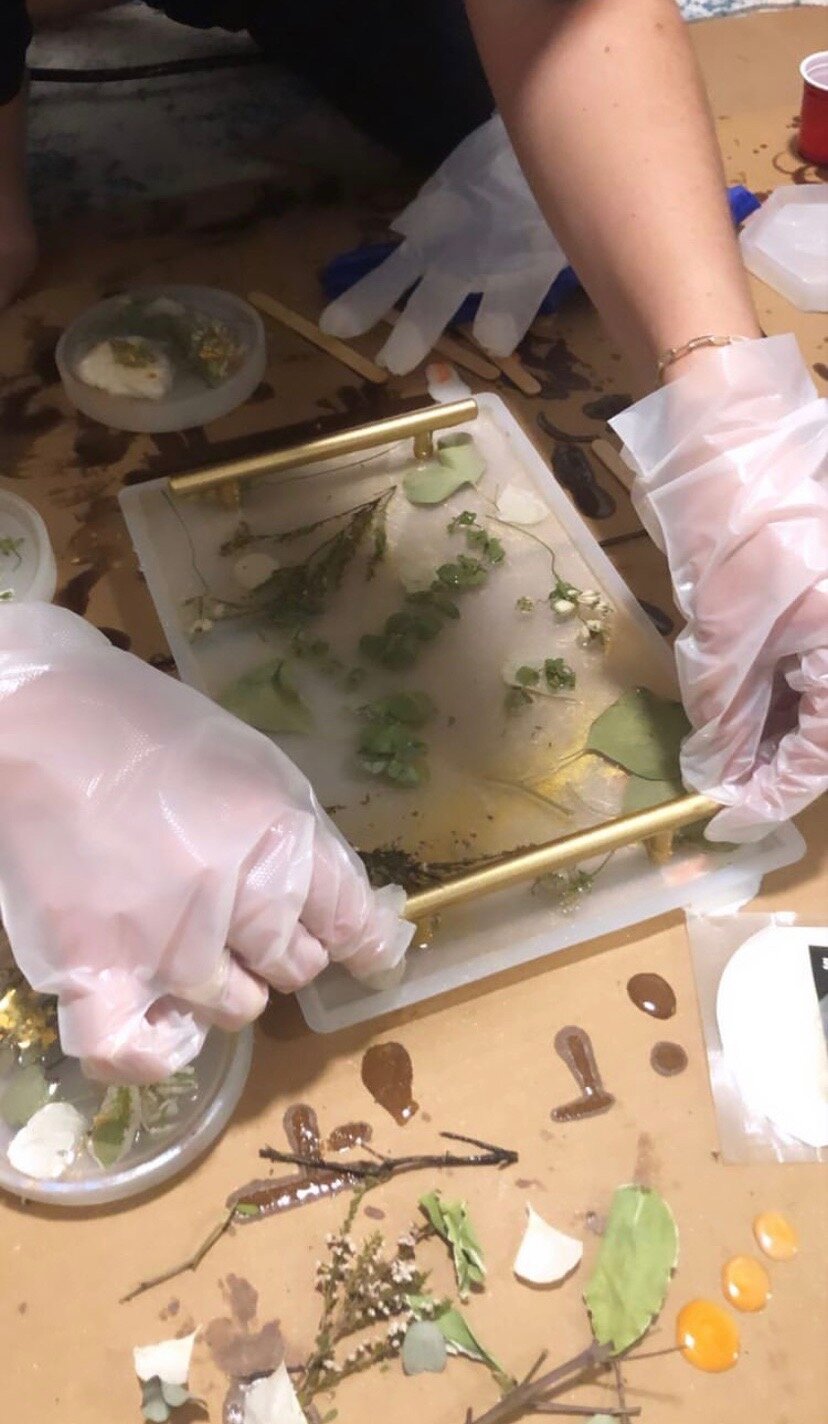
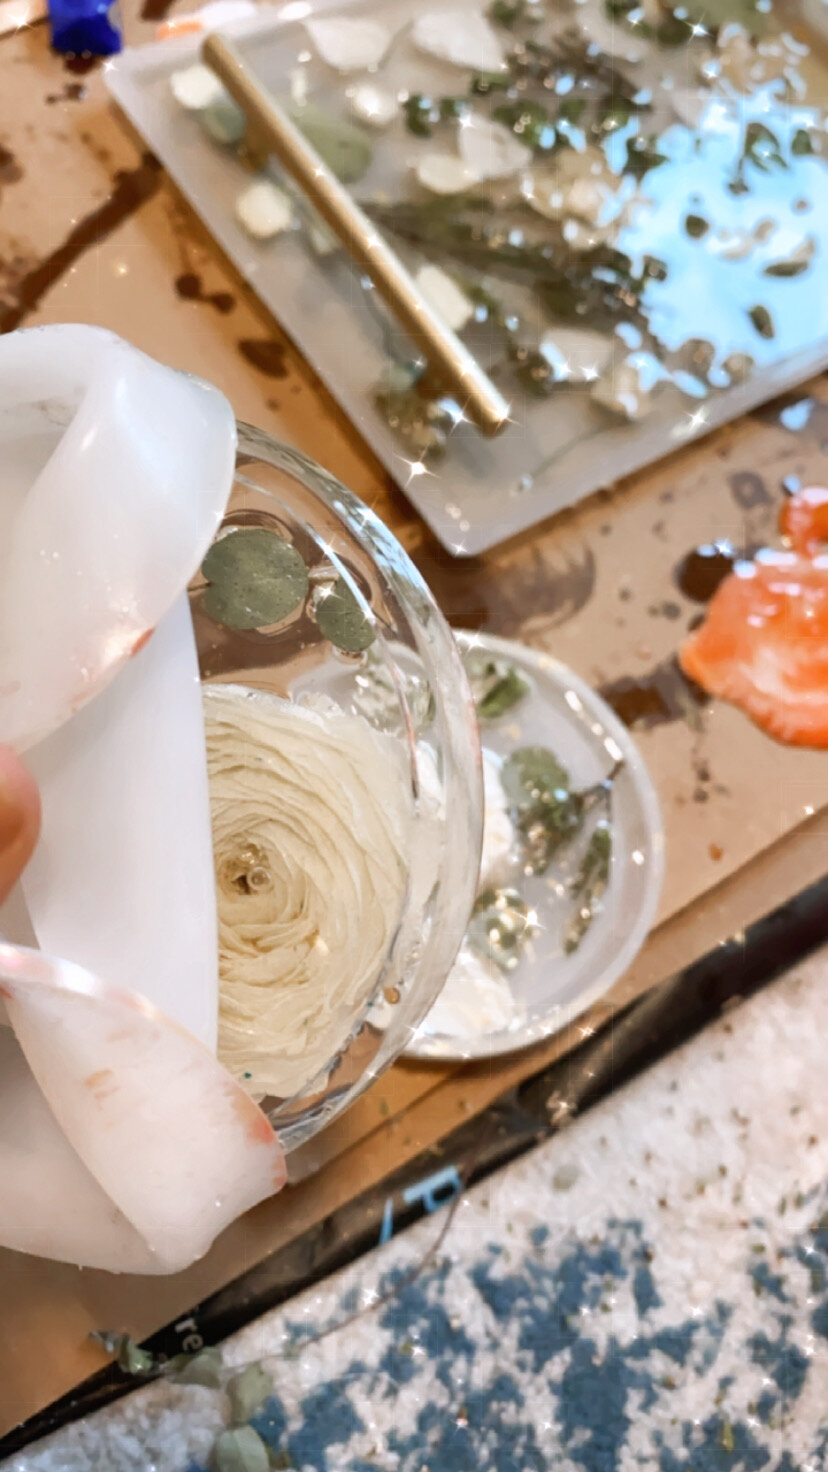
This serving tray is made from flowers of a bridal bouquet, with a hint of a golden mica powder mixed into the resin! It is complete with gold handles, which I chose to add right into the resin, since I do not have a screwdriver to drive the screws into the resin once it dries. We made this product by first adding a layer of golden resin to the mold then adding our flower, once the resin had cured for about 30 minutes we added the gold handles so they would stick upright and let it dry for 24 hours before removing!
Create Abstract Flower Resin
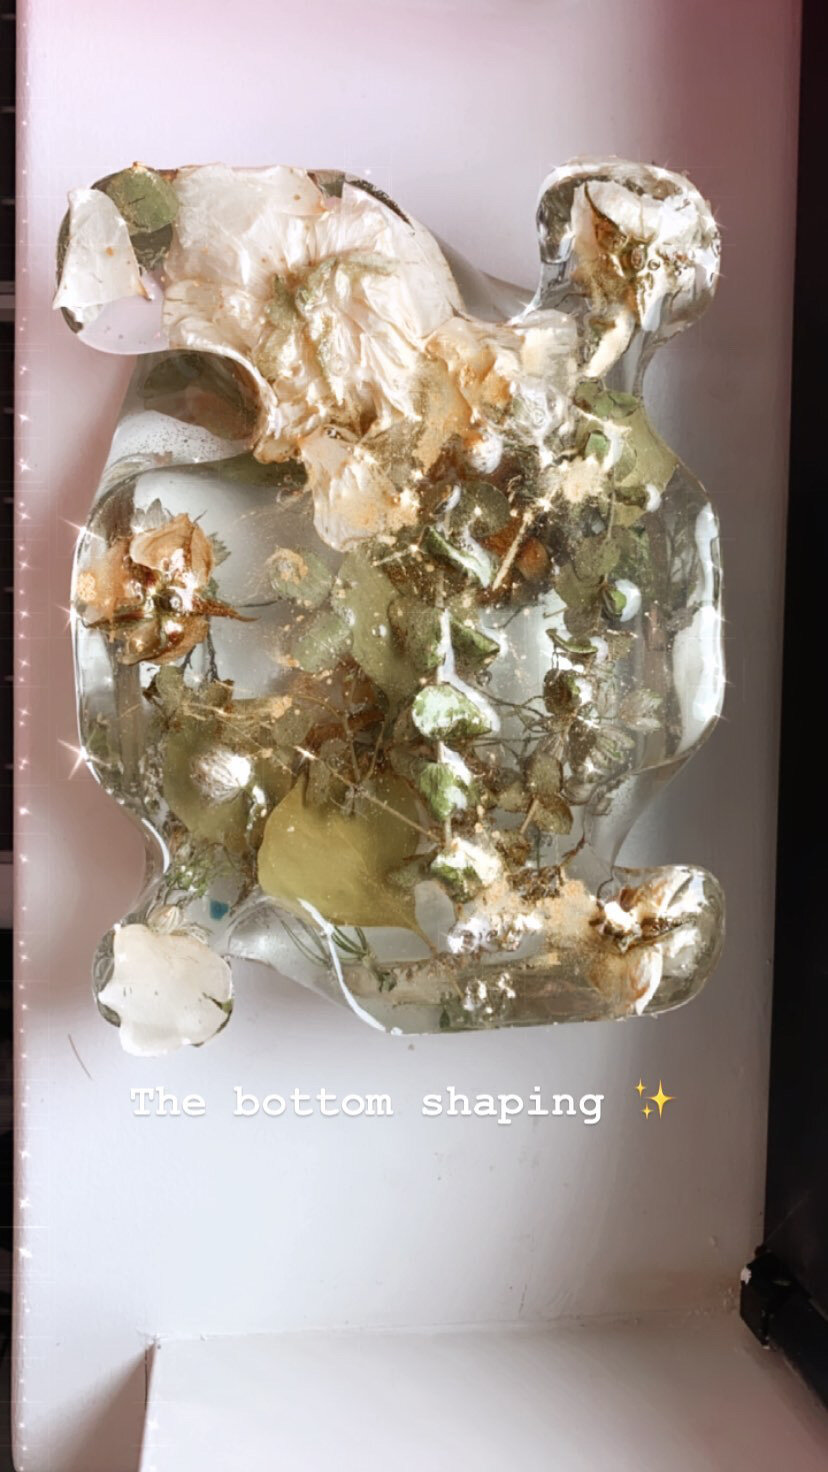
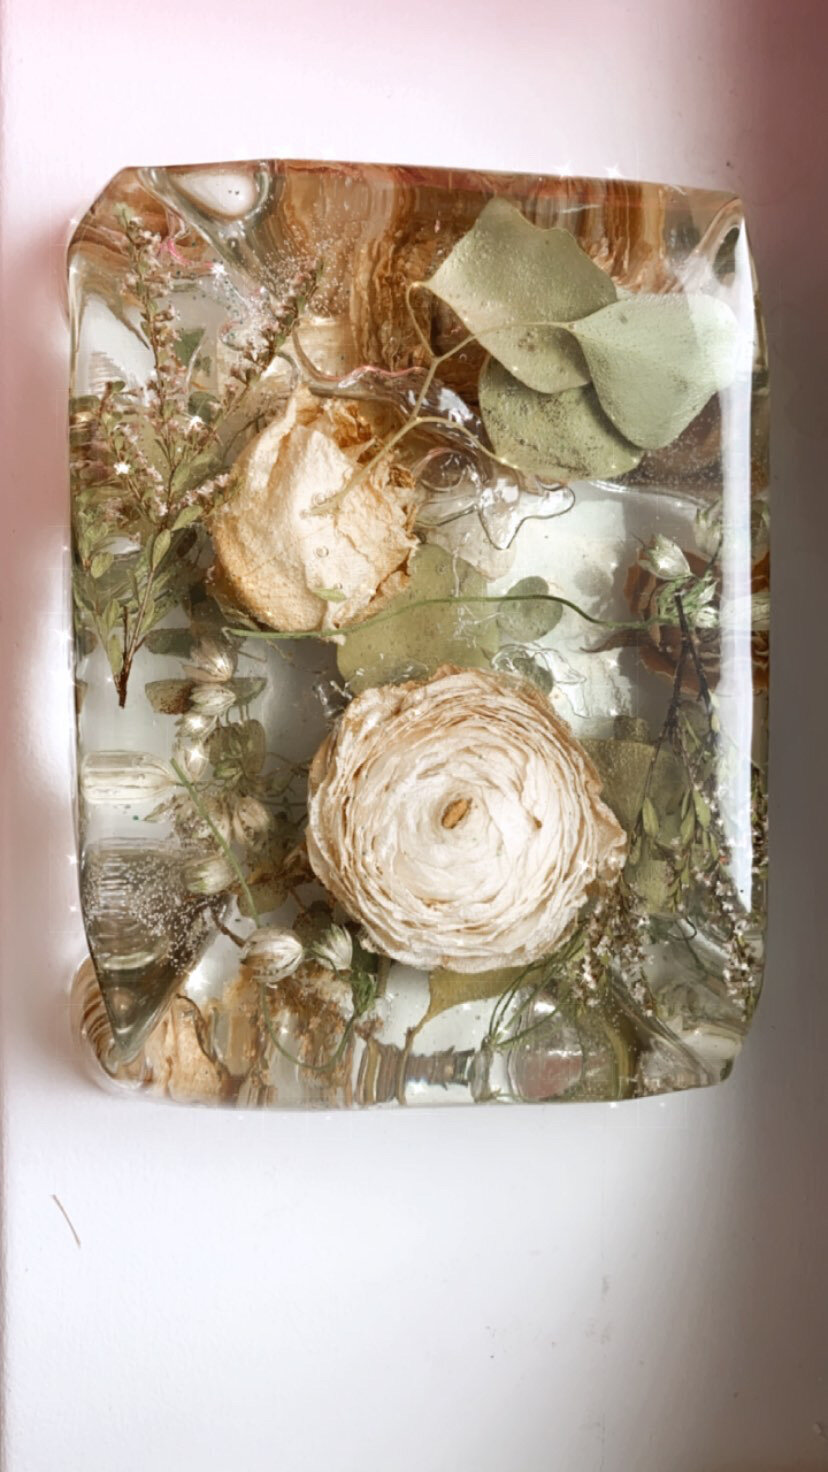
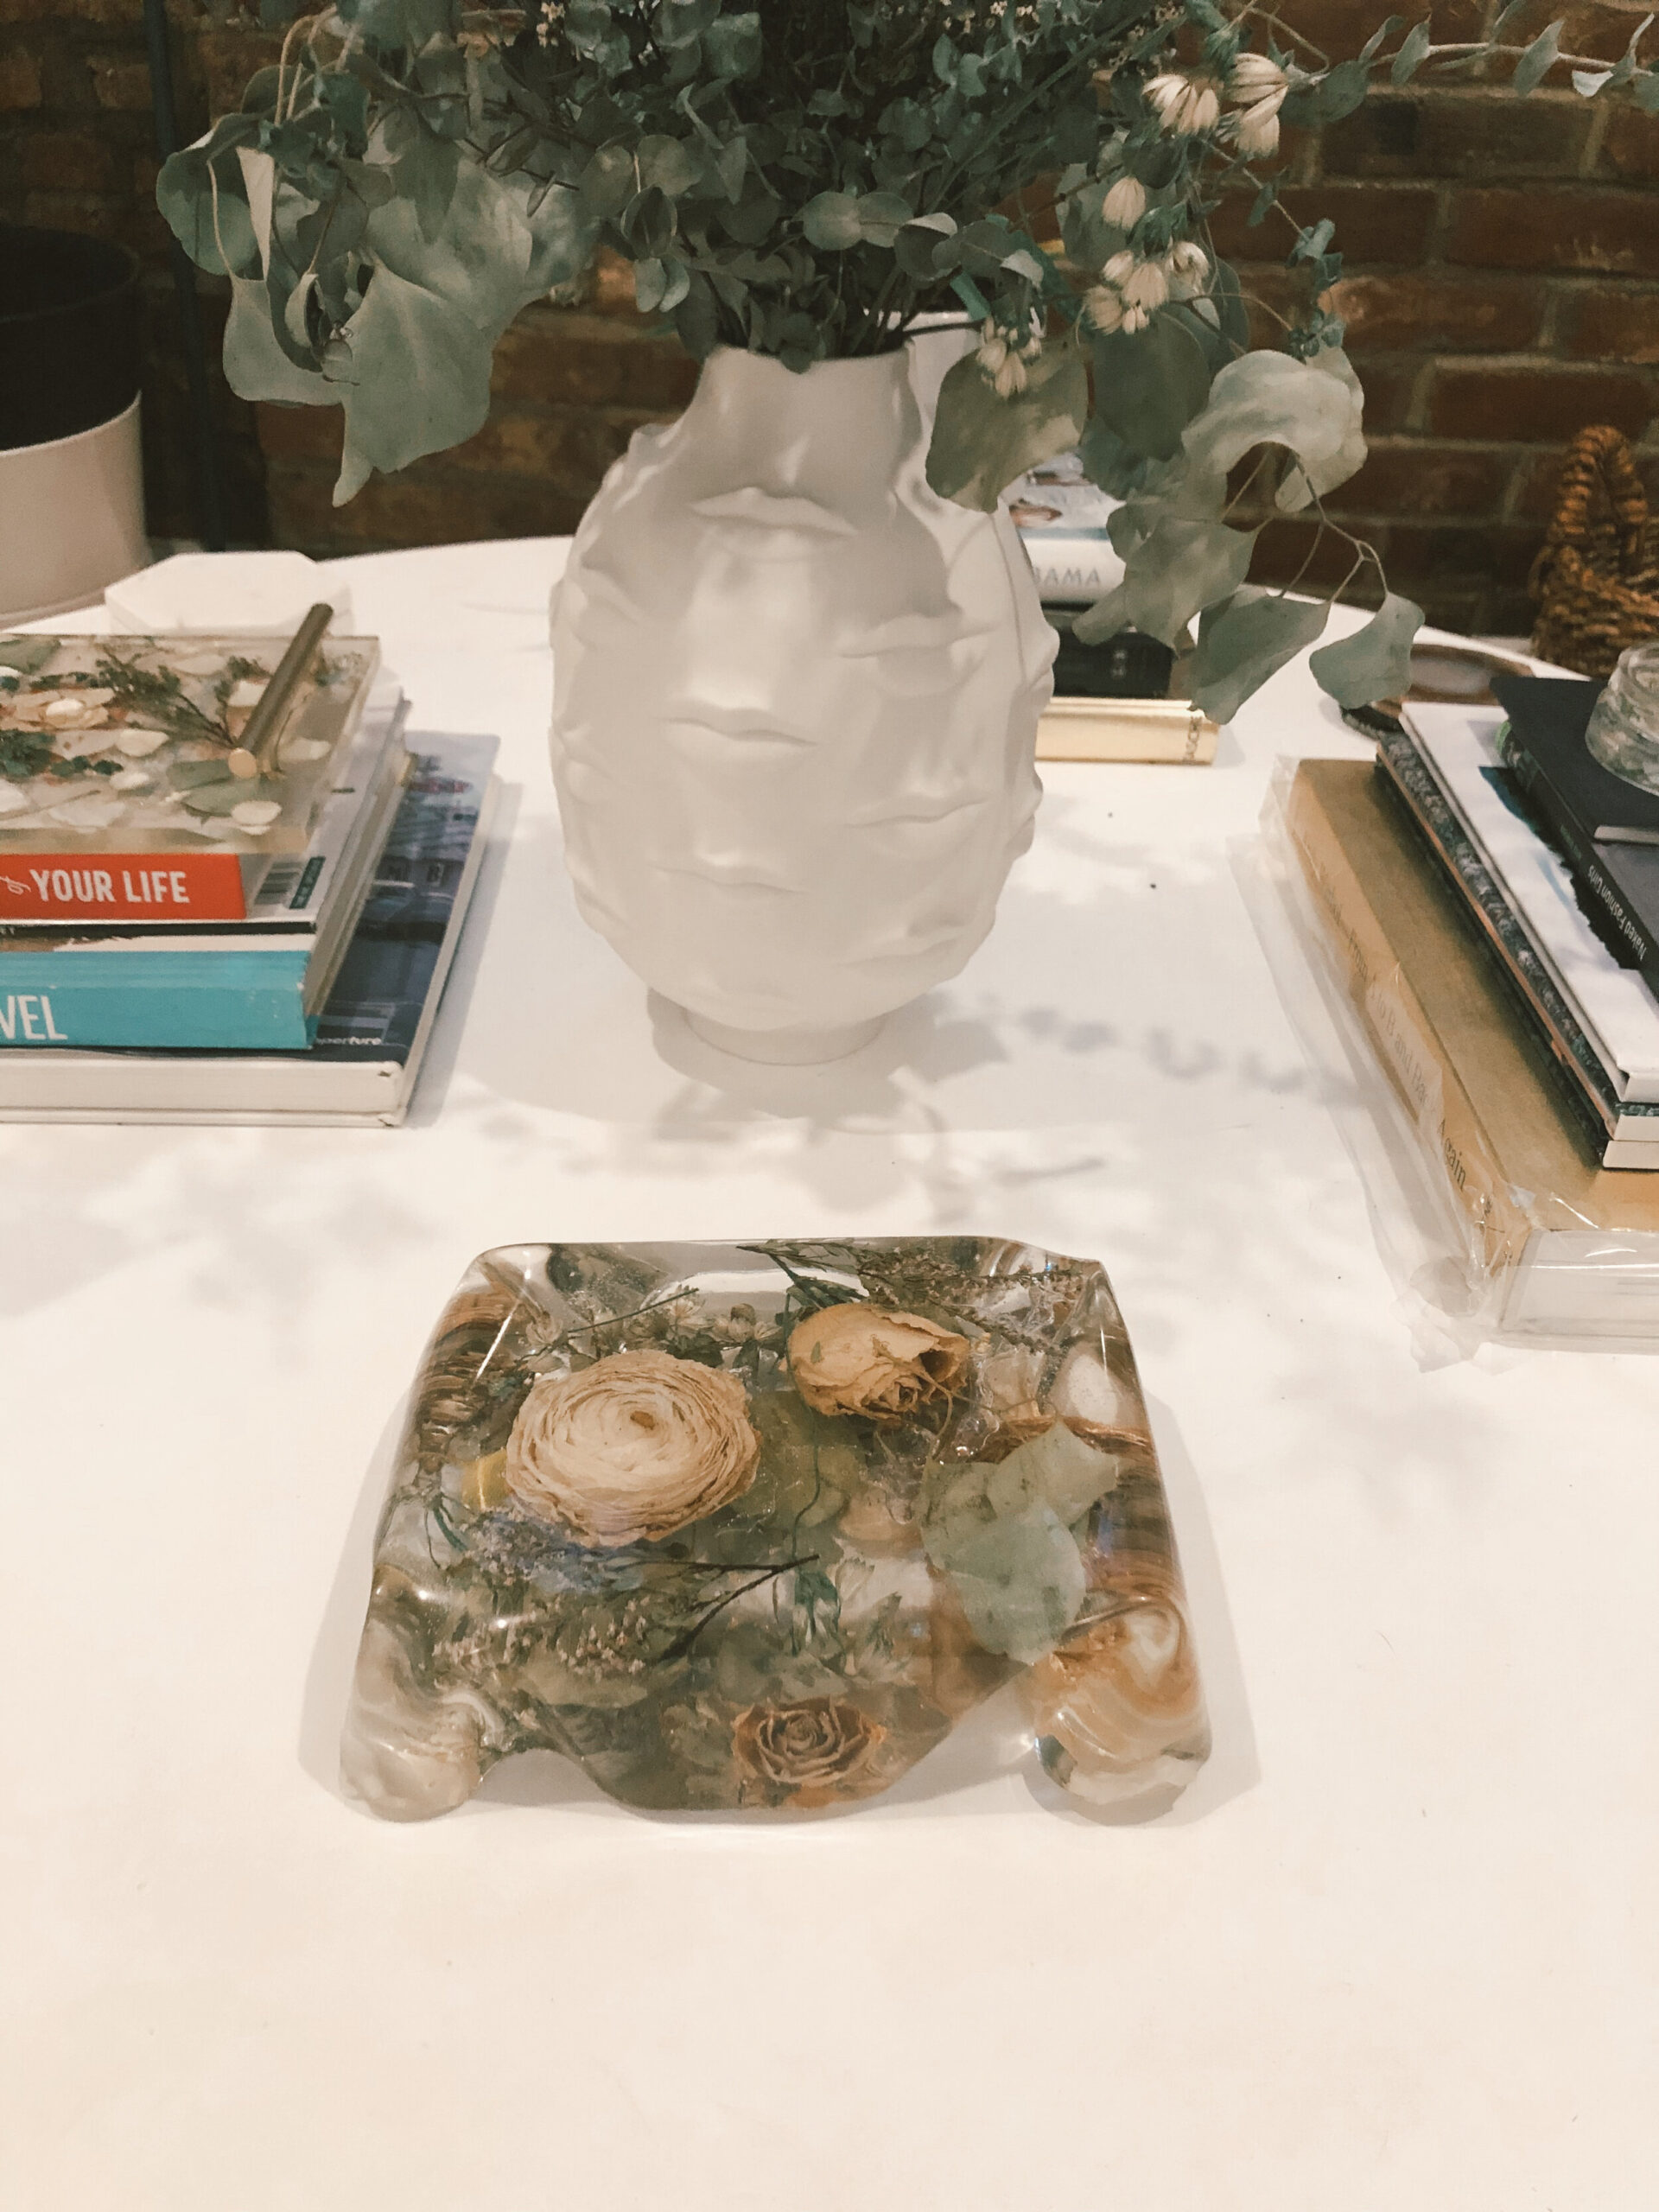
To create this abstract resin piece we formed a silicon mat into the bottom of a pyrex tray, it created a wavy effect and we filled it with flowers and formed in an upside down design. It is meant to shine on its own as a table piece. This resin piece was important to create in a free form so we could make the tray as deep as needed to ensure the larger roses were covered.
@storiacollective
Follow Along
Explore
Learn
Connect
about
occasions
brands
EDUCATION
JOURNAL
NEWSLETTER
CONTACT
Copyright @storiacollective 2023 | Site Credit
