How to: Reverse Tie Dye
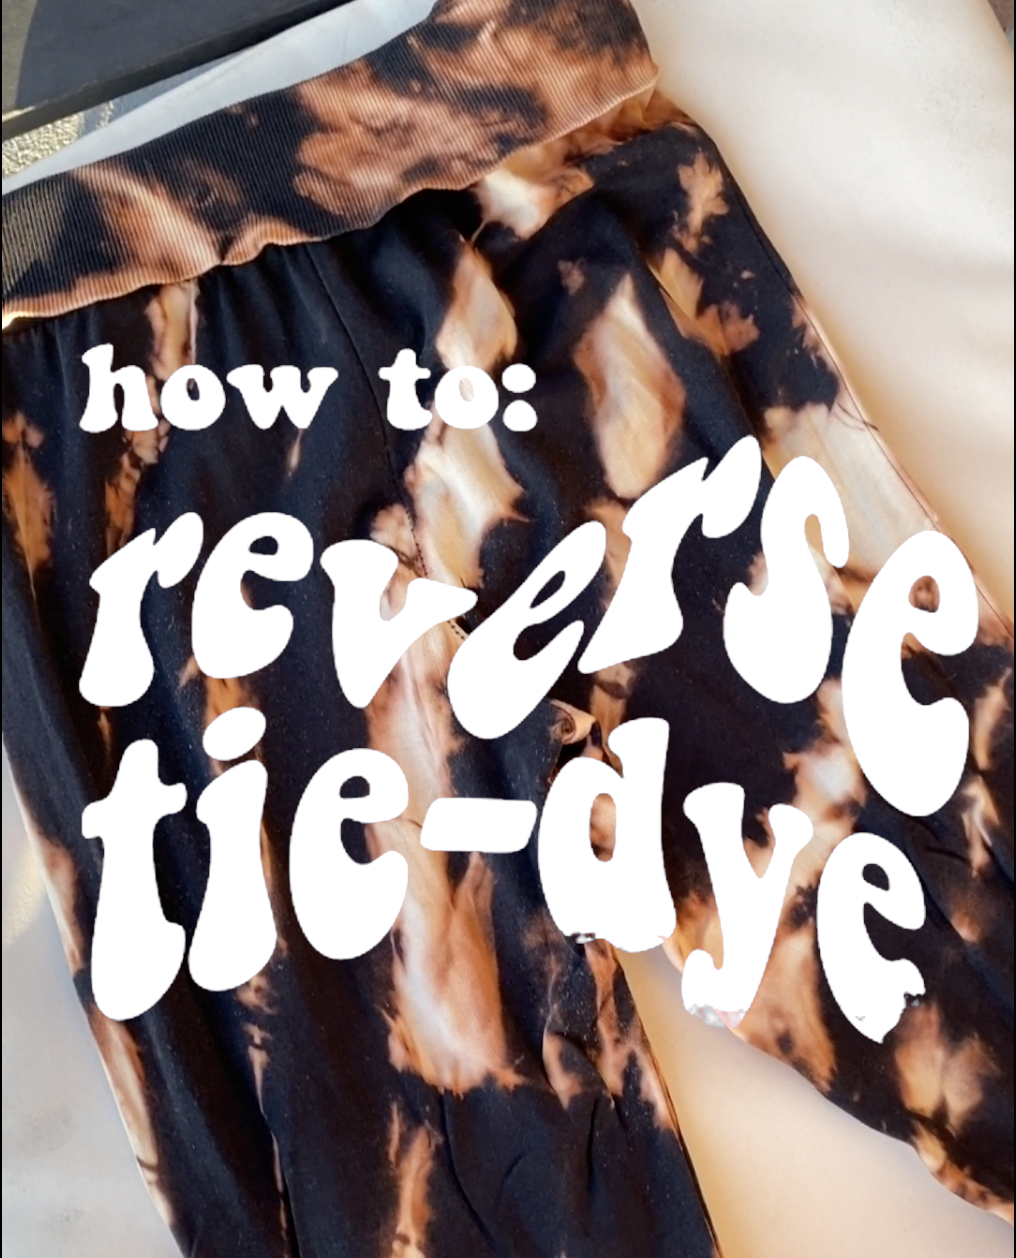
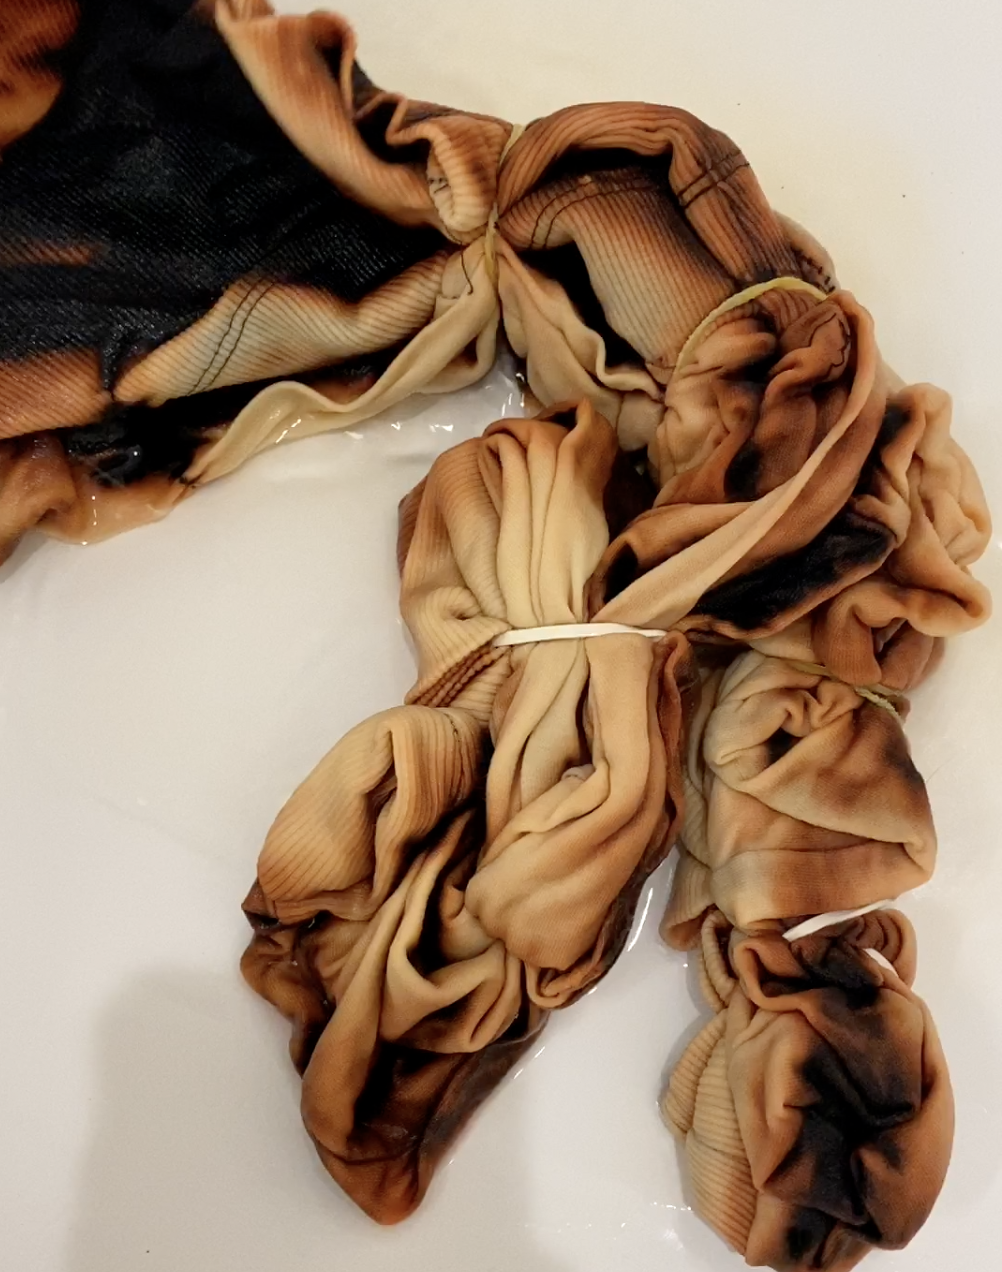

DIY: Reverse Tie- Dye
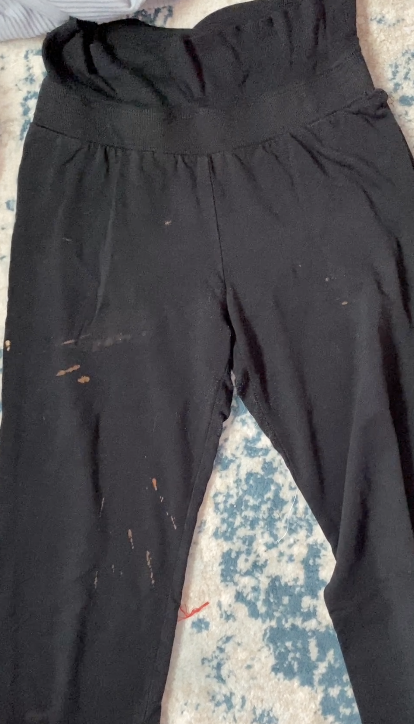
Quarantine summer was definitely dominated with traditional tie dye, but let me introduce you to REVERSE TIE DYE. It is the trendy, dangerous and bold cousin of the traditional tie dye. Bonus, it uses materials you already have in your home, bleach & laundry detergent.. thats it! Whether you were doing laundry or cleaning your apartment, the odds are you have had a piece of clothing ‘ruined’ by bleach. Don’t worry, it could actually be a blessing in disguise, bringing you to create your new favorite item in your closet. That’s why I created a fun, quick tutorial to help you turn your accidental bleached items into something bold this fall! I was inspired to create this project when a client reached out to me to transform a pair of black joggers that she got bleach on, she decided to fully lean into the bleach moment to make a cute pant to wear for fall.
Got a bleach stain? Make it your favorite, it is not a one of a kind item! In this blog post, I will outline the process of reverse tie-dying, share my personal experiences, tips and tricks and ideas for you to create! This reverse tie-dye method can be used for any fabric, hats, bags, blankets, shoes, shirts etc. I can’t wait to see you transform your wardrobes, whether it is bringing new life into tired clothing or elevating a brand new basic you purchased! P.s. If you have questions or would like to book a virtual art lesson with me to create a project together in real time, email meraki.bk@gmail.com or DM @merakibybk
Watch the IGTV and read below for a step-by-step how to & scroll for the reverse tie dye method!
Reverse Tie Dye Shopping List:
Although you can most likely create this project without making a single purchase, I have included a go-to shopping list to make sure you have everything you need!
-
Liquid Bleach – Purchase on Amazon
-
My advise here is to purchase whatever liquid bleach is on sale where you grocery shop, some stores have more natural alternatives, such as here. You don’t need a large size, a half gallon or less will do but if you use bleach often then you can save by purchases a gallon or more. Avoid the scented bleaches if possible (personal preference)
-
-
Dark Clothing – black, navy, dark green any color will do actually! Obviously the darker the color the larger the contrast you will create! If you are truly a beginner, I recommend practicing on a small portion of the fabric. However, like others I am extremely inpatient and prefer to dive right in, it is what it is, right?
-
Spray Bottle- Purchase on Amazon
-
This is something that can 100% be sourced in your home, whether it is an old setting spray bottle, an old cleaning spray bottle, you can likely find a spray bottle in your home!
-
-
Plastic Bag – use one from the grocery store or a ziplock or garbage bag!
-
Tub or Bin – Purchase on Amazon
-
Avoid bleaching right in your tub, it will dissolve the enamel of your tub and will be an expensive mistake to fix!
-
-
Rubber Bands – Purchase on Amazon
-
Laundry Detergent
Create with Bleach: Reverse Tie-Dye Method/Tutorial
Reverse Tie Dye Method
Reverse Tie Dye Step 1: Set up & Gather your materials
Gather your bleach, rubber bands, plastic bag, spray bottle etc and decide what you want to reverse tie dye! In this case I am dying a pair of black joggers on behalf of a client who accidentally stained her pants. I love that she was creative and decided to turn a pair of pants that could have been used solely as ‘cleaning pants’ and wanted to transform them into a one of a kind item she can rock all year long!
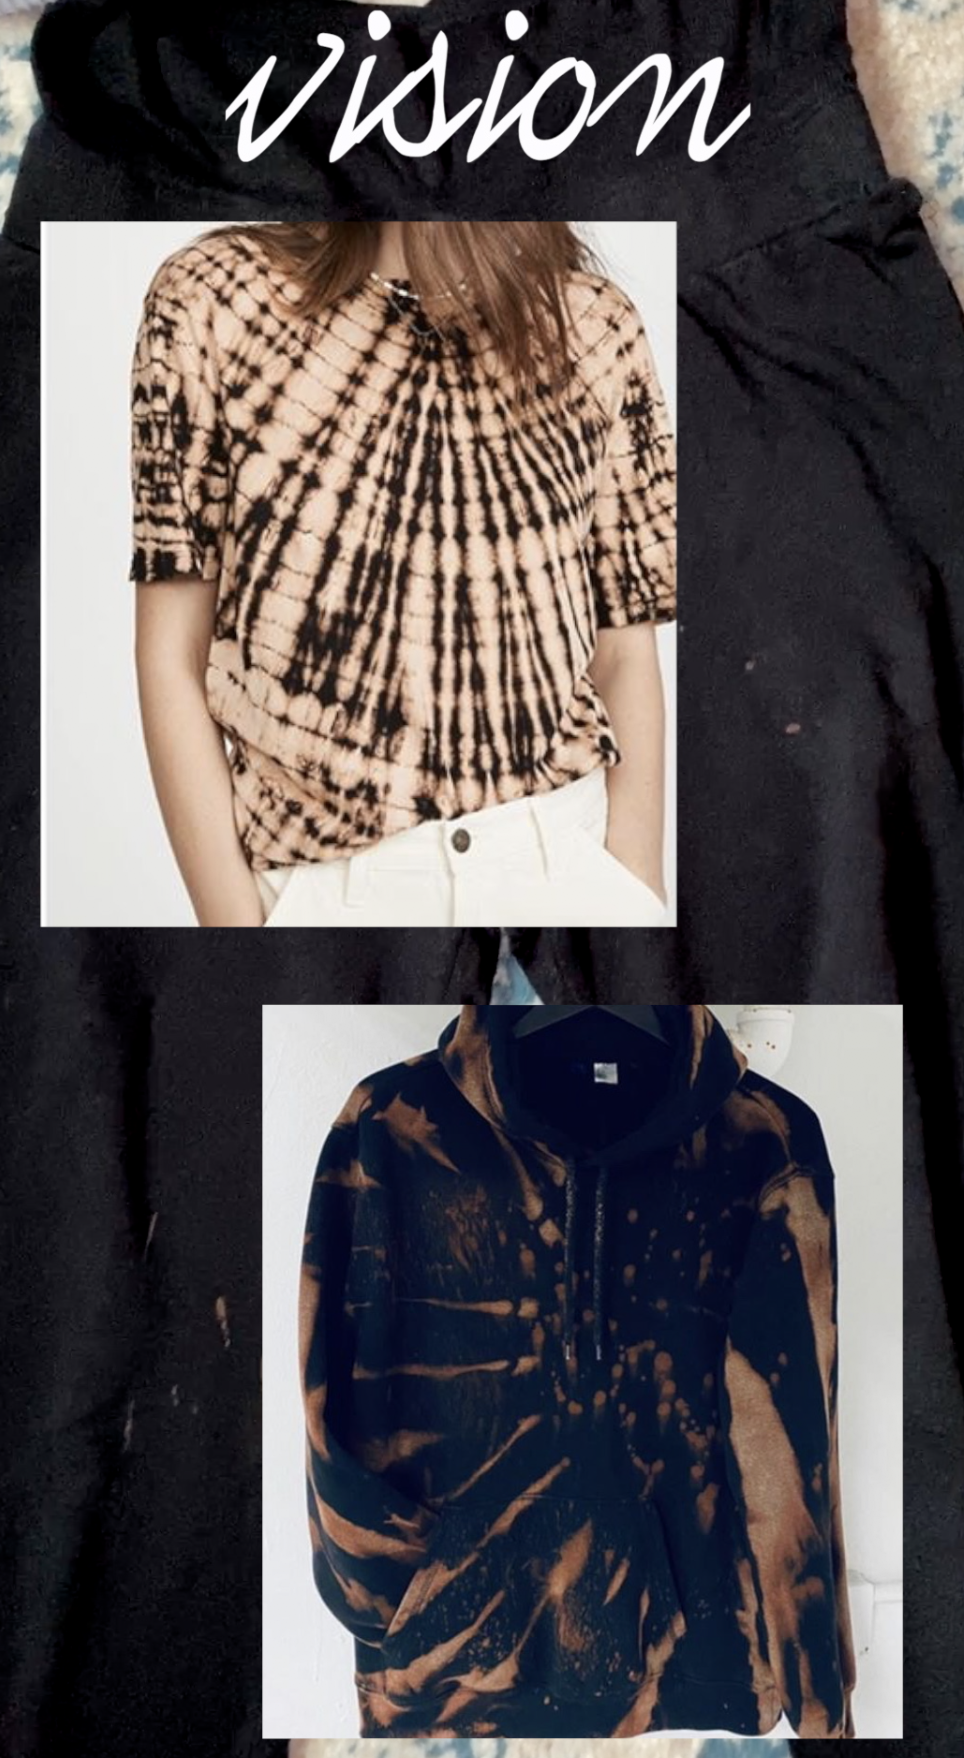
Reverse Tie Dye Step 2: Pick your patterns!
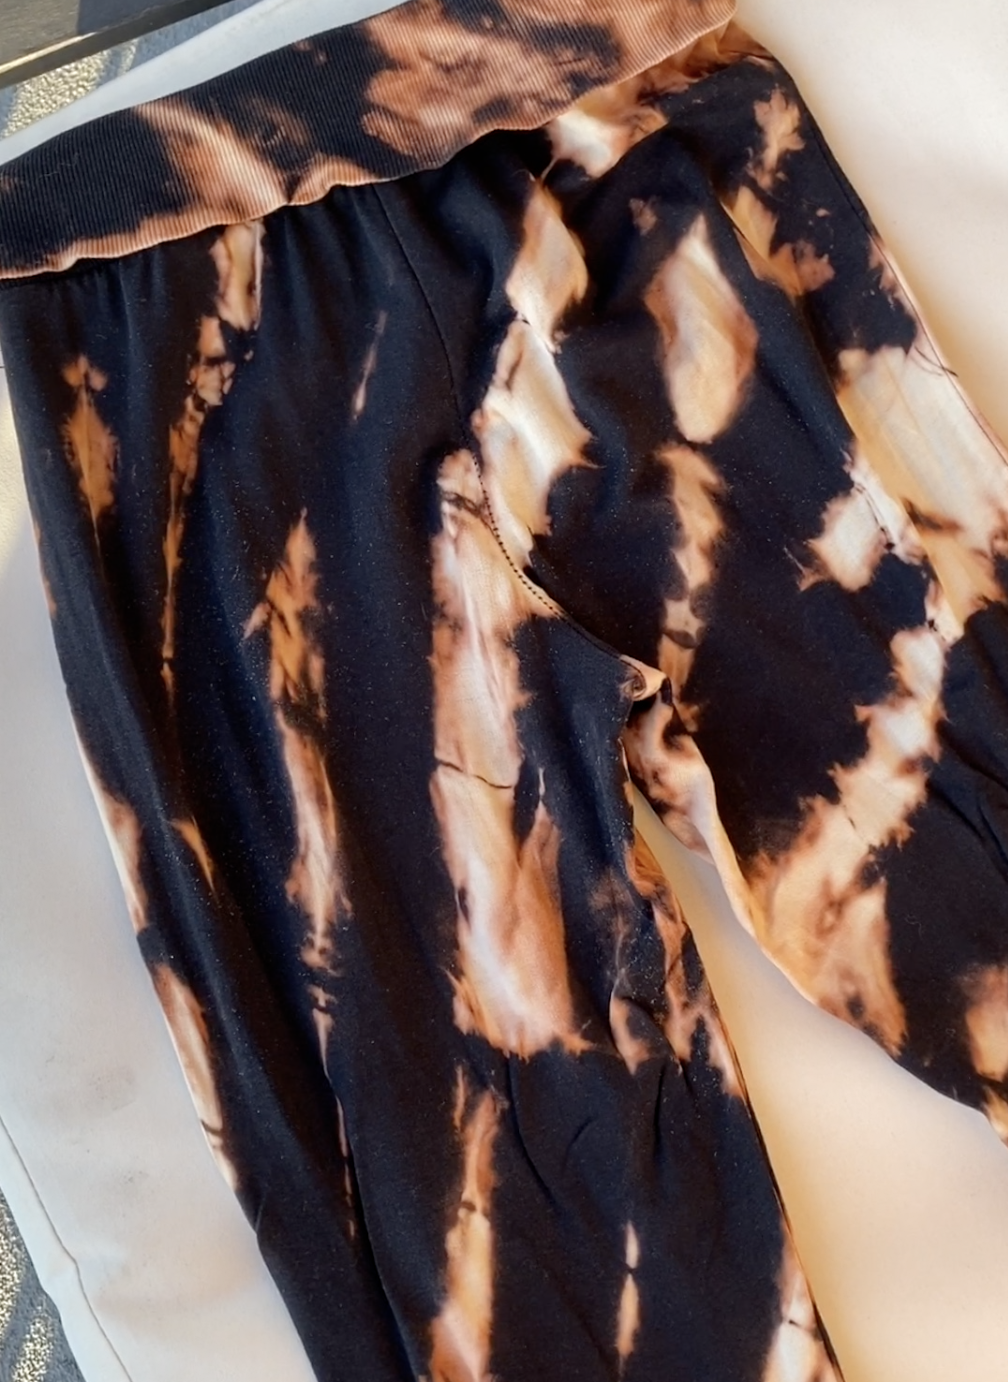
As a vision for how she wanted to transform the joggers, my client sent me the photo on the top for a reference to the pattern she wanted and the photo on the bottom as a reference for the amount of black and white/orange she wanted.
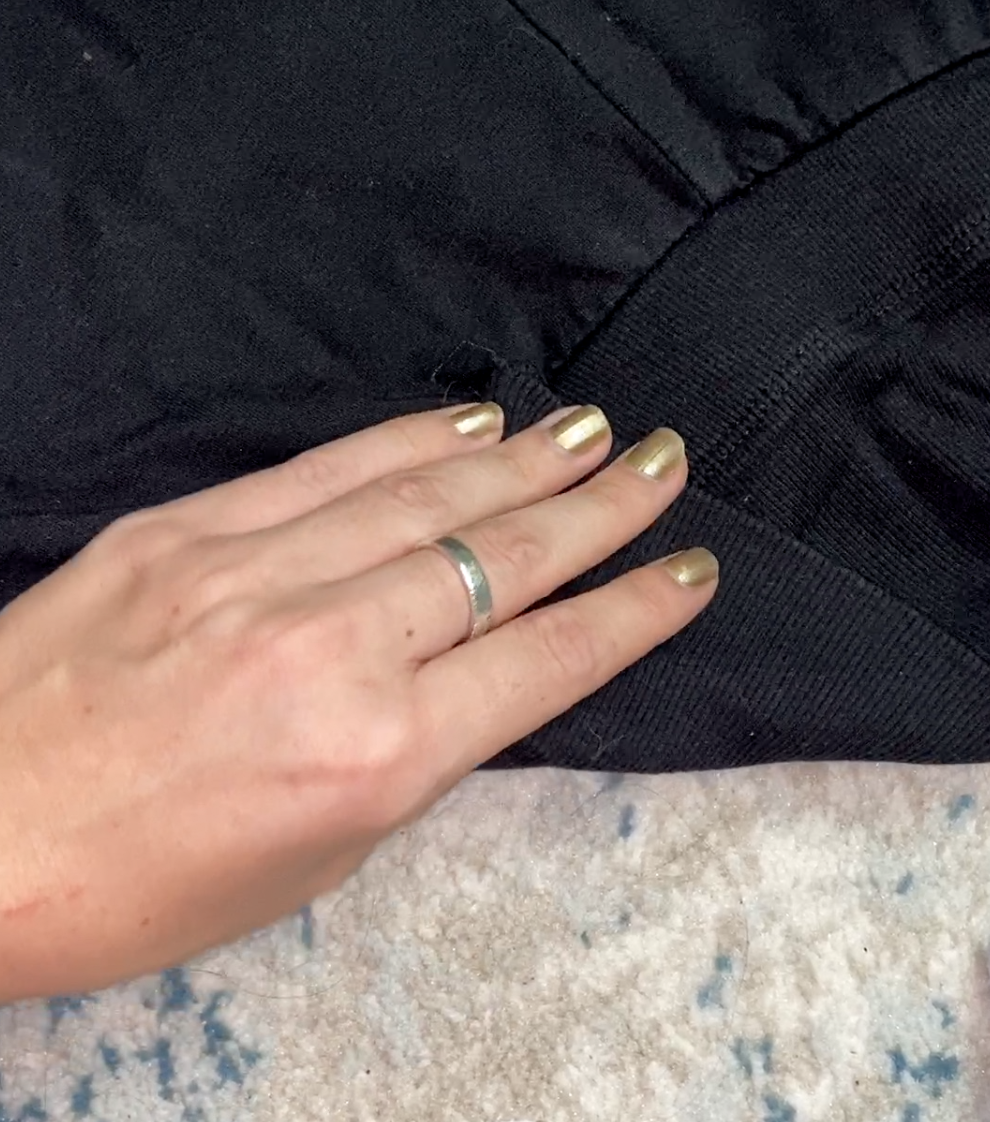
Reverse Tie Dye Step 3: Fold Your Clothing
To create the starburst pattern my client desired, I folded the pants on a diagonal starting at the corner, making sure to the opposite corner of the pants as the reference point. To create the desired amount of contrast of bleach vs non bleach, I made sure to make the folds larger to create a larger portion of black. If I wanted the pants to have a stronger amount of bleached material, I would have folded the fabric in more folds and smaller amount of fabric per fold.
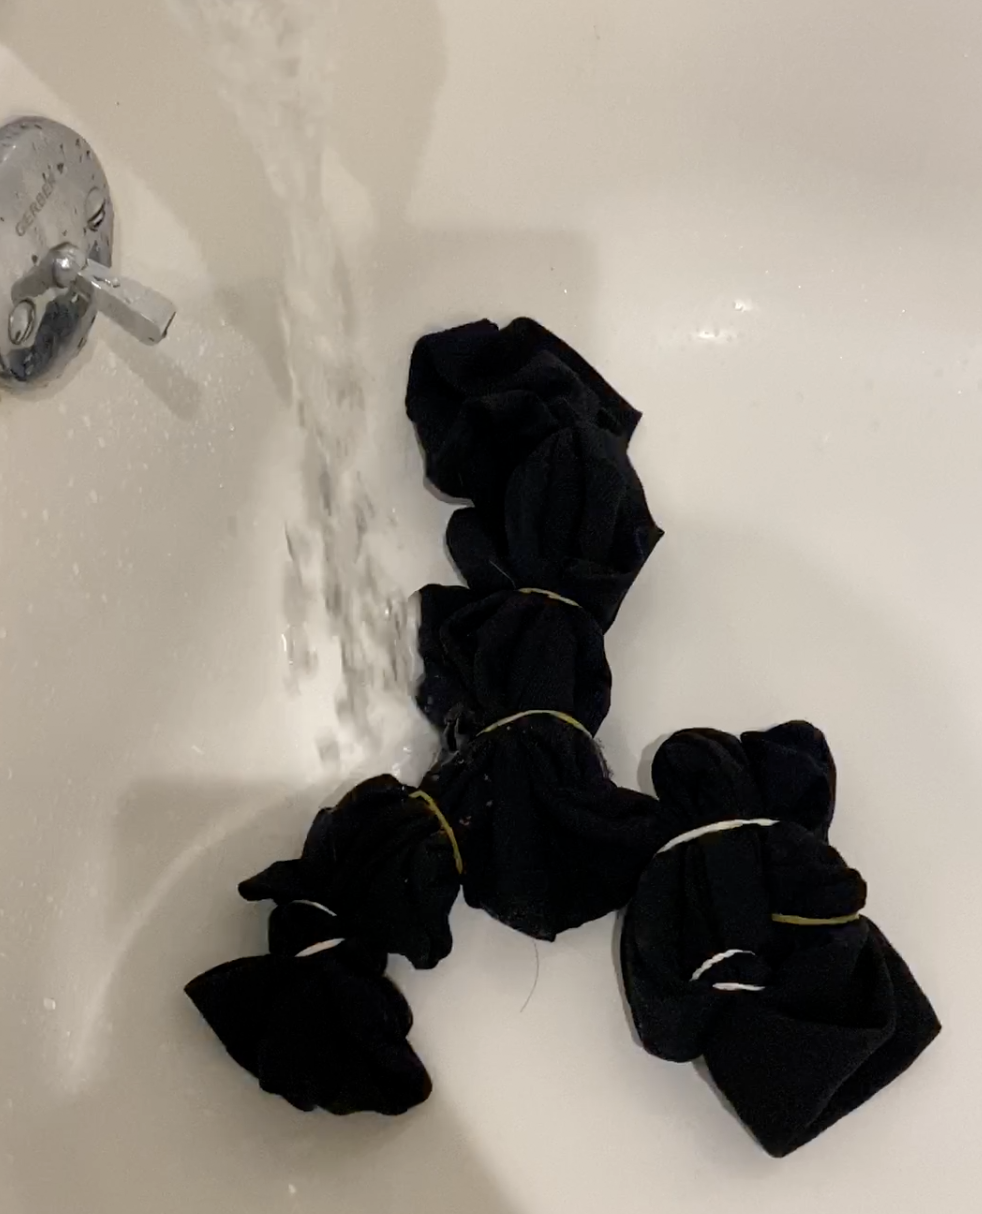
Reverse Tie Dye Step 4: Add Rubber Bands
After folding your project in the desired pattern, add rubber bands to hold the garment in the desired pattern. For the pattern I created, there is not a specific way you need to rubber band, just make sure you can clearly distinguish the front of the garment from the back after it is folded, i.e. do not rubber band the garment into a ball.
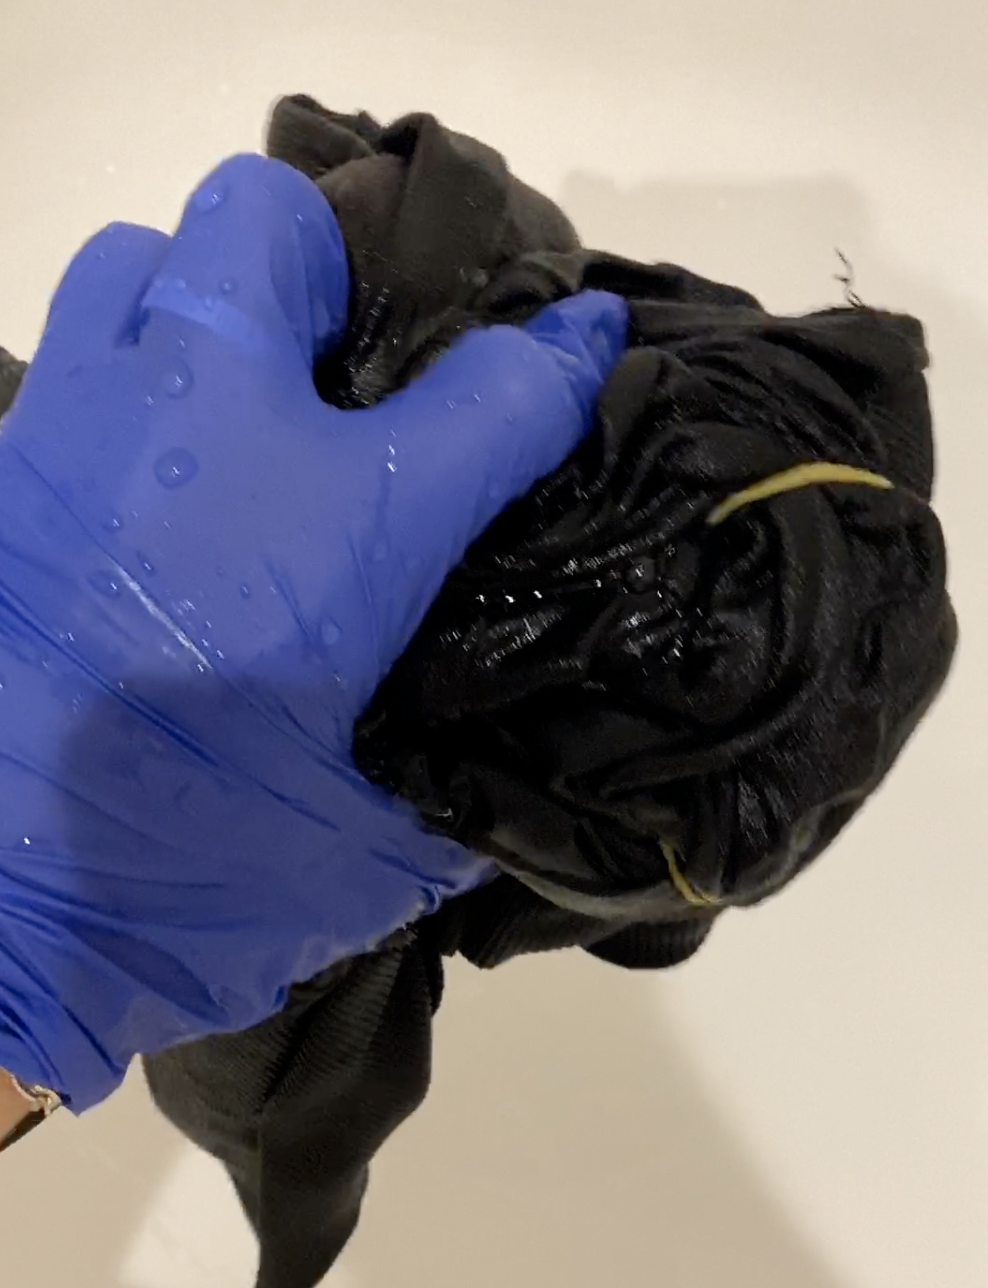
After adding the rubber bands, throw your garment into the tub and saturate it completely with water. After it is completely soaked, ring out the excess water so that the garment is not dripping. By making sure the garment is wet, it will allow the bleach to natural blend throughout the fabric, by making sure it is not soaked you assure the bleach will not blend more than desired.

Reverse Tie Dye Step 5: Mix bleach solution and apply to fabric
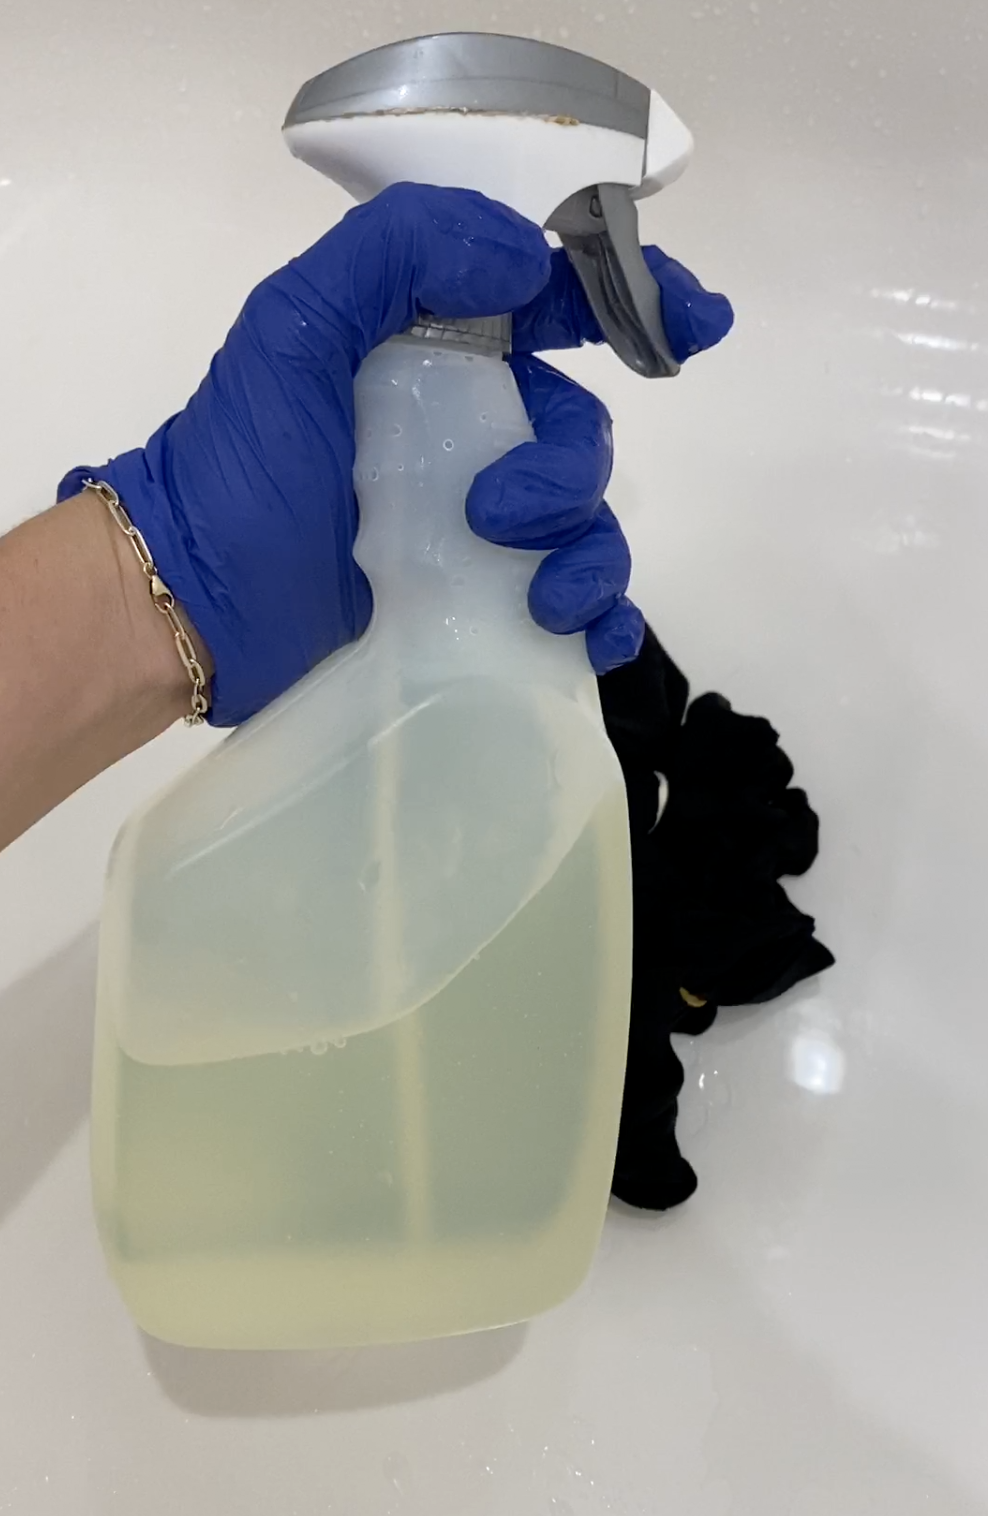
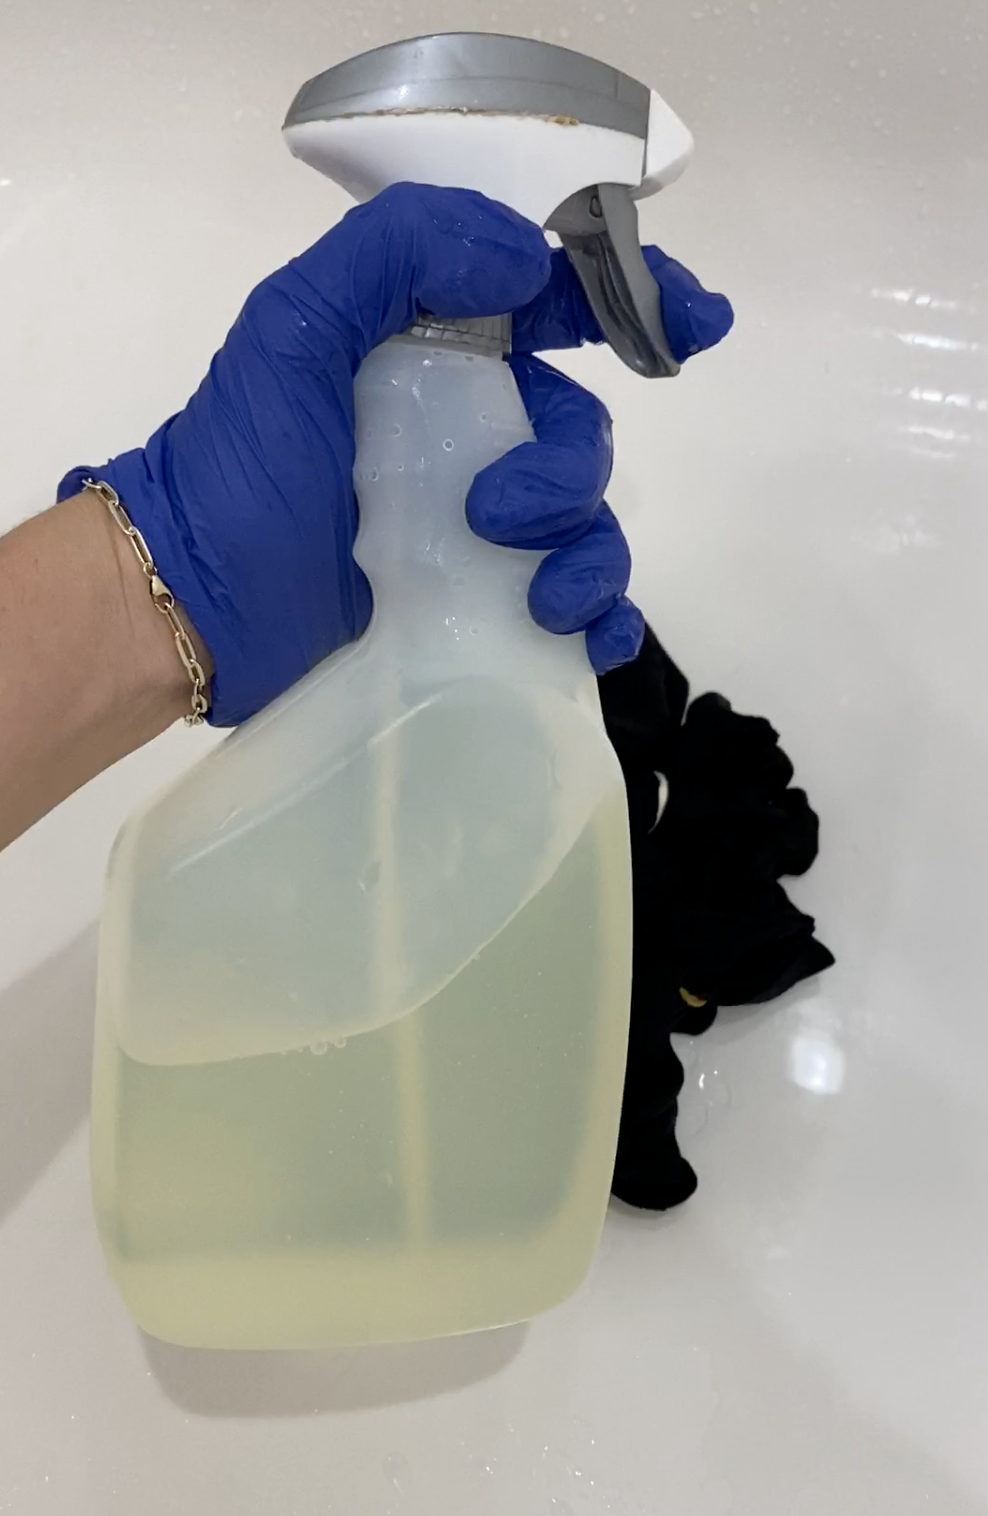
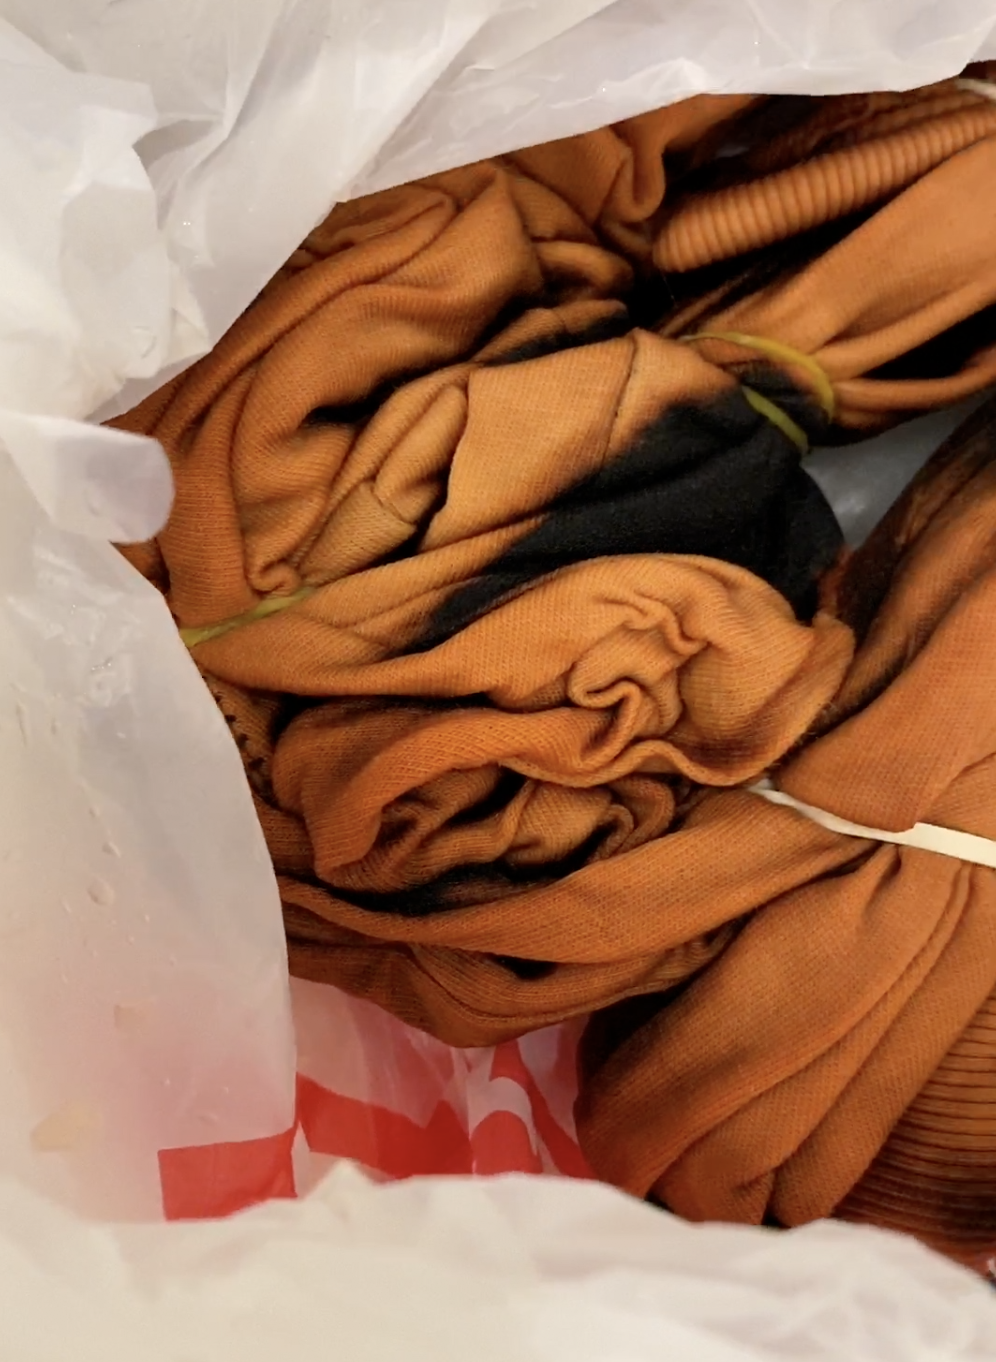
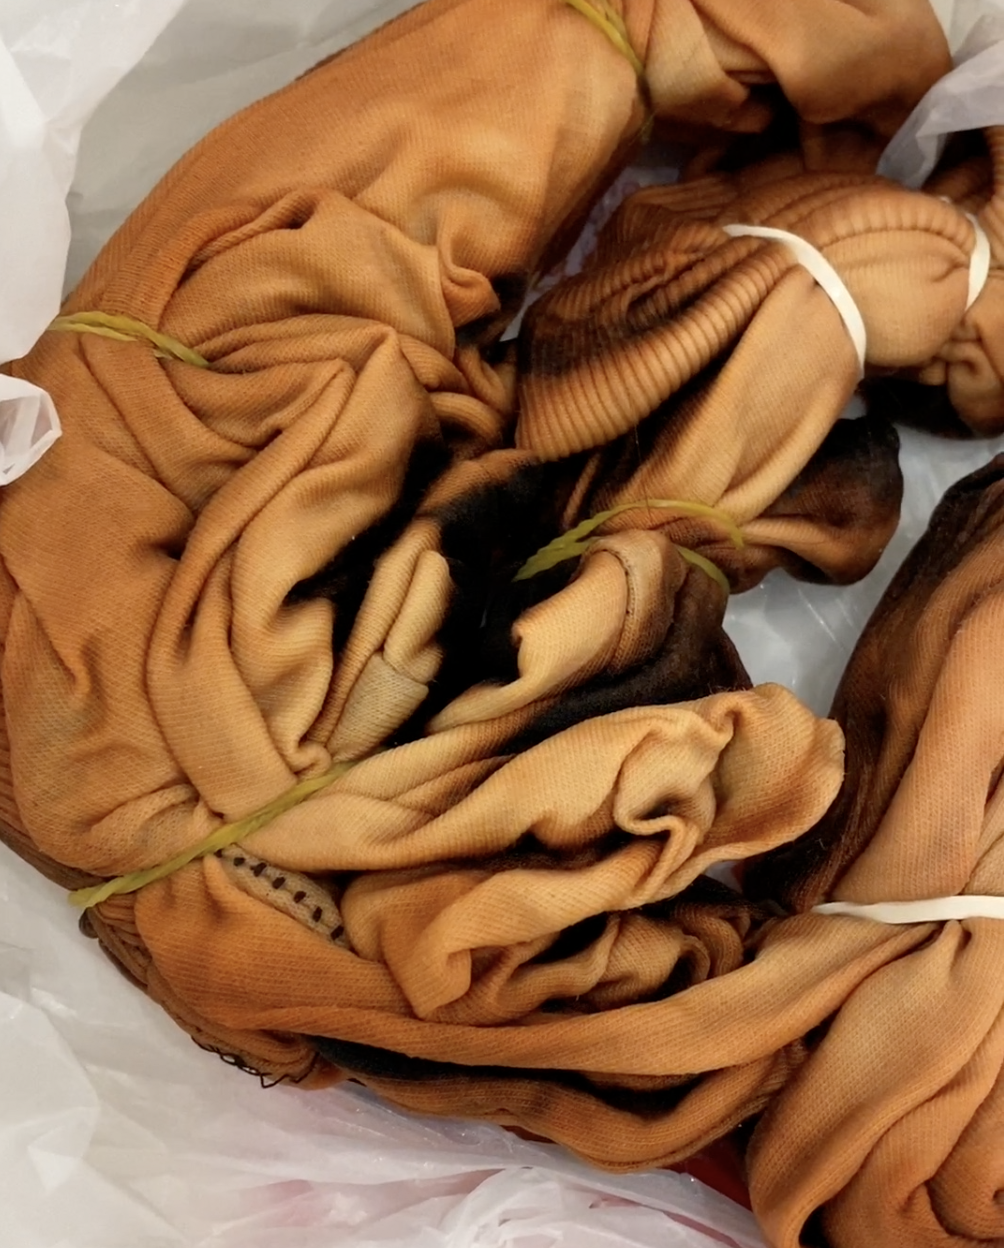
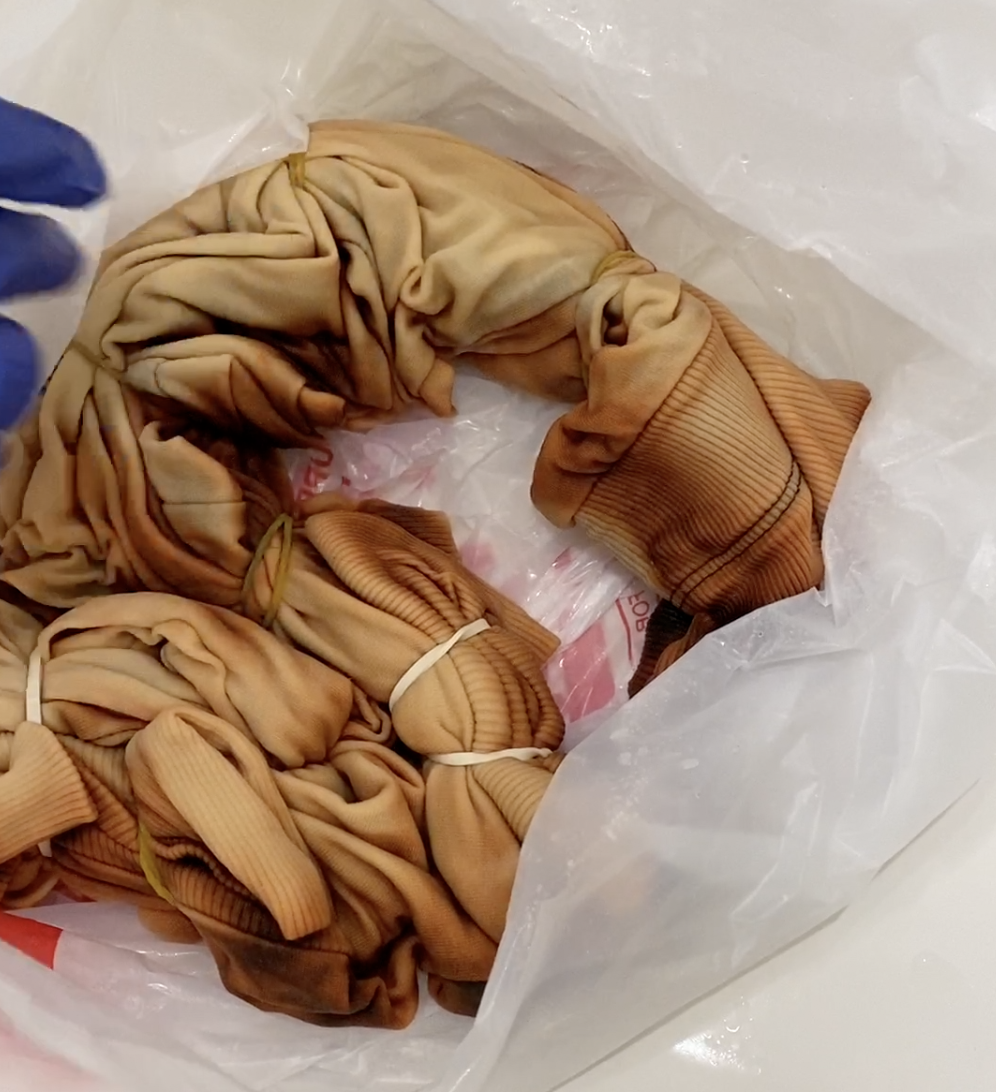
Mix a solution of bleach and water, the higher concentration of bleach you add to the solution the faster your garment will turn, creating more contrast. Now before you add a solution of 90% bleach, think of what your garment is going to be able to handle, you do not want it to fall apart. My advise is to start with a smaller contrast of bleach as a test you can always mix in more bleach later. For this project I created a solution of 60% bleach and 40% water.
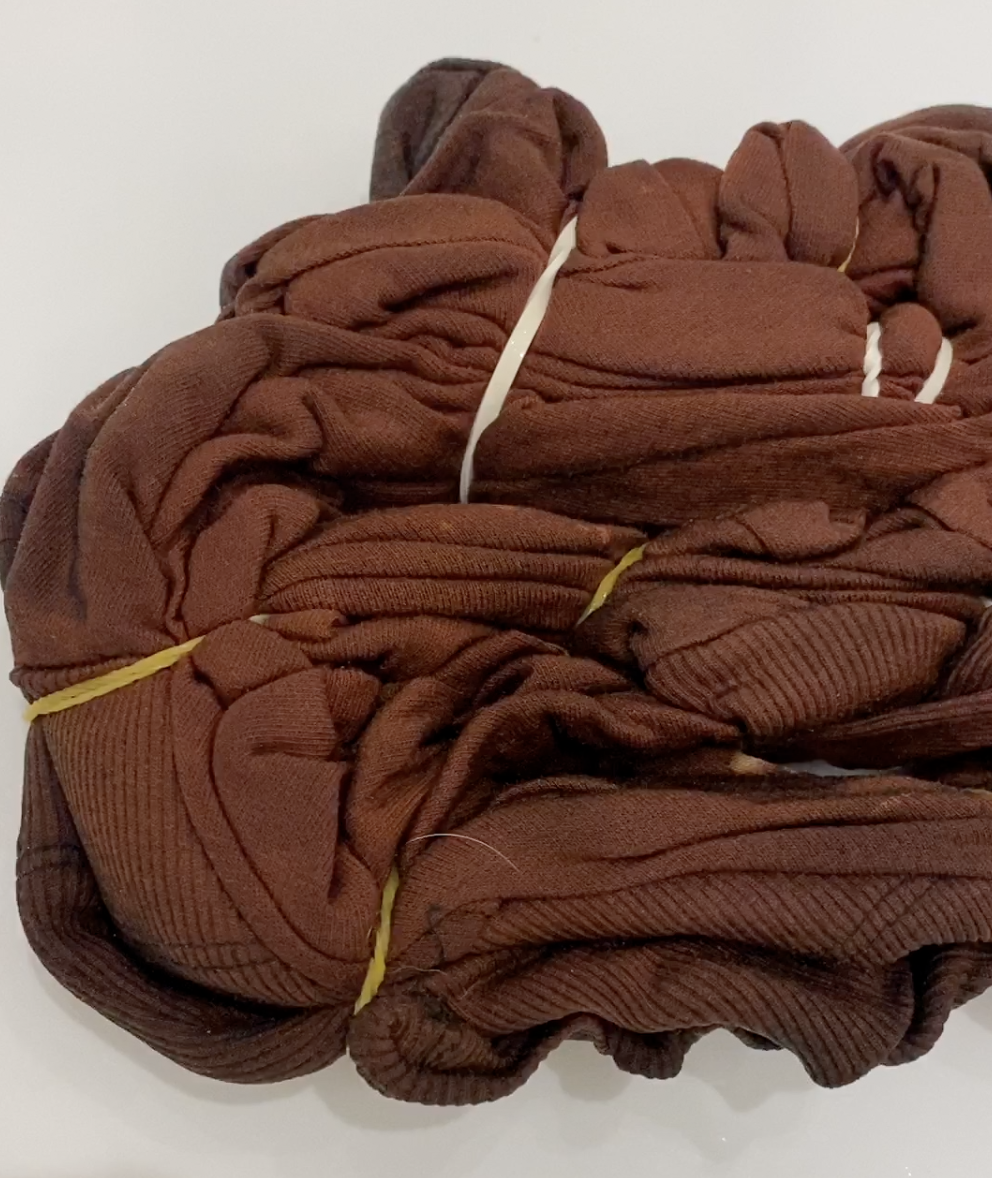
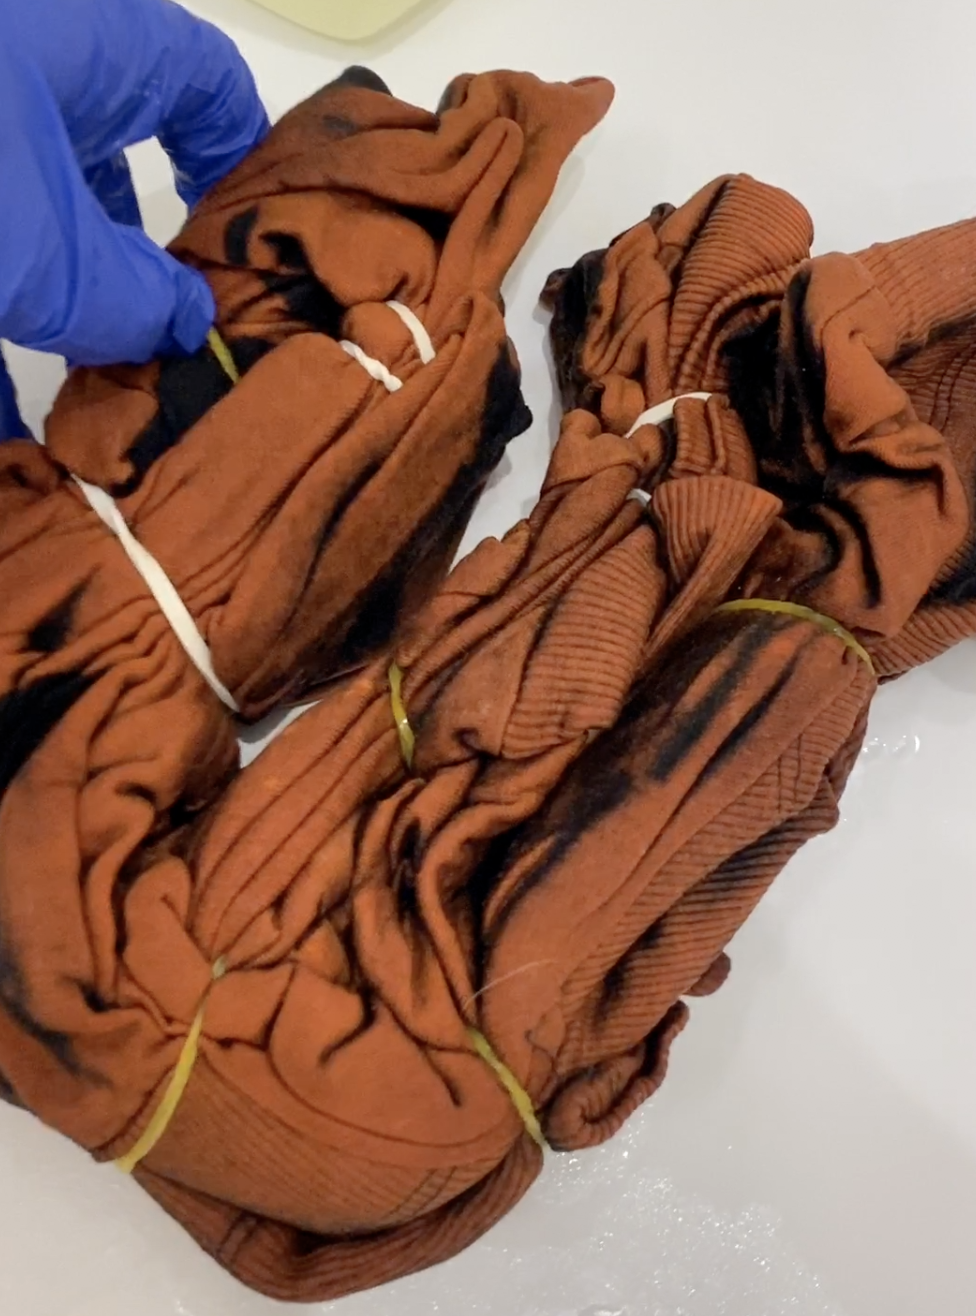
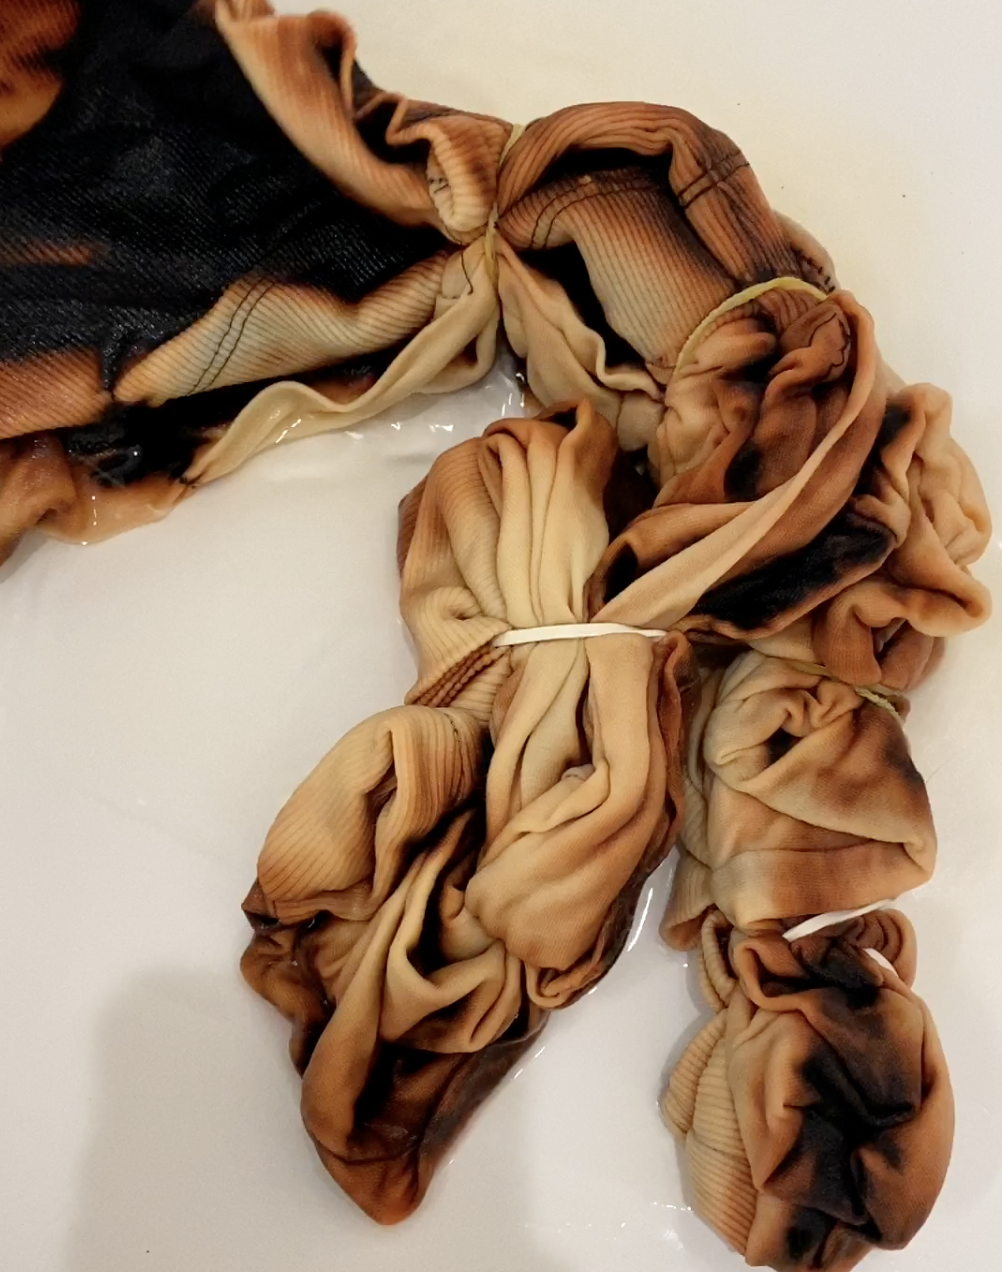
As soon as you add bleach to your project, it is going to start to turn. If you are dying black fabric, odds are the fabric will turn shades of orange before turning white. Check your garment every 3-5 minutes at first, the most dramatic changing will happen at first and then it will show down, once the dye starts to slow down you can check it every 5-10 minutes. Make sure to store your garment in a plastic bag while it is being bleached to avoid ruining surfaces in your home (trust me lol). If the garment is turning to slow, add more bleach to your solution and spray again. I sprayed the front and back of my garment and it took about 40 minutes for it to completely turn to the shade I wanted.
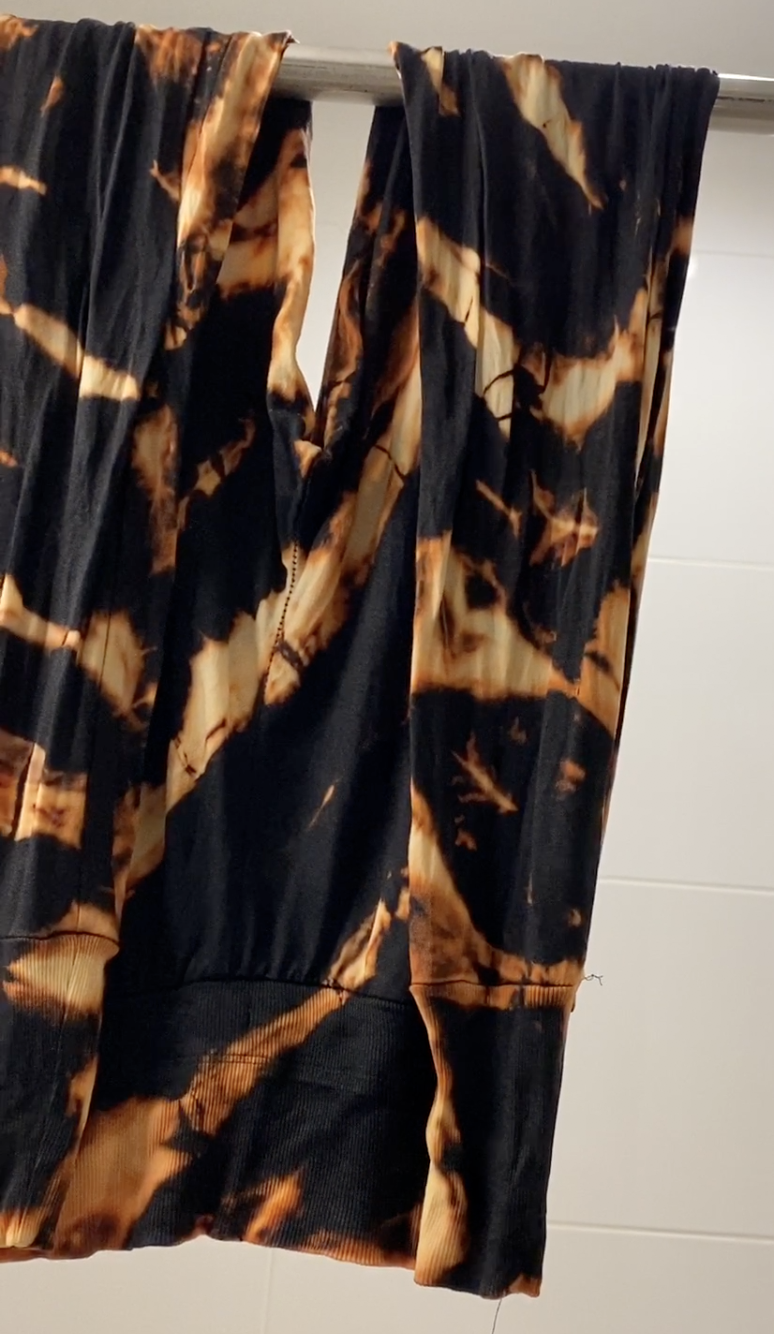
Reverse Tie Dye Step 6: Remove Rubber Bands and Wash
Once the garment is your desired shade, remove the rubber bands and rinse the garment with water until the water runs clear. Once the water runs clear pour a small amount of laundry detergent onto the garment, lather and rinse. You can then ring out the garment and let it hang dry and completely wash in your washing machine to remove any leftover bleach.
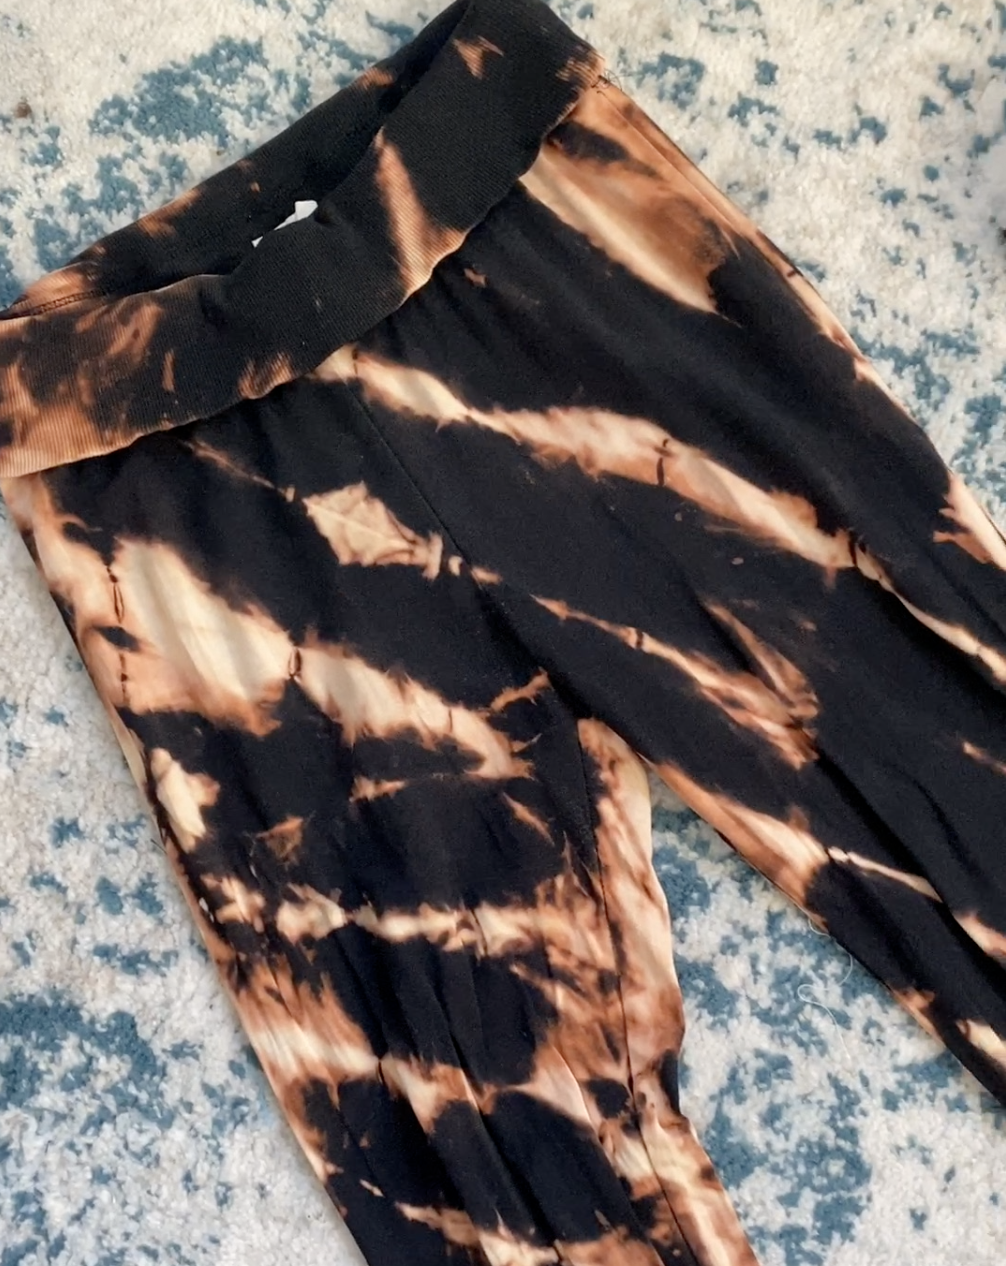
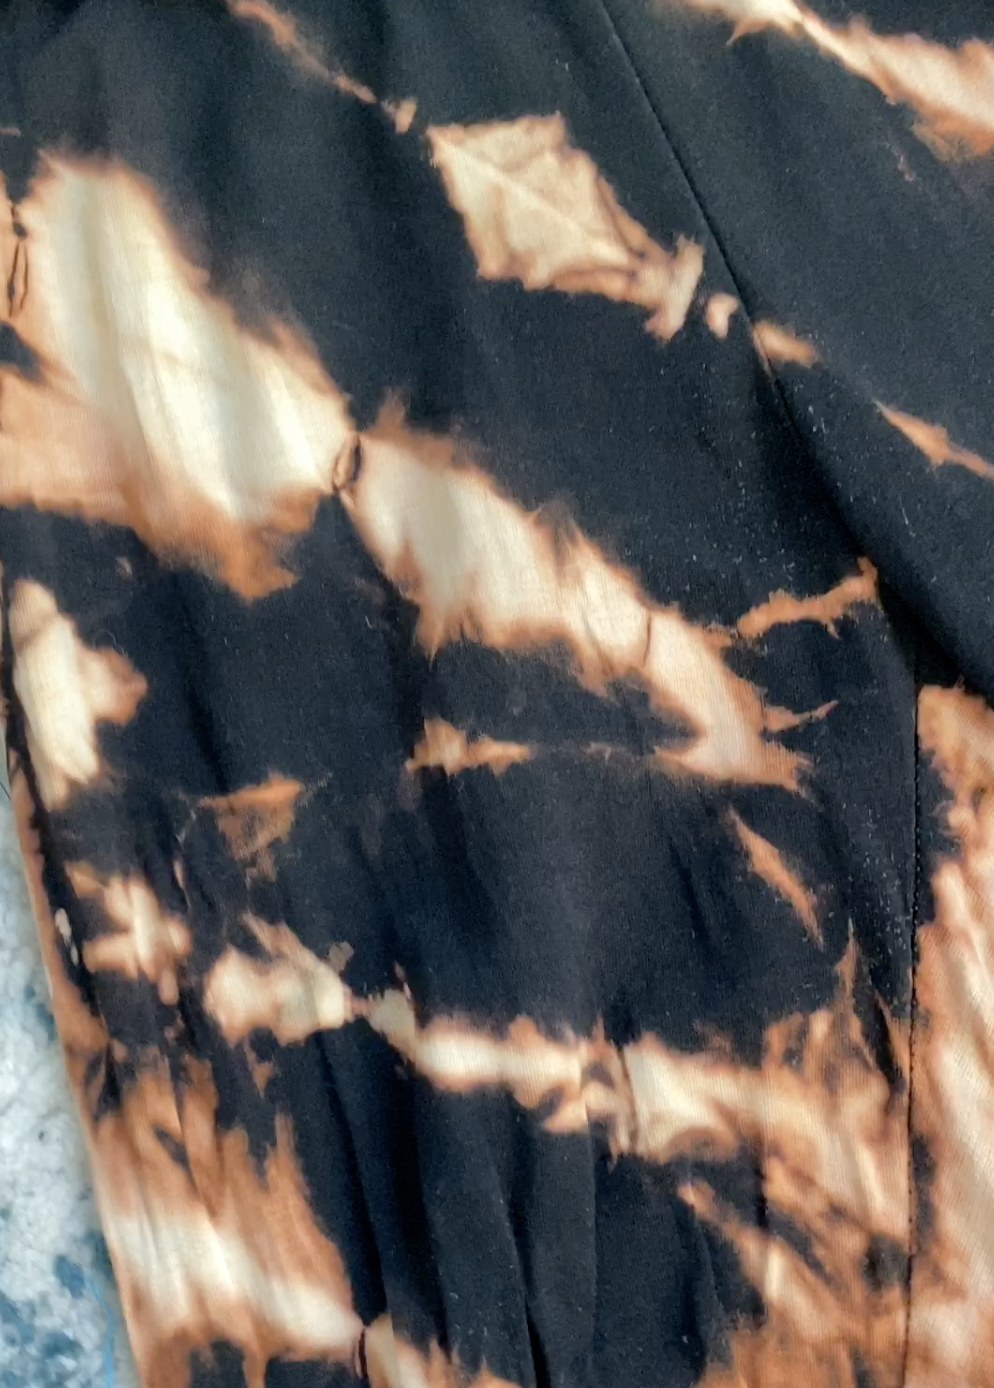
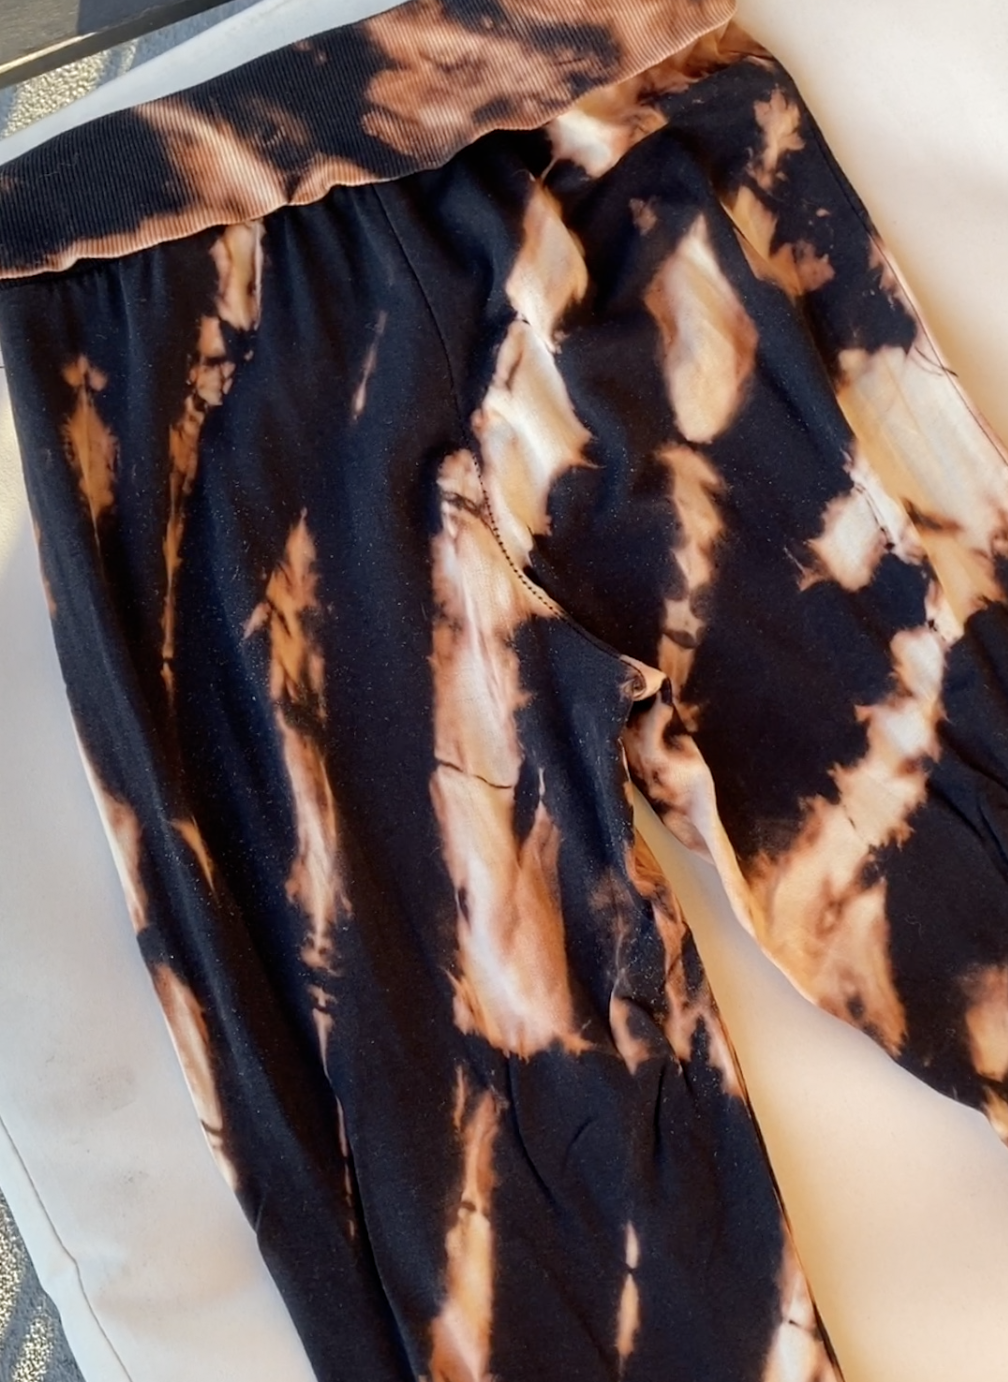
Thats it! Rock your new garment & tag @merakibybk in your creations! If you have questions or would like to book a virtual art lesson for us to create a project together in real time, email meraki.bk@gmail.com or DM @merakibybk
@storiacollective
Follow Along
Explore
Learn
Connect
about
occasions
brands
EDUCATION
JOURNAL
NEWSLETTER
CONTACT
Copyright @storiacollective 2023 | Site Credit
