How to: Screen Print with Cricut
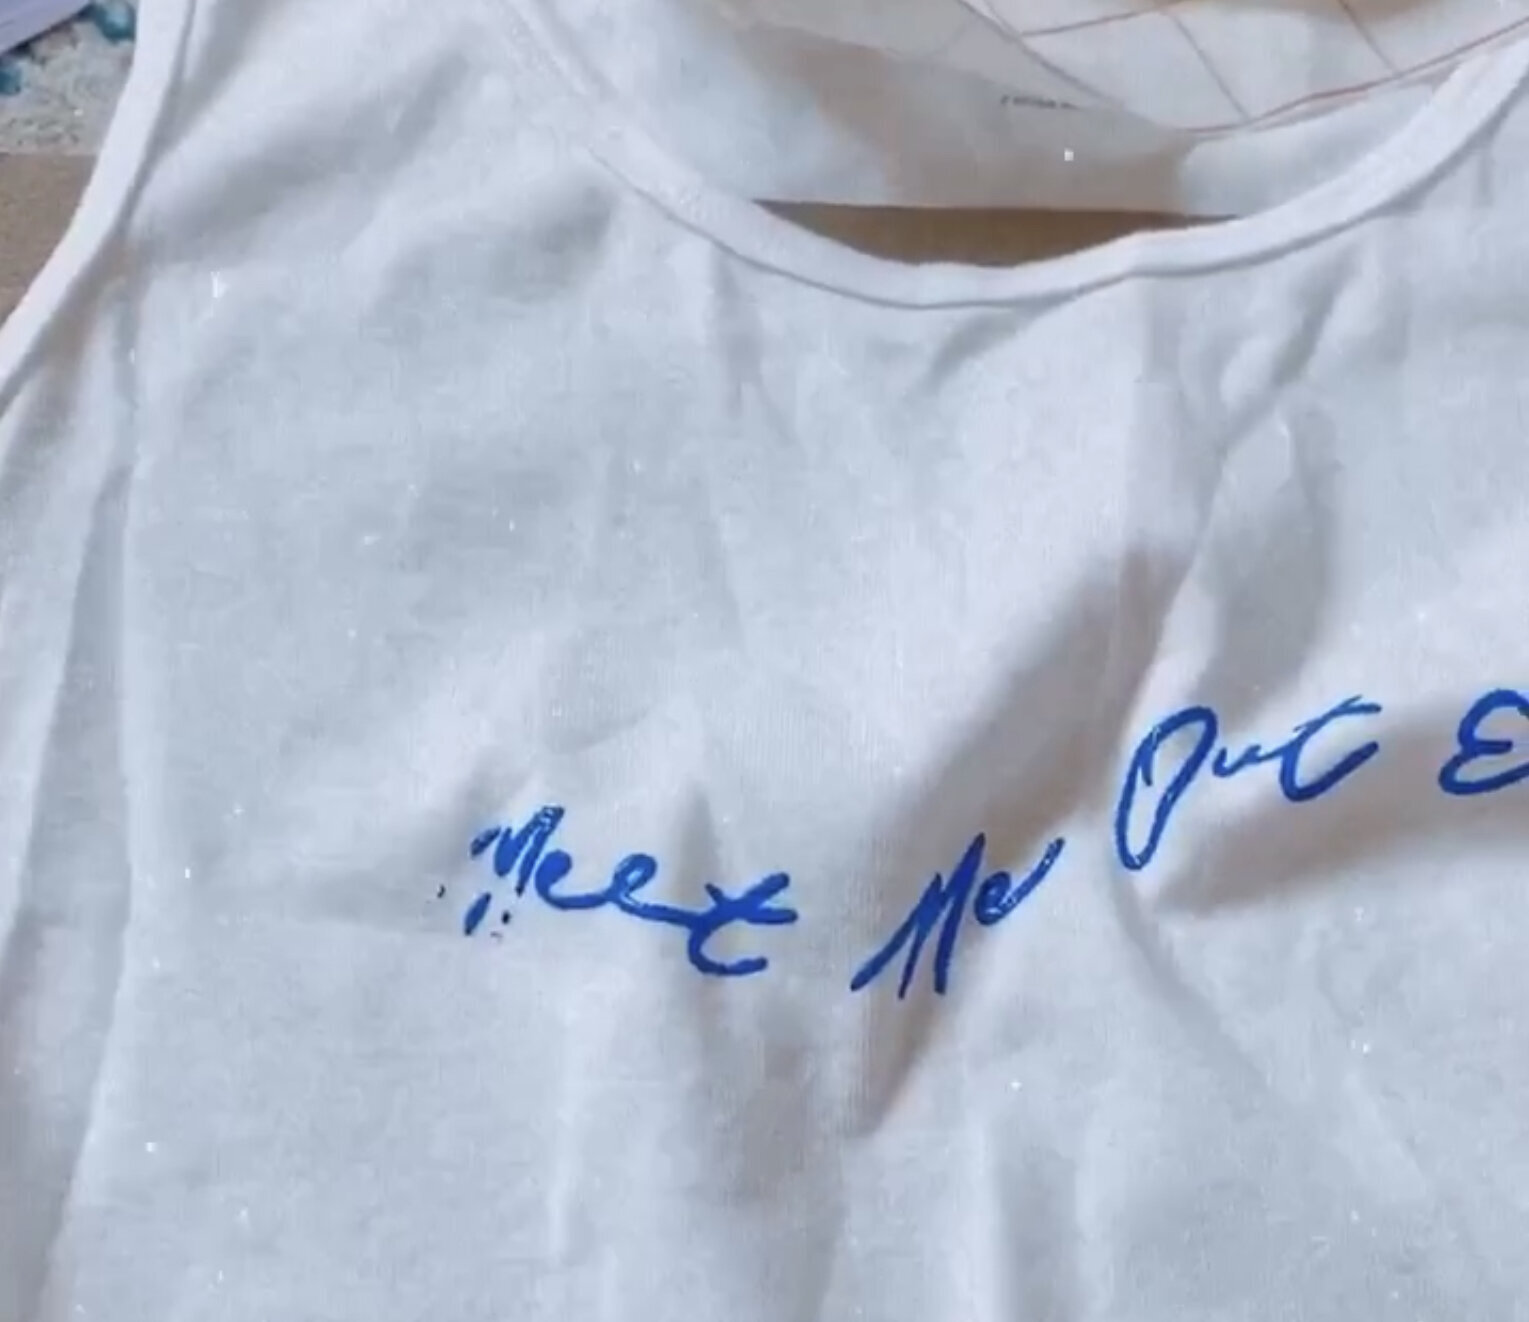


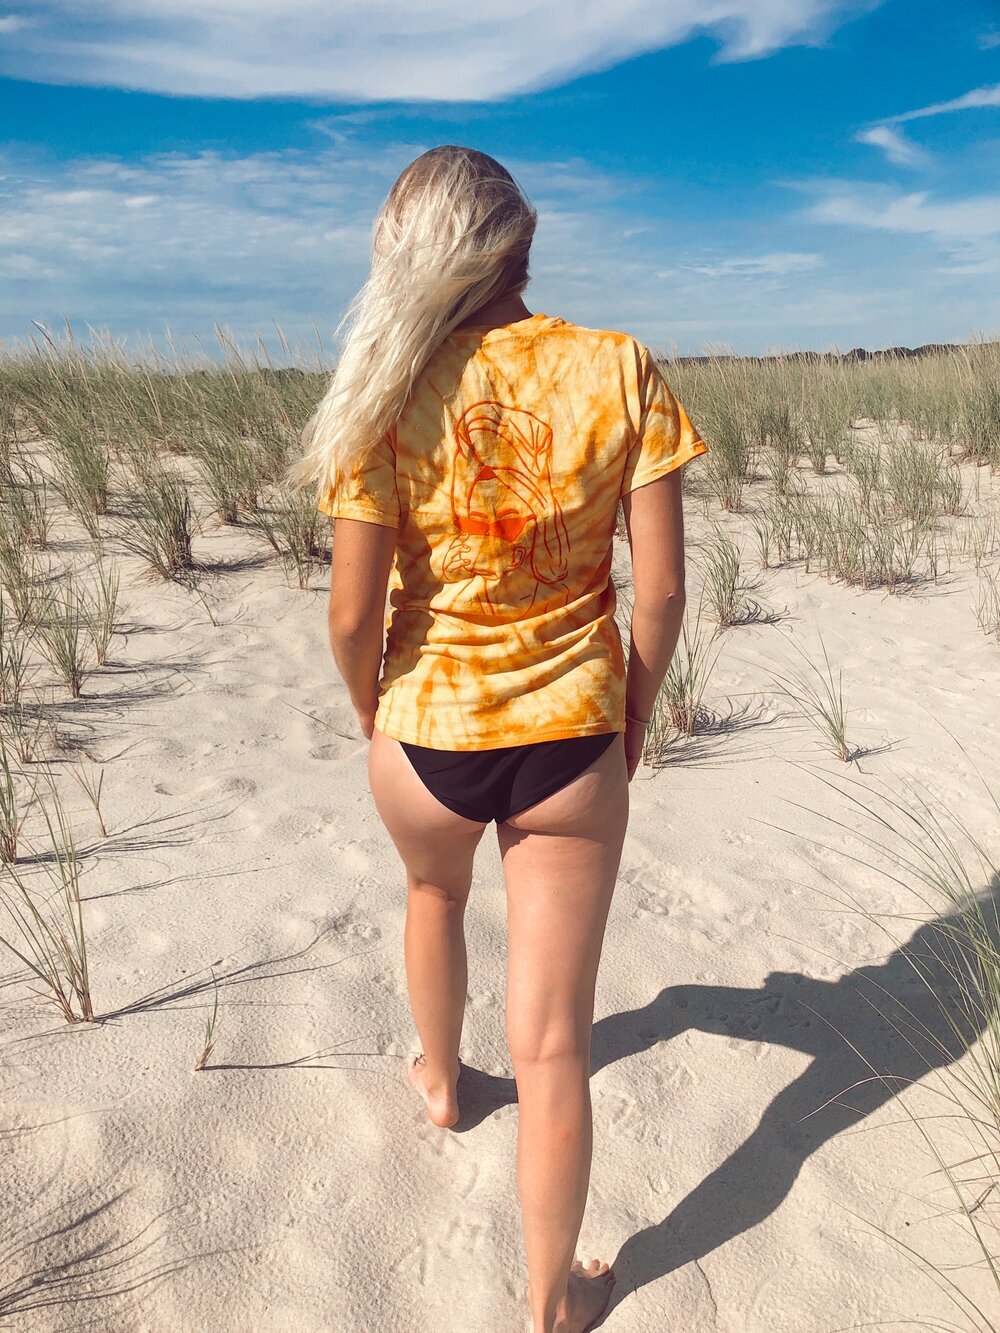
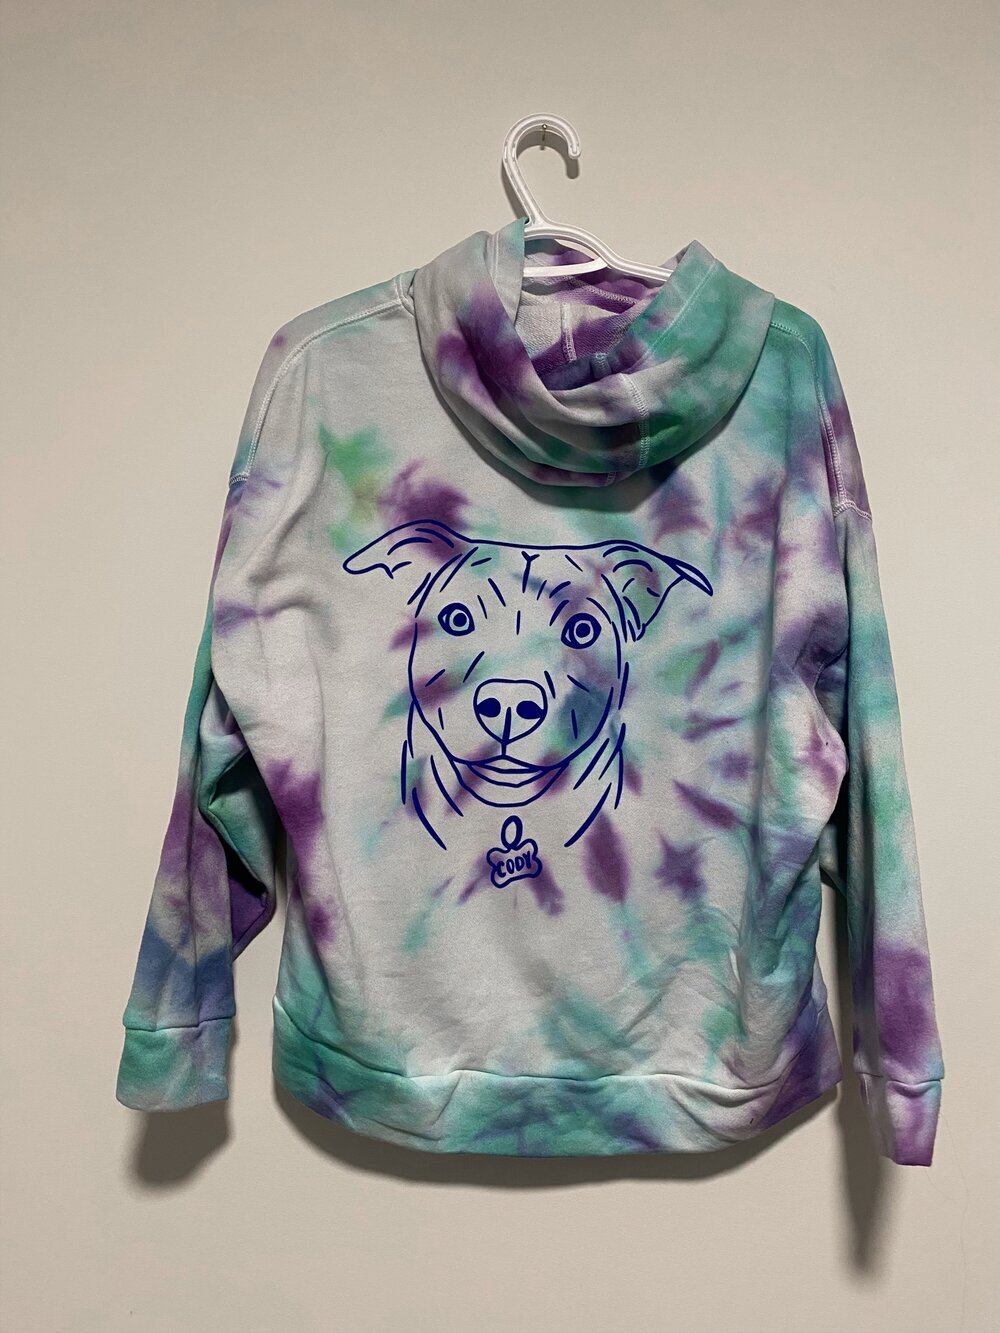
create with screen printing
Have you ever wanted to experiment with screen printing but didn’t want to invest the time, money & space it takes up in your home? Then this DIY/How-to simple screen printing method is perfect for you! It is the perfect introduction to screen printing when you want to dip your feet in screen printing for a project here & there, but your wallet doesn’t want to dive head first. Plus, screenwriting is the perfect way to promote your business, build a side hustle, a class mom activity or a project to create with your friends and family/kids! P.s.this same method can be used to make screen prints on paper!
I have always wanted to do screen printing but the supplies take up so much room & I need to maximize space in my NYC apartment! For this project, I sketched a design on my iPad, converted to SVG then cut on my Cricut to create a stencil. If you do not have a cricut/silhouette, you can still complete this DIY!
Screen Printing Shopping List:
-
Cricut (or vinyl stencil) I use the Cricut Maker but you can use any cricut model for this project
-
Cutting Mat
-
Screen Printing Kit (the one linked comes with silk screens, tape, squeegee, plastic scraper, transparency film & wood sticks)
-
Screen Printing Ink (can be used for paper & cardboard as well)
-
Vinyl or Sticker Vinyl (any color)
-
Cardboard or Plastic (use shipping boxes!!)
-
&& all the object/materials you are printing on!
Watch the IGTV and read below for a step-by-step how to
How to Create a Screen Printed Tee at Home with or without a Cricut
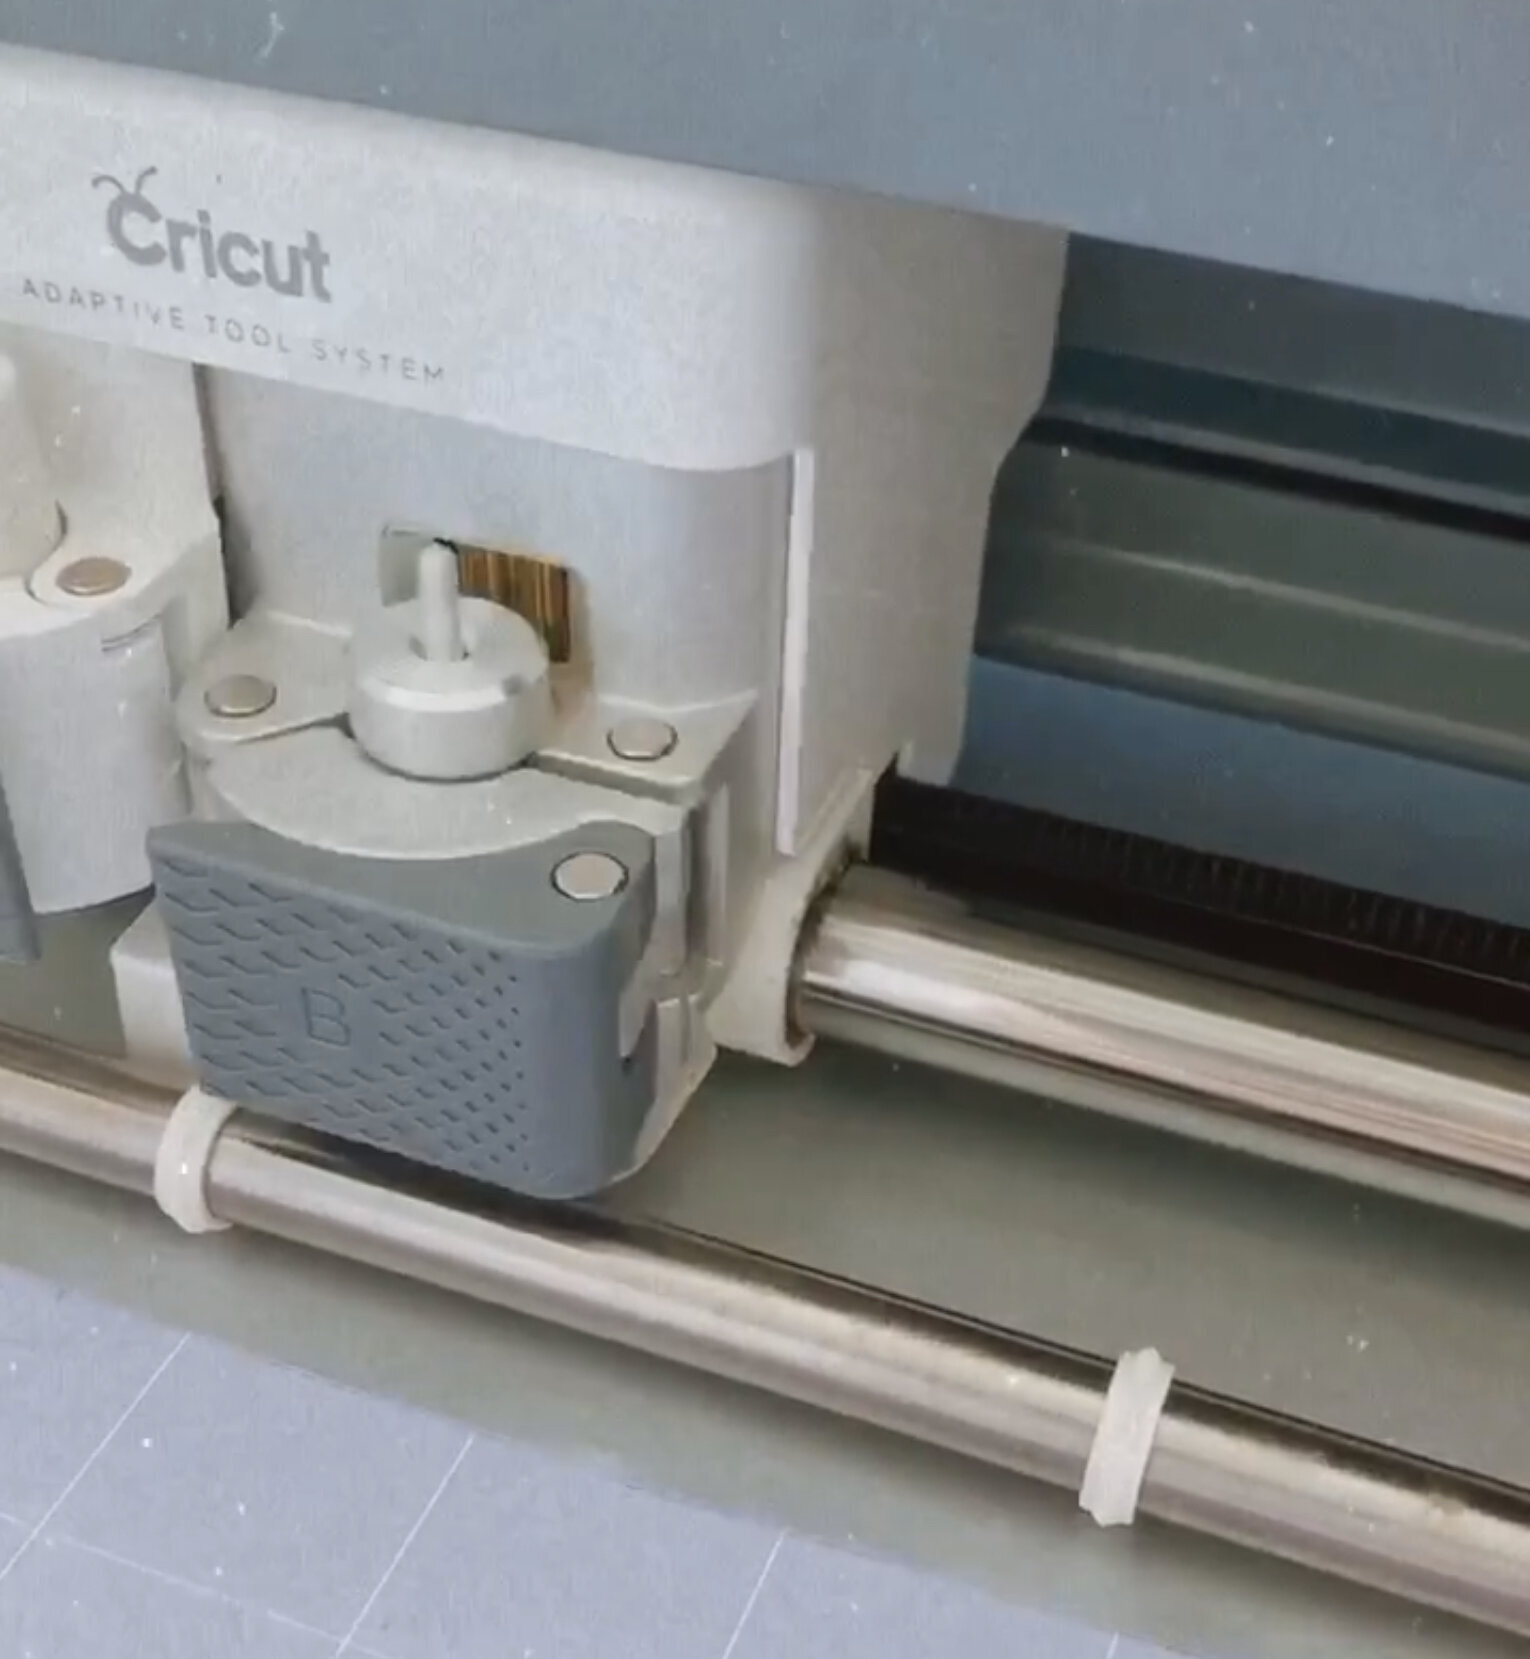
Screen Printing Step 1: Design your image and Cut on a Cricut
Personally, I like to draw my images on Procreate before uploading into Cricut Design Space to cut my image.
After choosing my image, I lay a adhesive vinyl sheet onto my Cricut Mat and cut the image.
Have a Cricut but have trouble creating images/files? No worries! I offer this service on my website
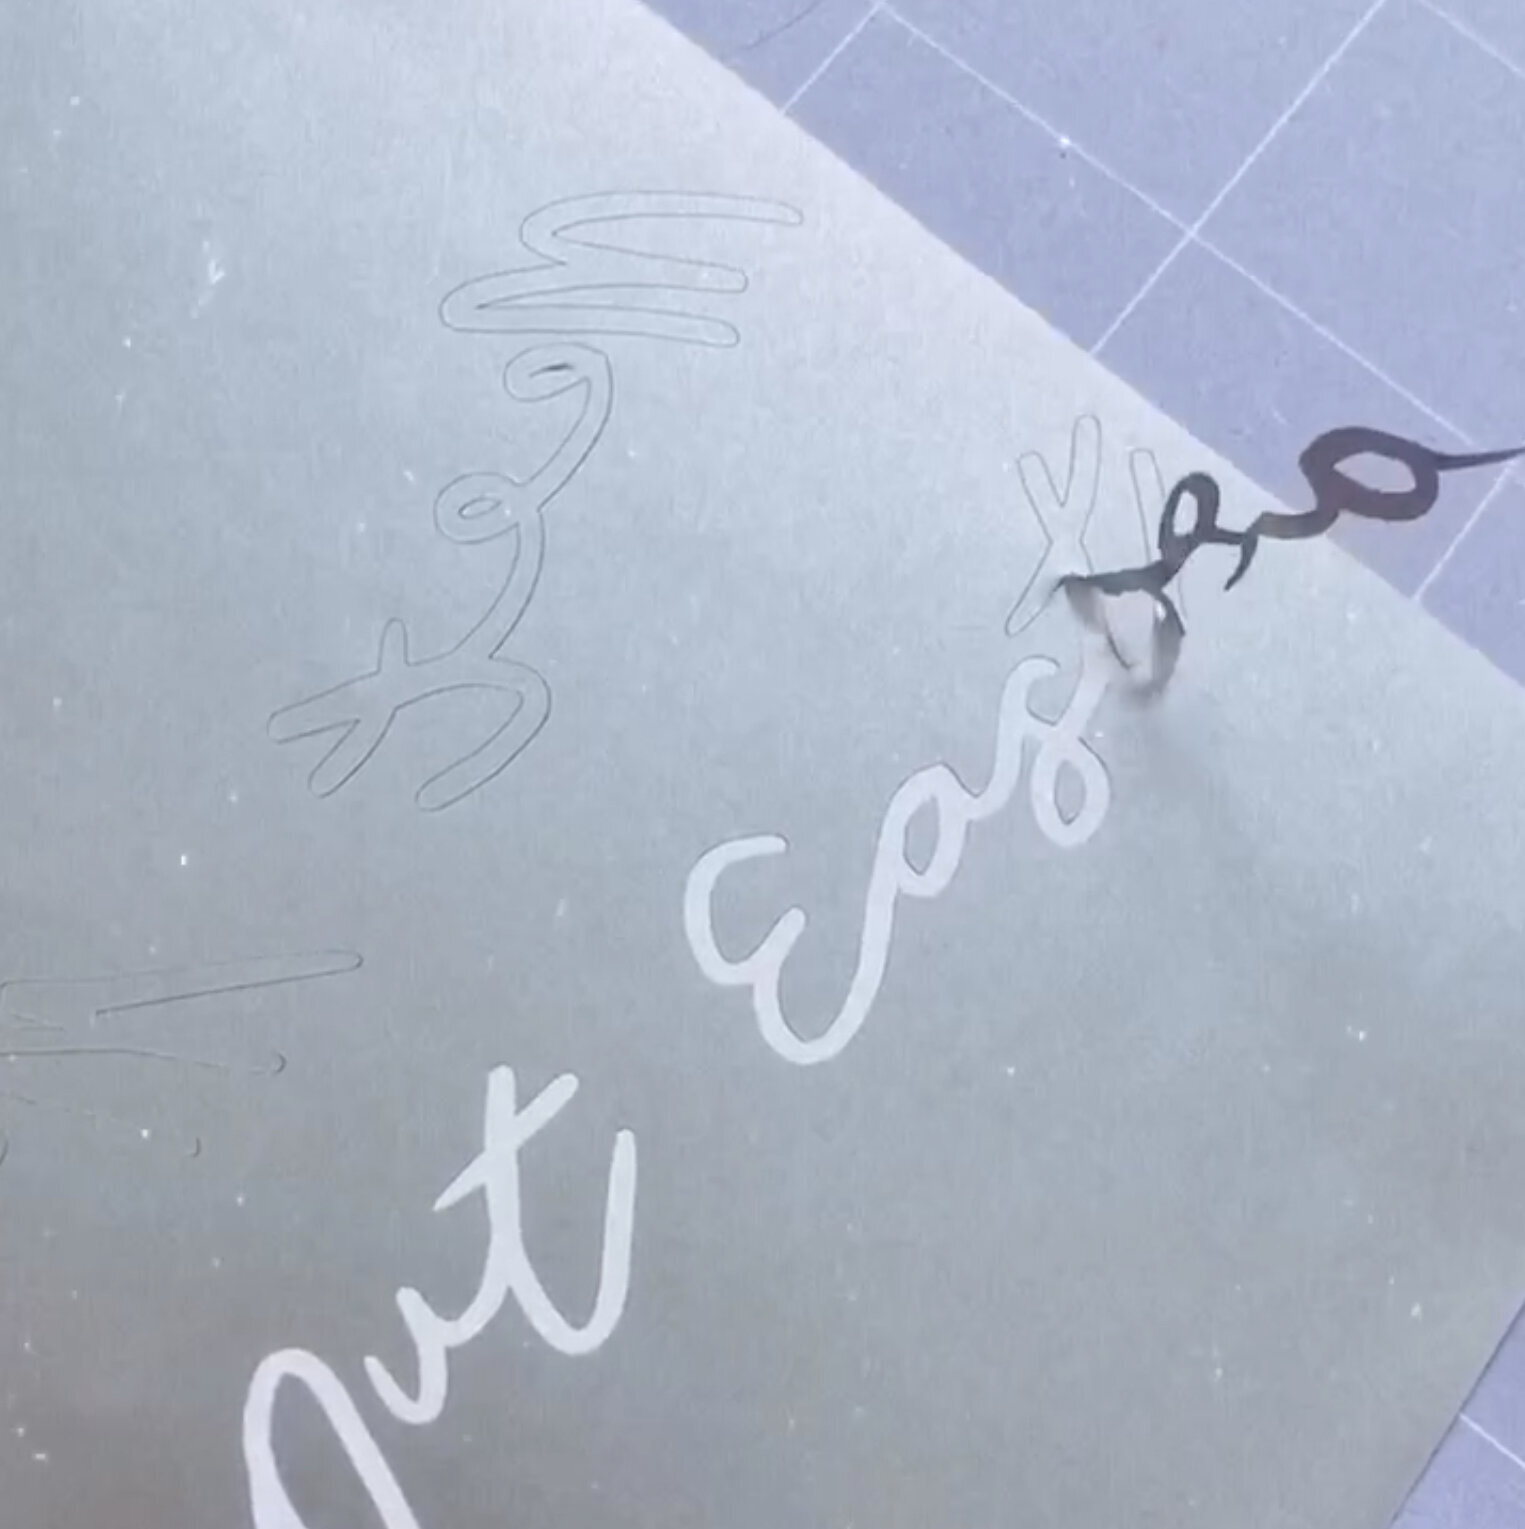
Screen Printing Step 2: Reverse weed your vinyl to create a stencil
When typically weeding a vinyl project, you weed the excess. But for screen printing you reverse weed, which means any area you want to fill with screen printing ink, that is what you are going to weed out!
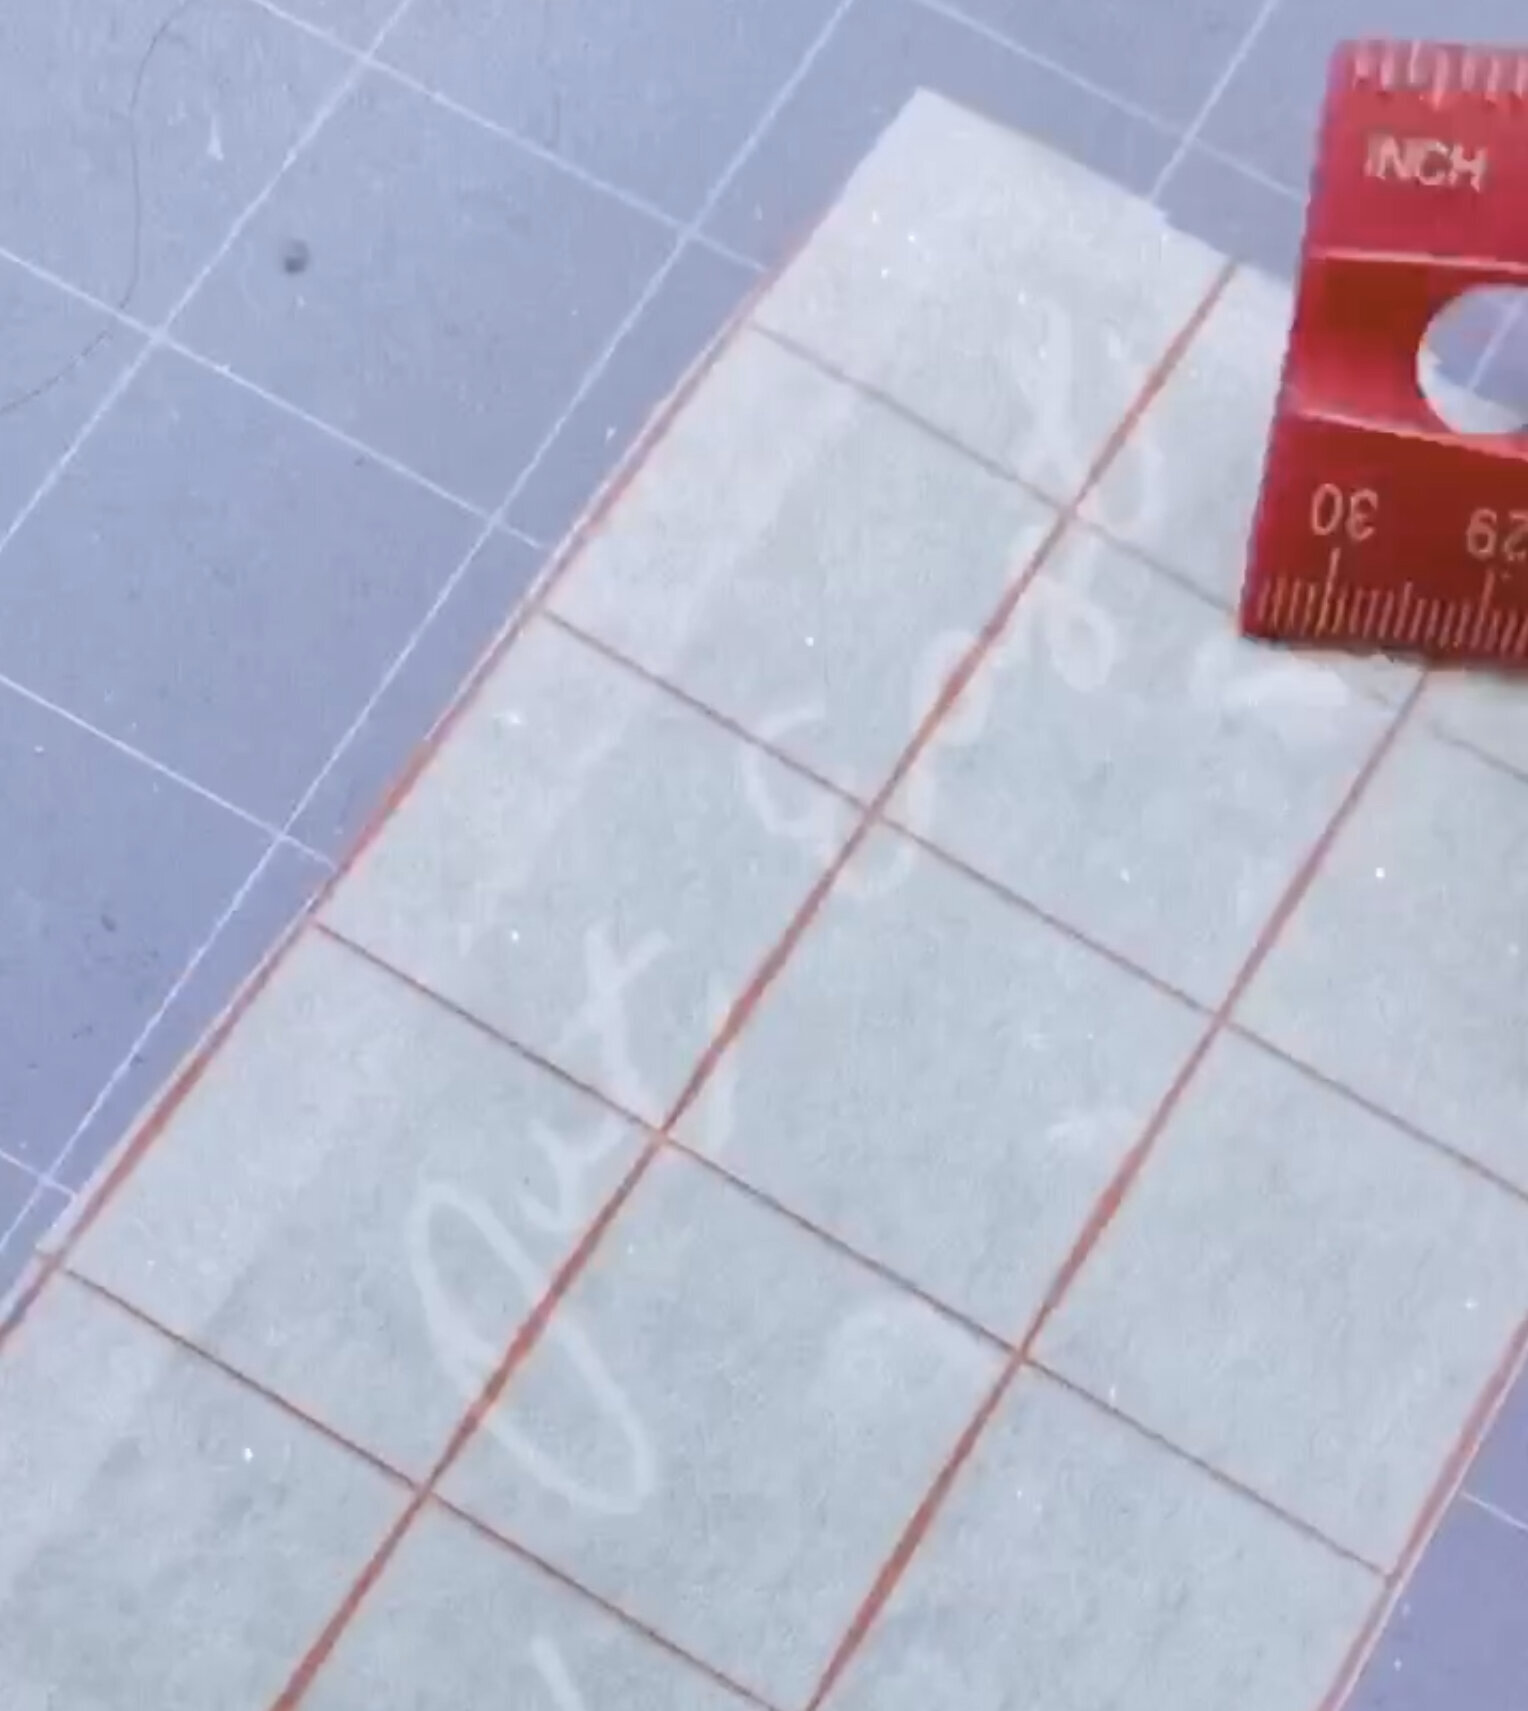
Screen Printing Step 3: Transfer your stencil onto a transfer vinyl
Use transfer vinyl to transfer your weeded design onto transfer tape, which will then be transferred onto your silkscreen
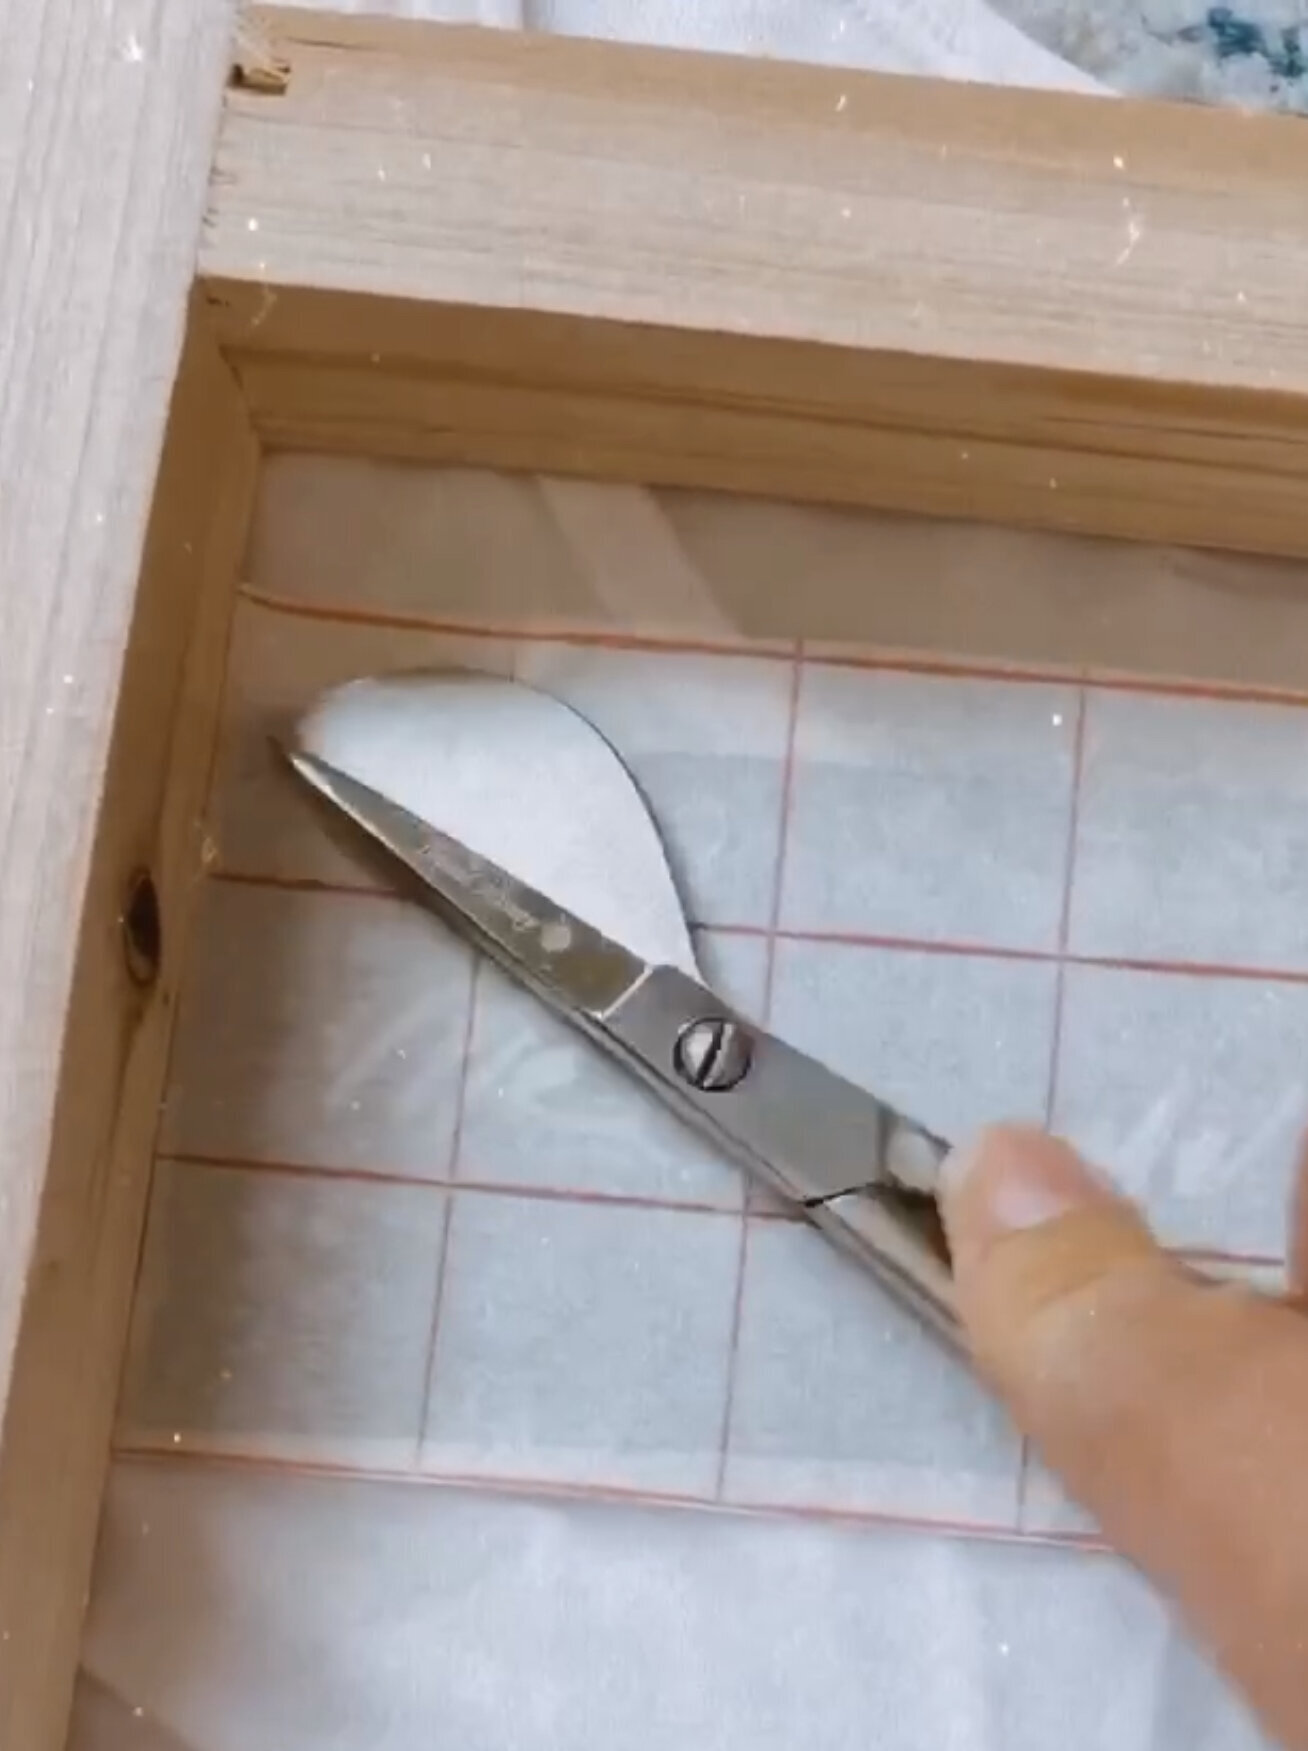
Screen Printing Step 4: Transfer the stencil onto the silkscreen
Squeegee your stencil onto your silkscreen and carefully peel back your transfer vinyl
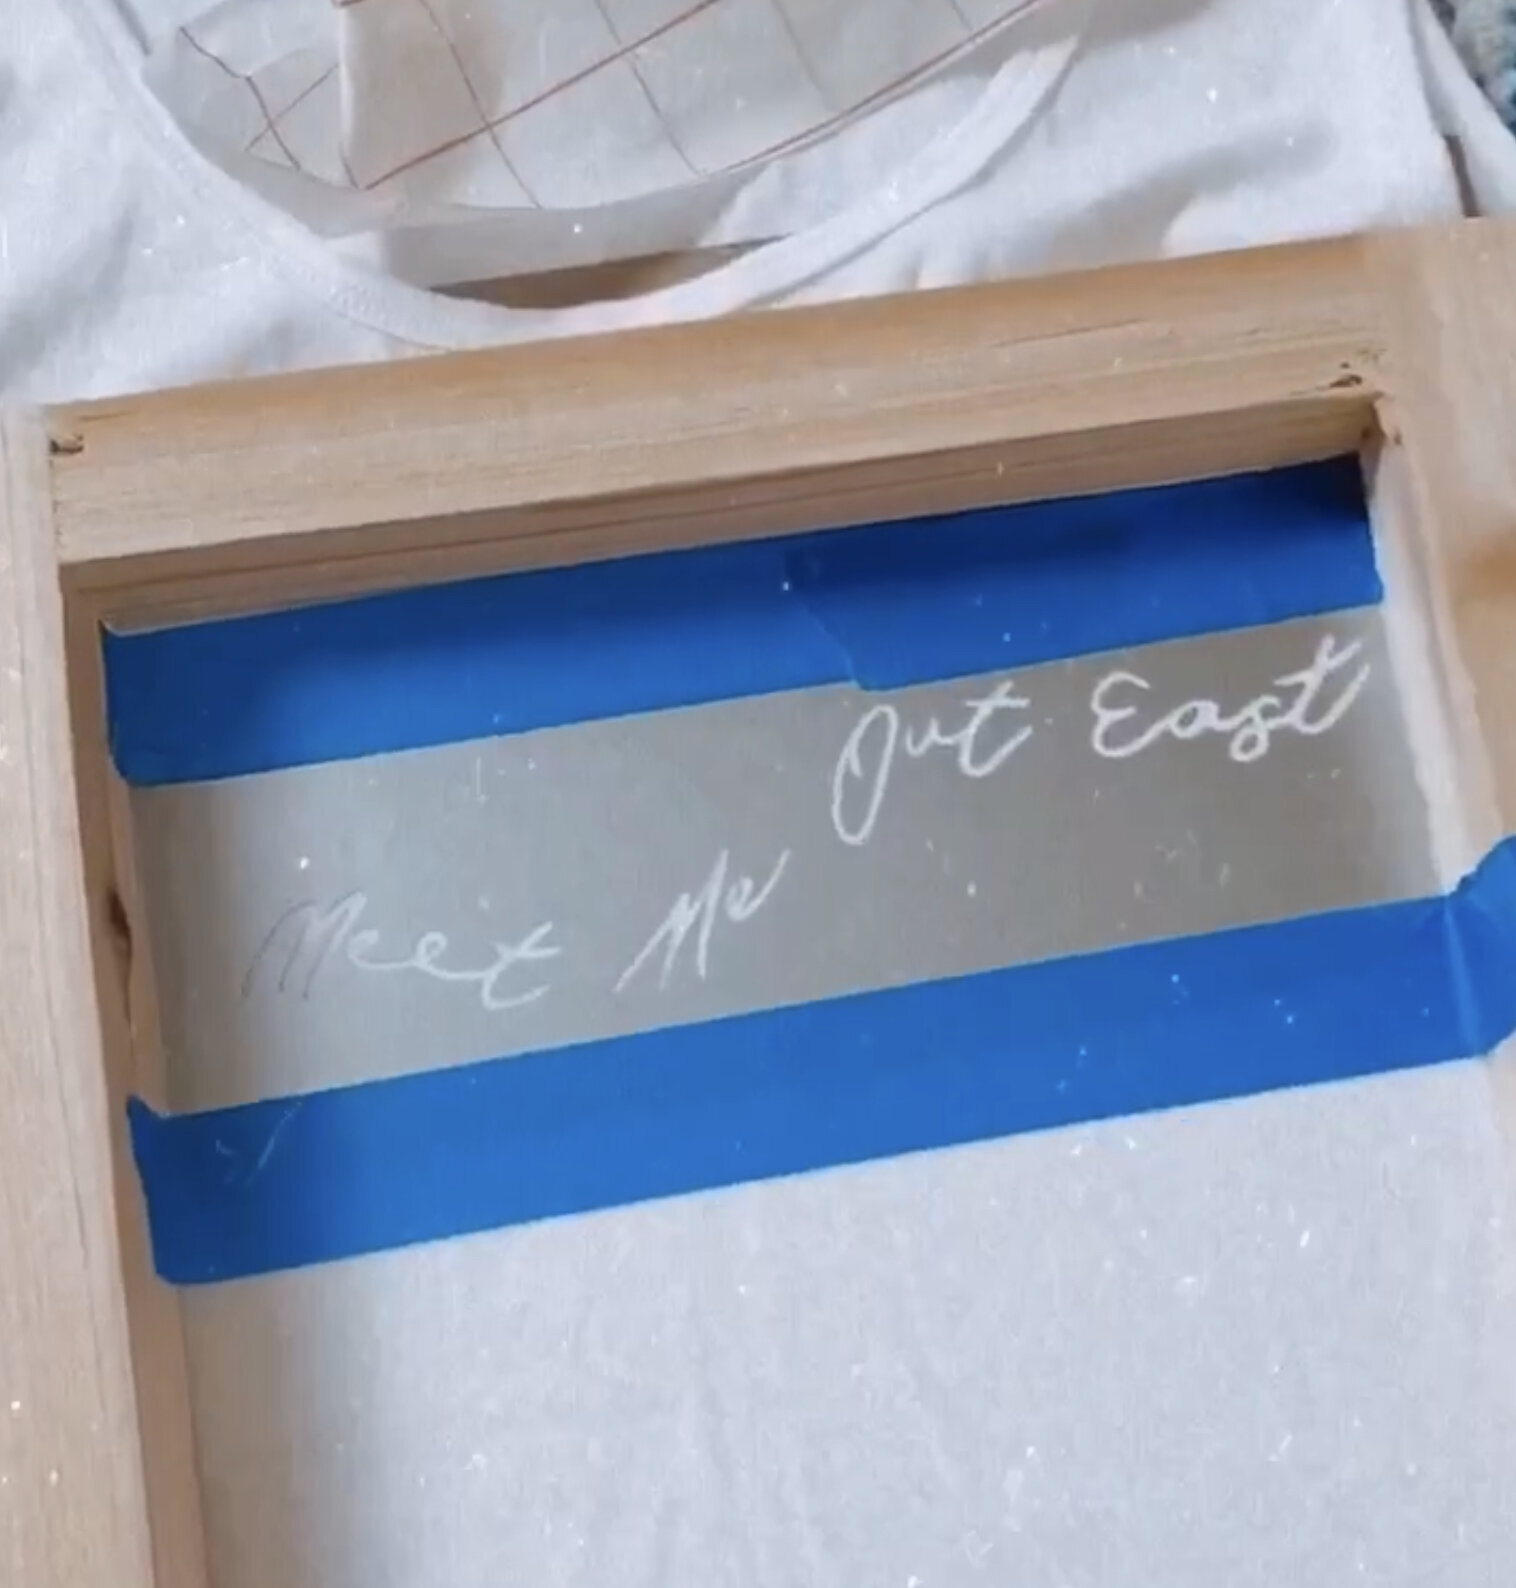
Screen Printing Step 5: Add painters tape to all areas you do not want ink
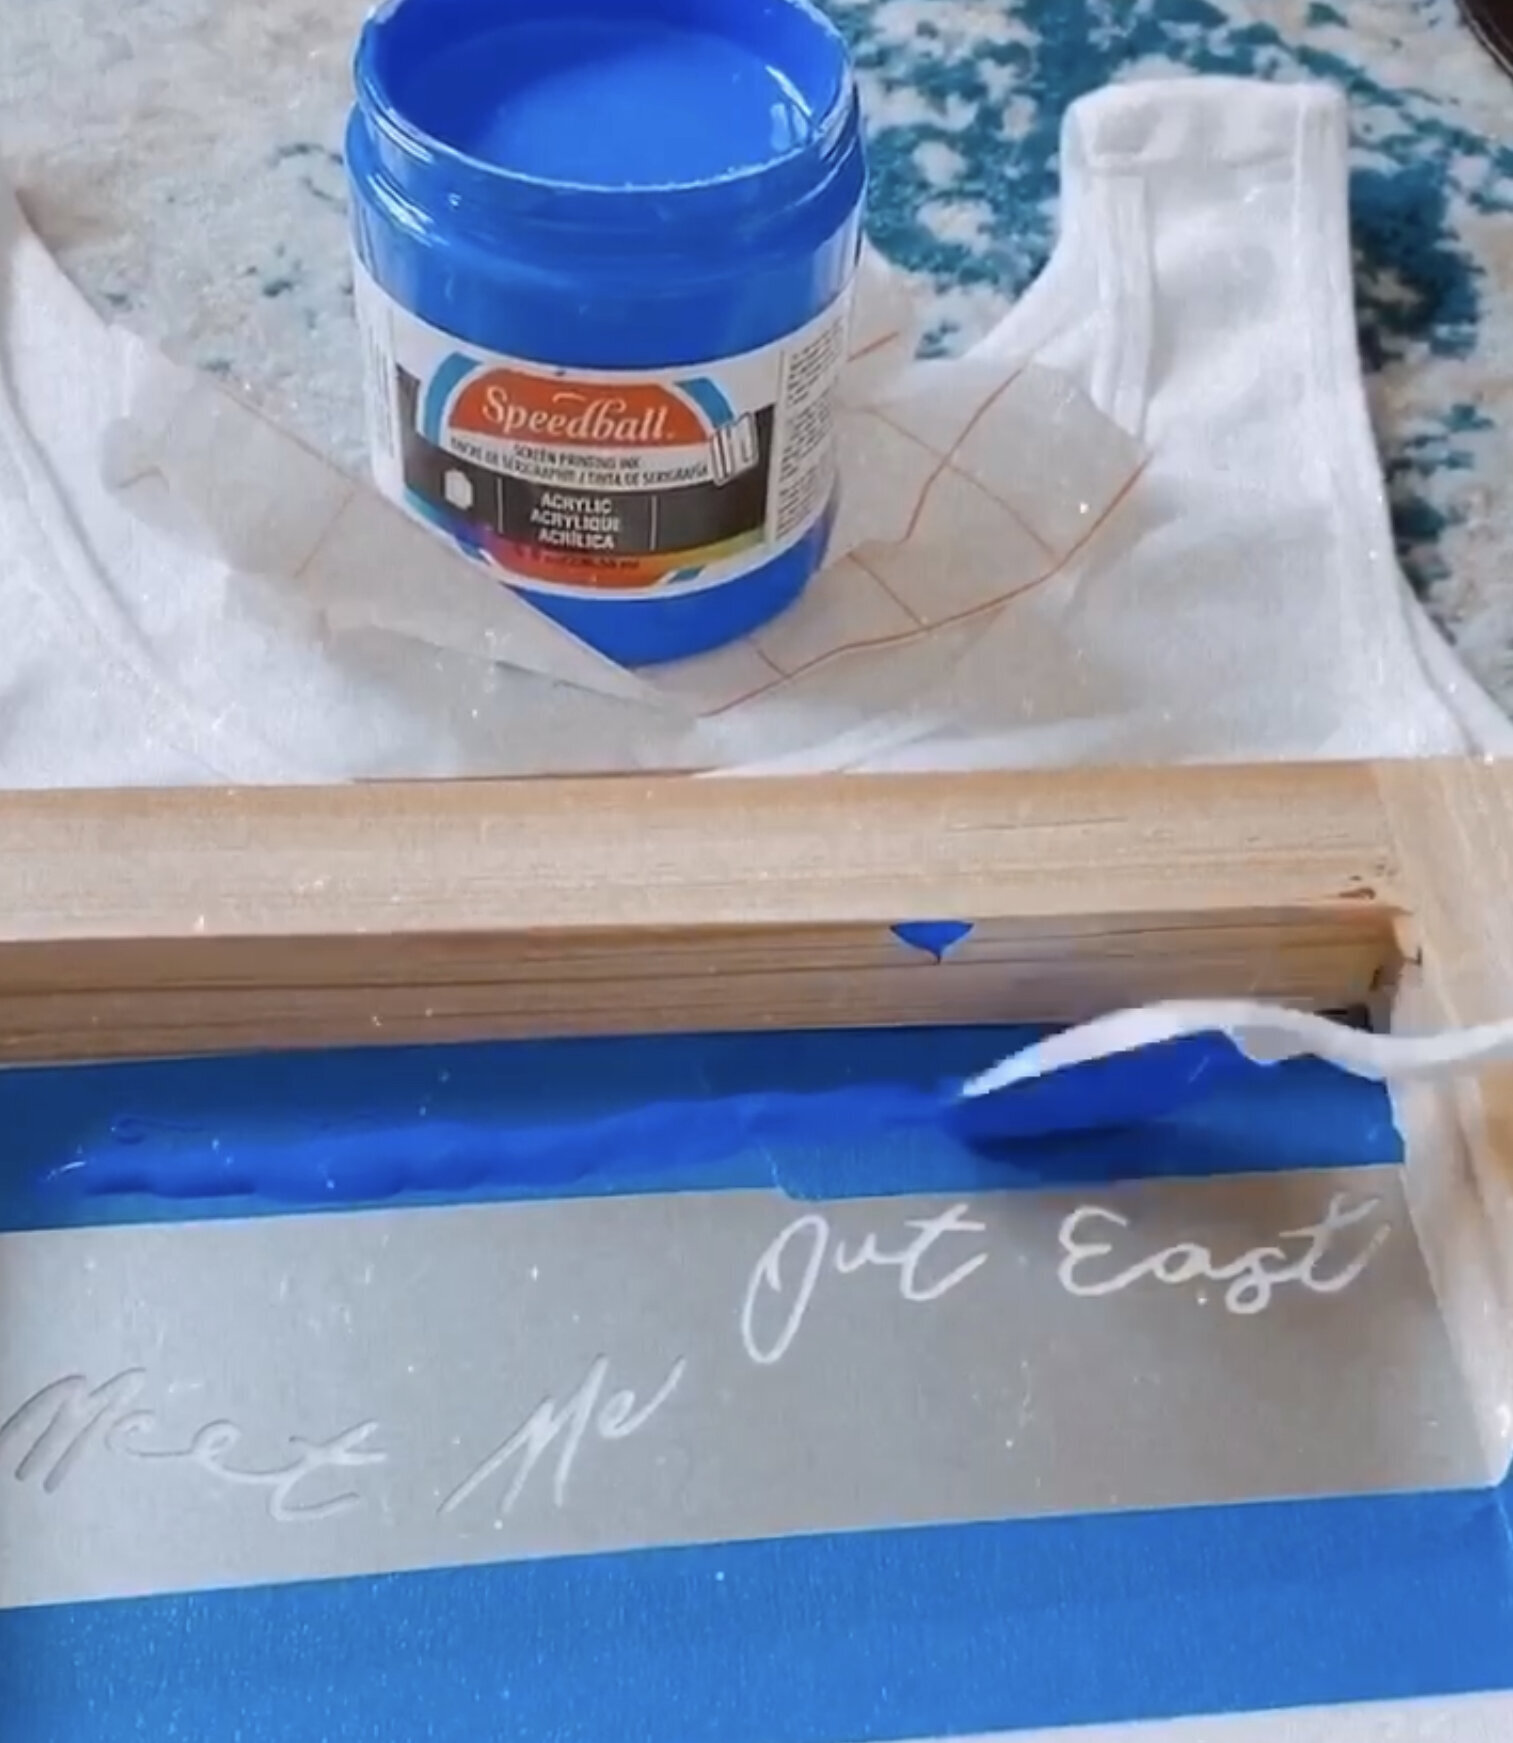
Screen Printing Step 5: Add your screen printing ink above your design

Screen Printing Step 6: Squeegee the ink over your design, it is best to hold your squeegee at a 45 degree angle
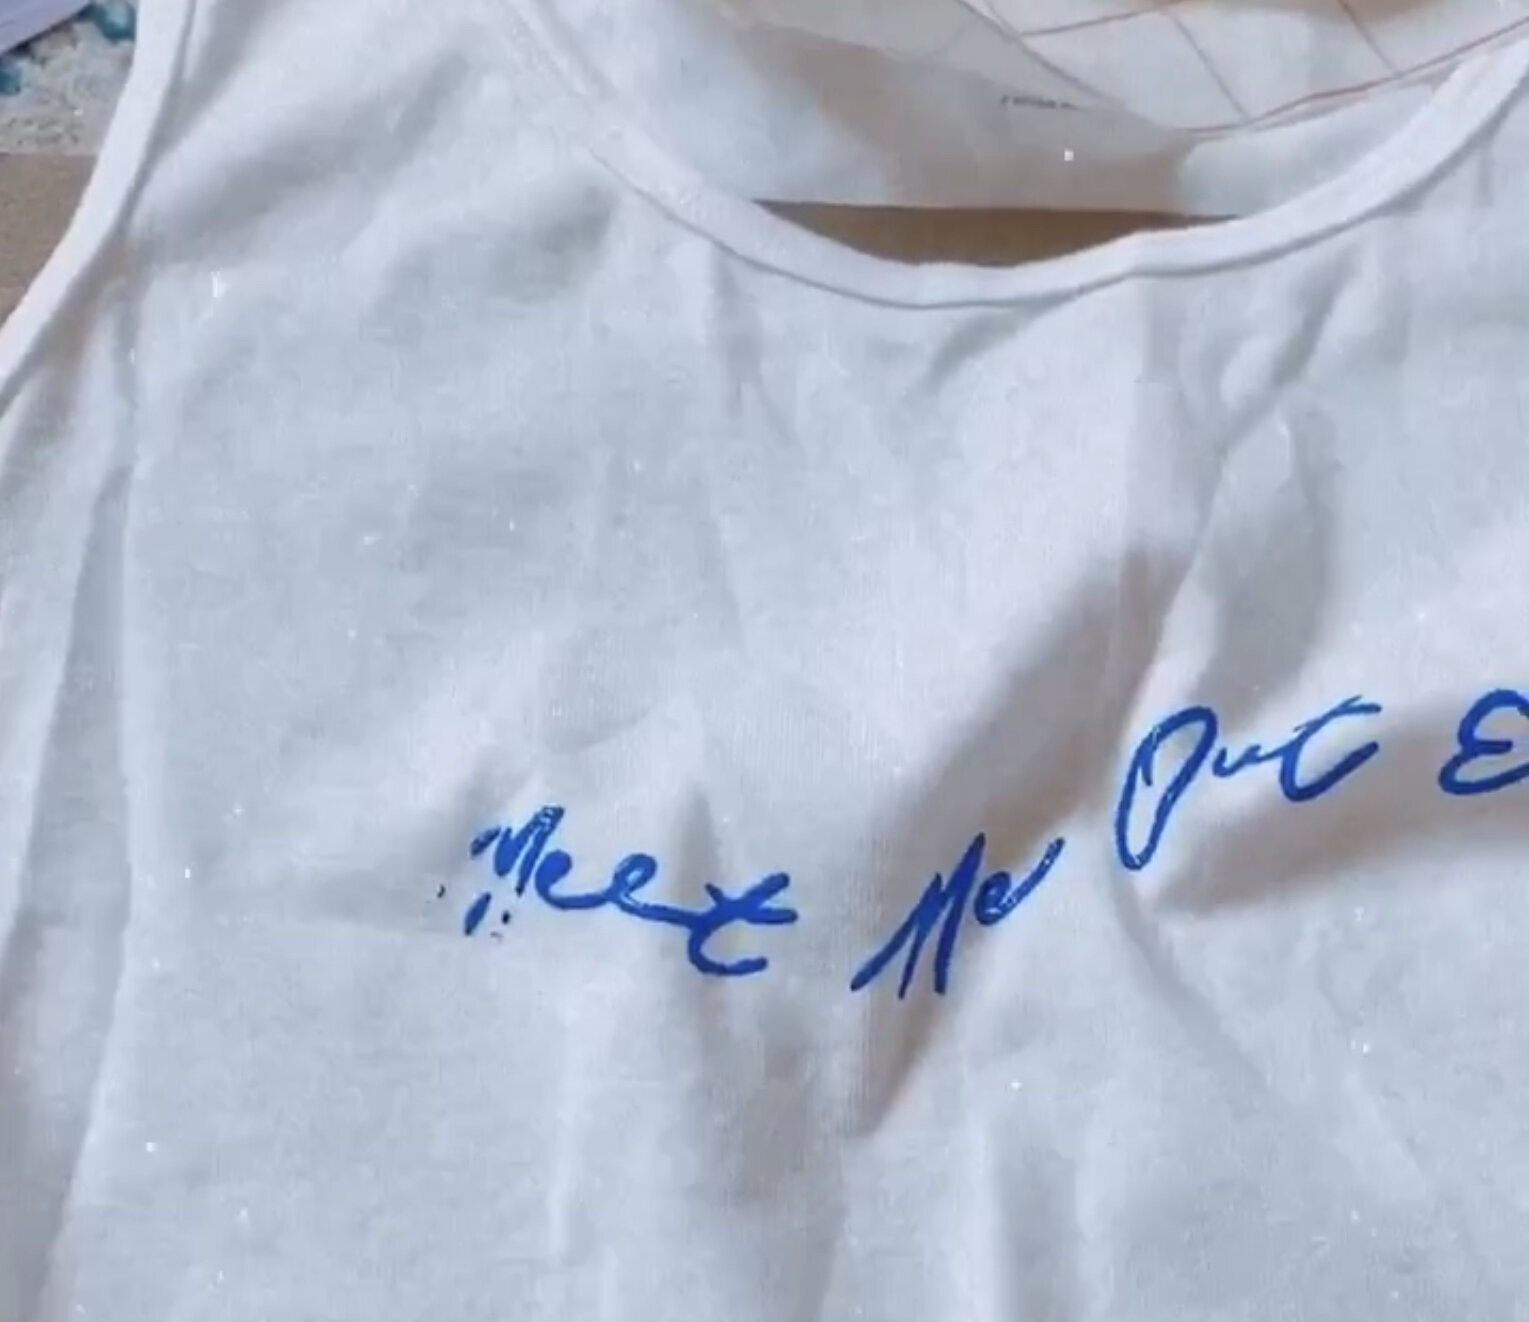
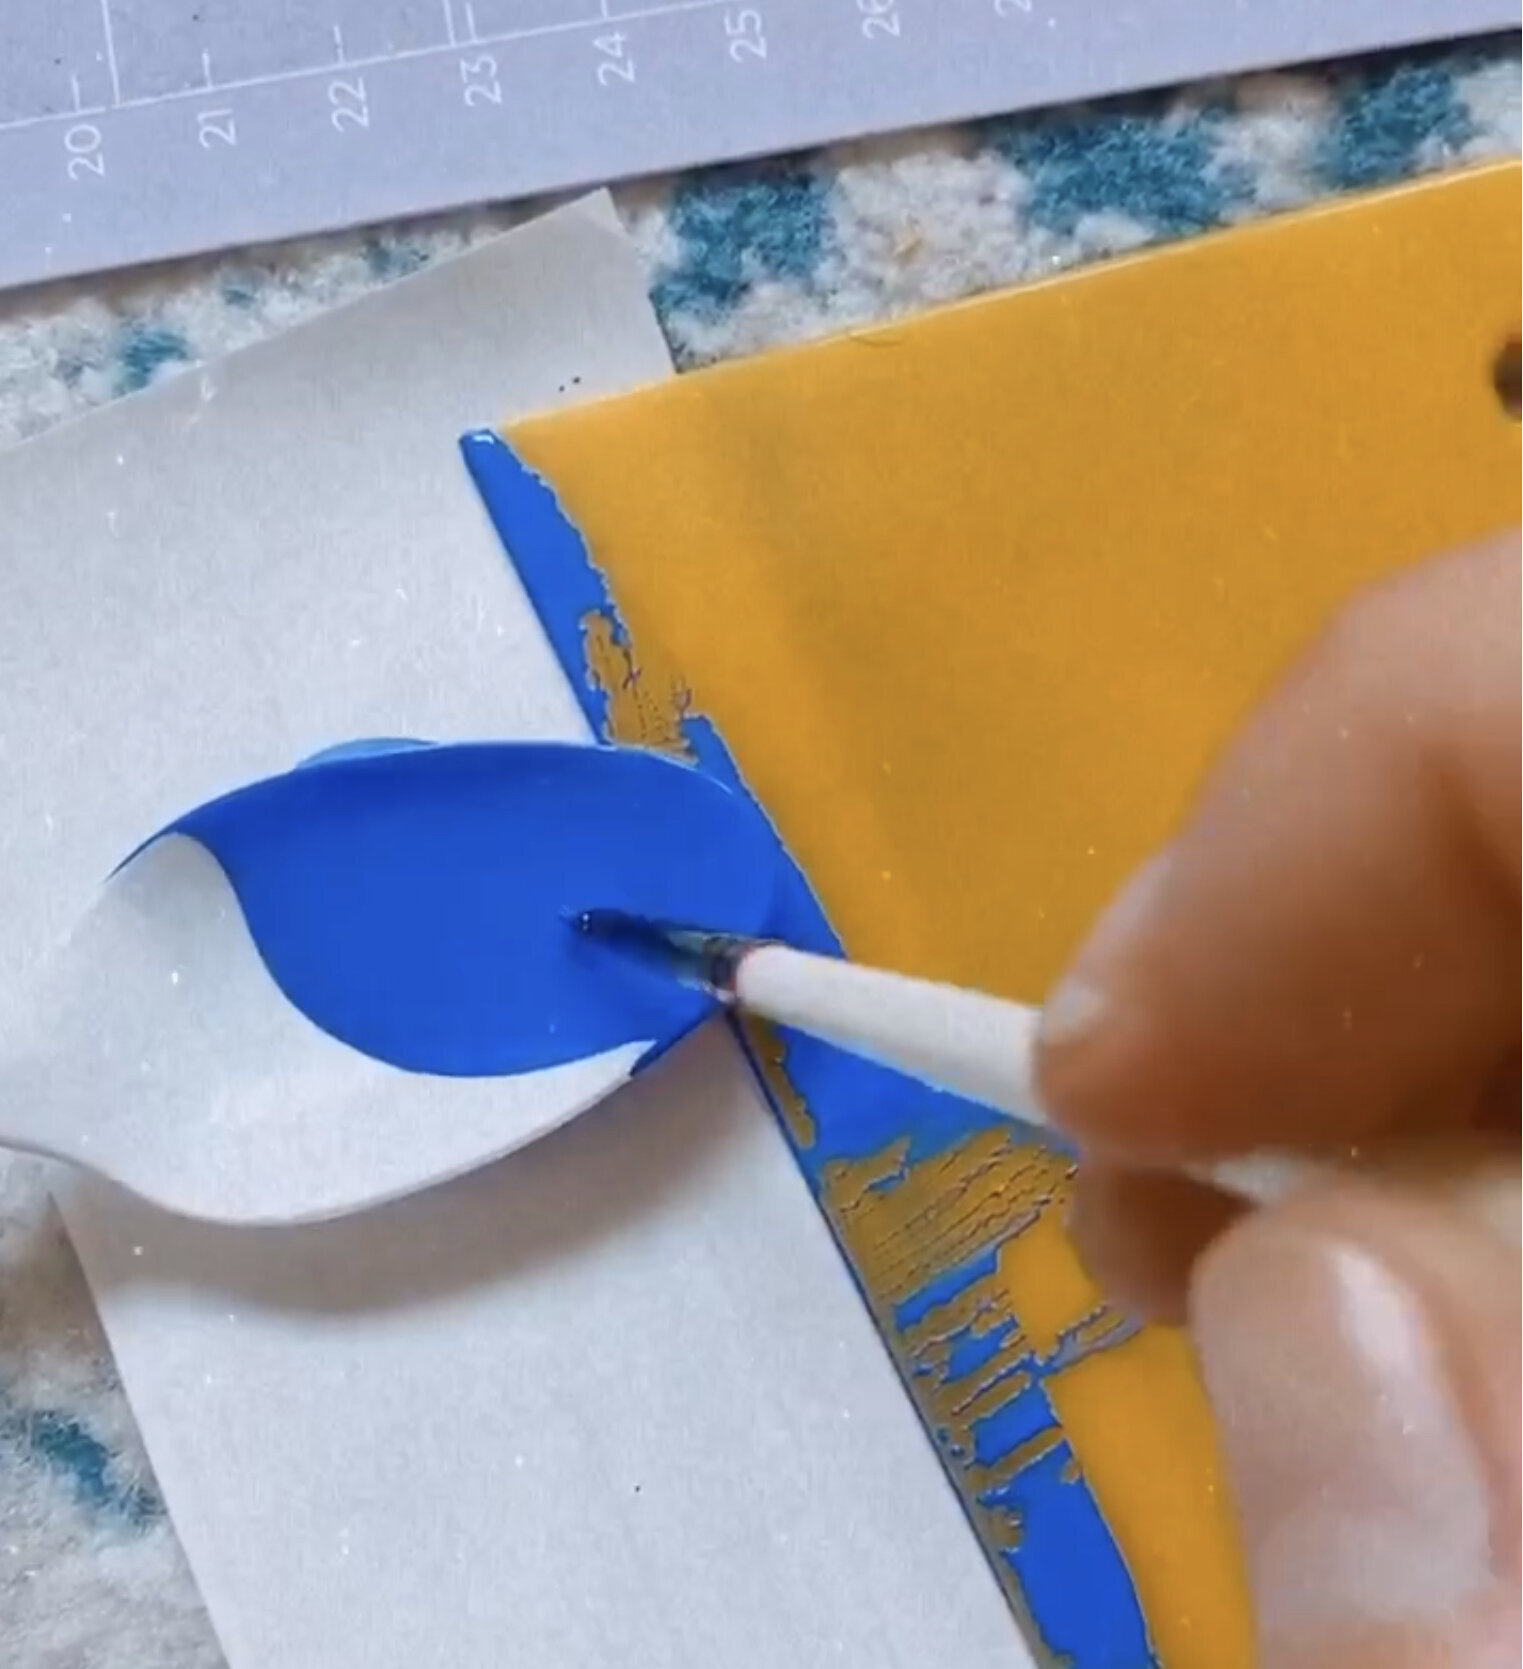
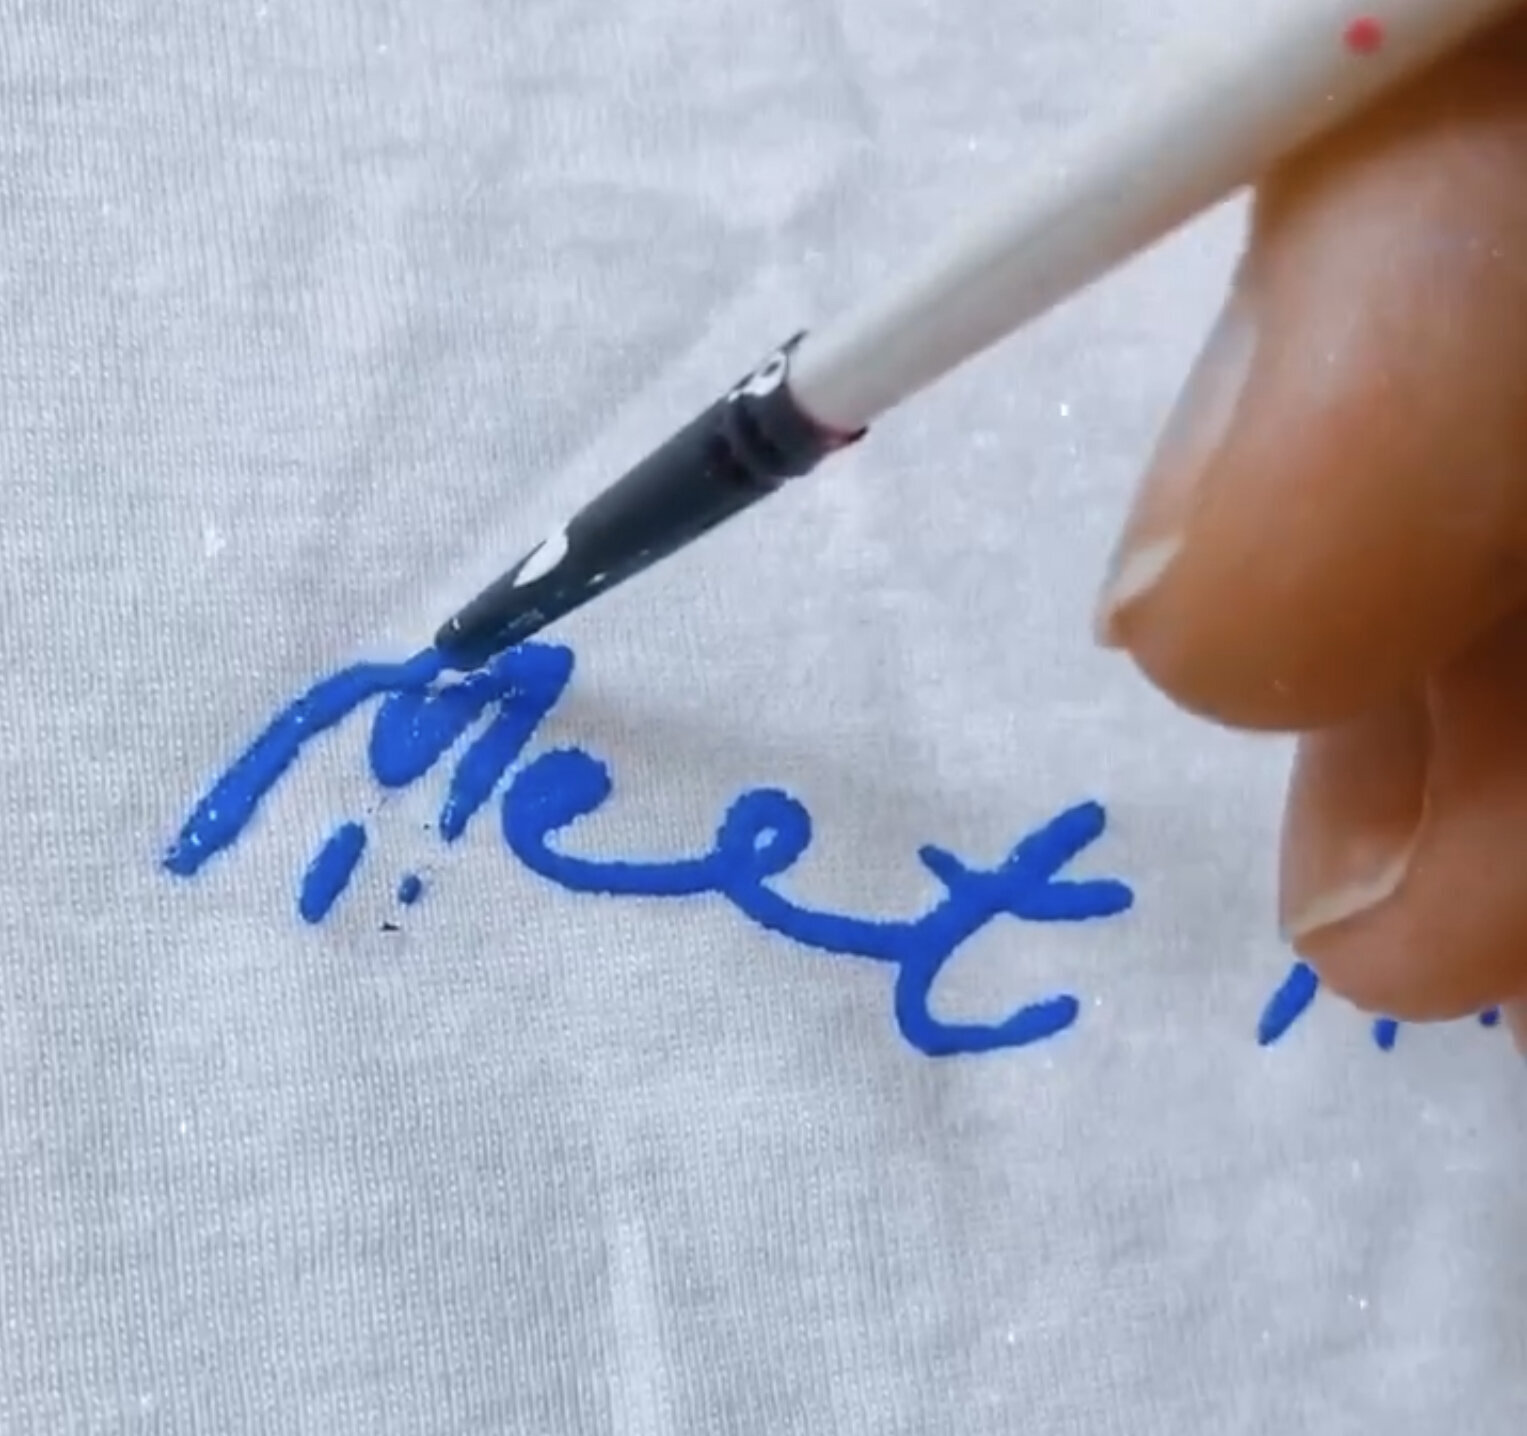
Screen Printing Step 7: Peel back your silkscreen and use a paintbrush to fill in any gaps in your screen printed design
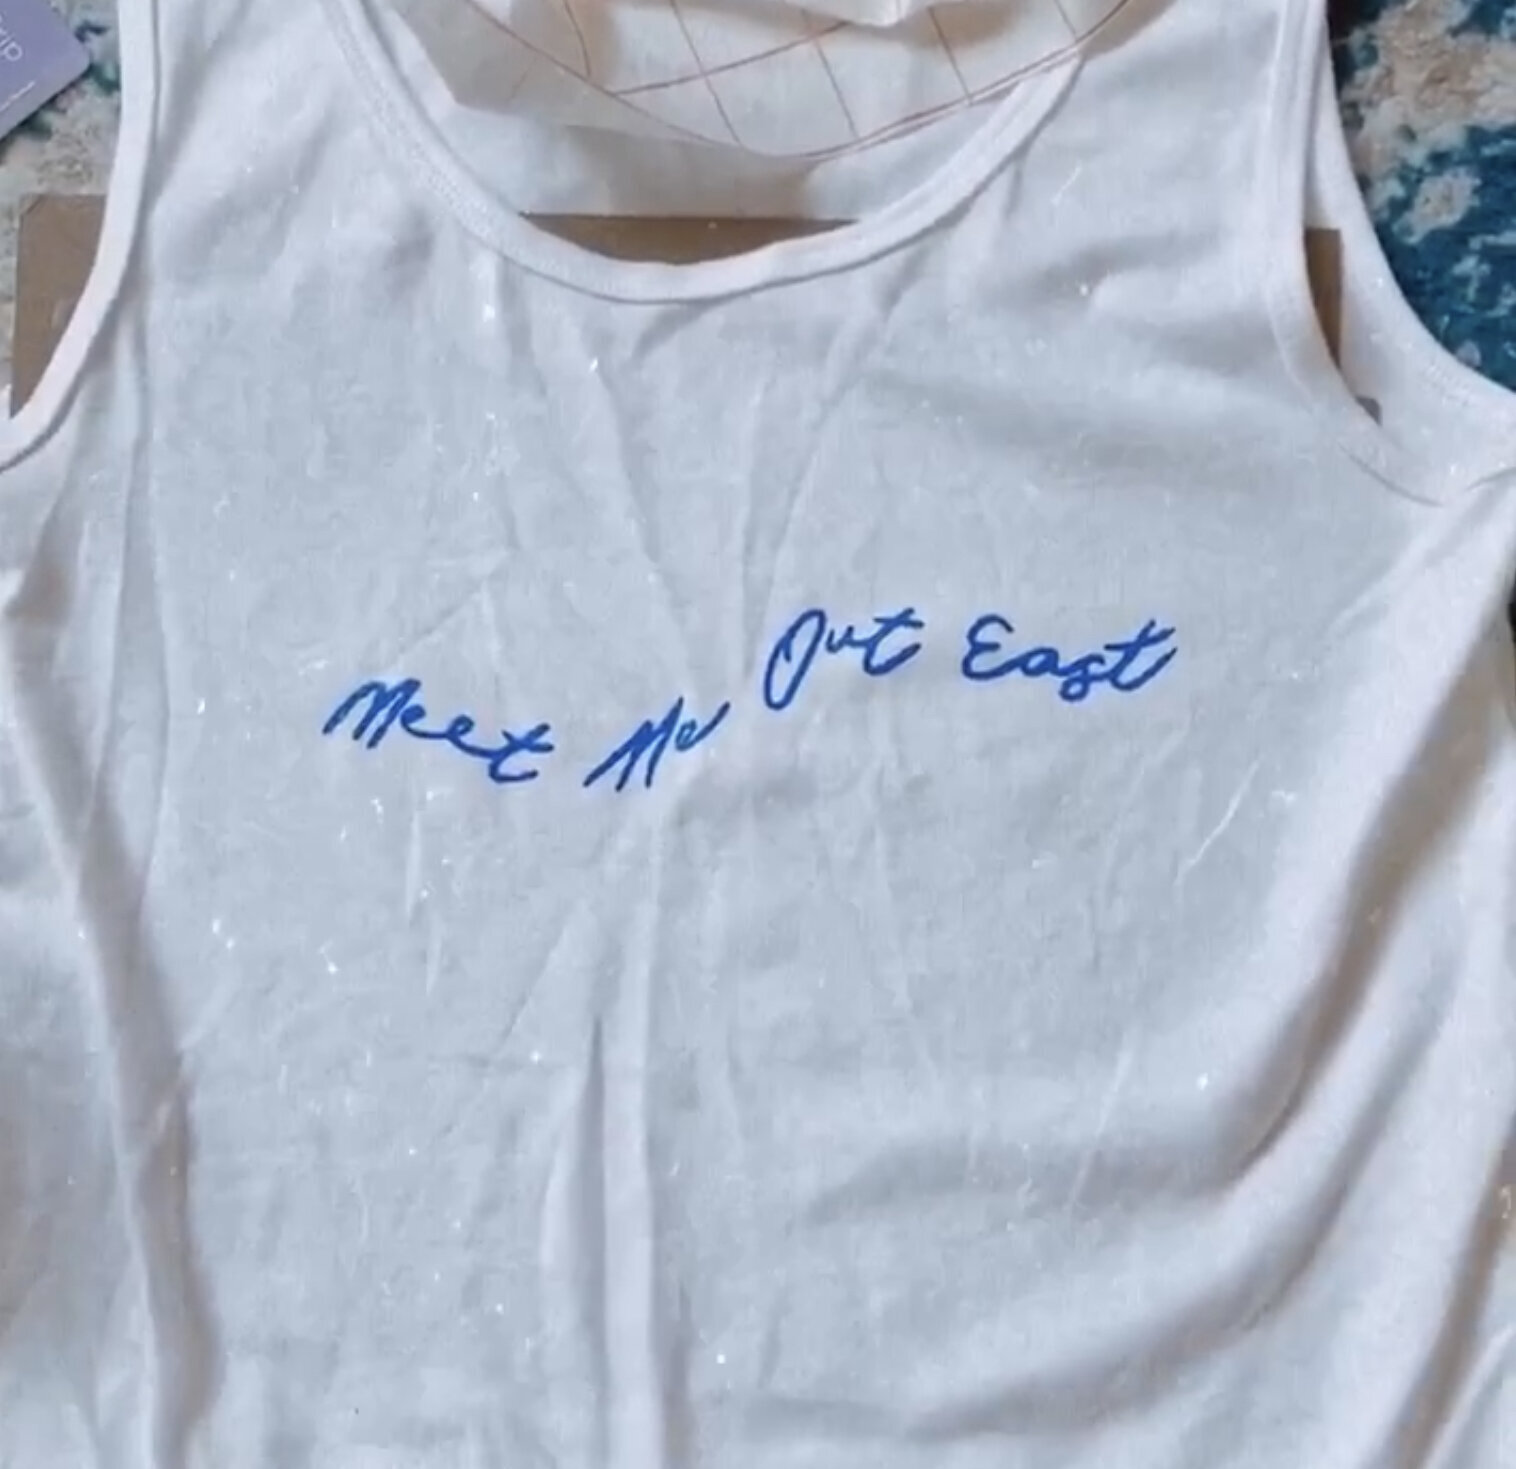
Step 8: Wait at least 24 hours for your design to dry. After 24 hours heat set your design by placing an iron at the highest setting allotted for your item over the ink! Let the iron sit for about 30 seconds to heat set the garment. Then wash as desired, I have washed my tank 15+ times on high heat and the design has not faded one bit!
@storiacollective
Follow Along
Explore
Learn
Connect
about
occasions
brands
EDUCATION
JOURNAL
NEWSLETTER
CONTACT
Copyright @storiacollective 2023 | Site Credit